This is my obligatory "goodbye 2012, helloooooo 2013" post. Except I really don't know what to say. The past year would be nearly impossible to sum up in any cohesive, coherent manner. There's been some amazing moments (graduating with honors, presenting my thesis, moving into my first apartment, meeting new friends and getting letters from old ones, reacquainting myself with my hometown) but some really really dark moments as well (being lied to and taken advantage of, being rejected 30 or 40 times from companies, having so many plans for my future fall through, feeling completely beaten and utterly worthless). And some days it seemed the bad far outweighed the good this year.
I'm also really not sure if I can even wrap it up with the phrase "it all happens for a reason" because I'm not sure if I believe it anymore - sometimes there's just no reason. But still, in just 24 short hours, I will drive away from Nashville like I've done so many times to go to so many places. Except this time, there's no reason for me to go back. I will fairly literally be seeing 2012 fade away in my rearview mirror.
And so I'll just say this. 2012, I will not particularly miss you. 2013, I'm ready.
I don't have one specific New Year's resolution (though I will finally post the rest of my Ten Day challenge after the 1st), but here's some challenges I've set for myself this year:
Learn how to clean a sewing machine
Go to three concerts
Master one new cooking technique each month
Go to reunion
Build the strength to do an unassisted handstand
Run a 5k
Participate in a triathalon
Read 1 book a month
Find two causes to support/volunteer for
Write friends once a month
Think seriously about getting a dog and a tattoo (decide if/when they would be appropriate or not)
Travel abroad
Watch one classic movie a month
Master one new cocktail each month
Write/journal more often
See three plays or ballets
Practice meditation regularly
Start a garden (indoor or outdoor)
Learn Wordpress
Monday, December 31, 2012

Friday, December 28, 2012
Thankful (Almost) Thursday: By Way Of Snail Mail
Yes I know I missed Thankful Thursday yesterday. I decided to write my thanks this week instead of blogging about it.

Without going into too much detail, this holiday week was a bit rough with the family. And after this past month of insanity and upsetness and crying and feeling down and friends rescuing me at all hours of the night and day with their calls and texts from wildly different time zones, I knew I had to do something in return to show my friends how much their help has meant to me.
I seriously considered (on a sugar-high at 3am one night) writing to each of them here on a Thankful Thursday post, but it quickly became too eerily reminiscent of those weird MySpace "tell everyone what you think of them without naming names but you don't really need to cause everyone knows you're talking about Billy who you're madly in love with and Jane who's a witch I mean really come on" things.
Once properly rested, I realized that these folks don't need me to tell everyone how grateful I am for them, I need to tell them that. And preferably, with letters. Hand-written letters are possibly my favorite thing ever. They make thank you's and hello's and I miss you's infinitely better and more tangible. So it was added to my Ten Days challenge. And here they are! I mean, how adorable are these cards??


I ended up writing a few more than the original three I intended but oh well!

I seriously considered (on a sugar-high at 3am one night) writing to each of them here on a Thankful Thursday post, but it quickly became too eerily reminiscent of those weird MySpace "tell everyone what you think of them without naming names but you don't really need to cause everyone knows you're talking about Billy who you're madly in love with and Jane who's a witch I mean really come on" things.
Once properly rested, I realized that these folks don't need me to tell everyone how grateful I am for them, I need to tell them that. And preferably, with letters. Hand-written letters are possibly my favorite thing ever. They make thank you's and hello's and I miss you's infinitely better and more tangible. So it was added to my Ten Days challenge. And here they are! I mean, how adorable are these cards??

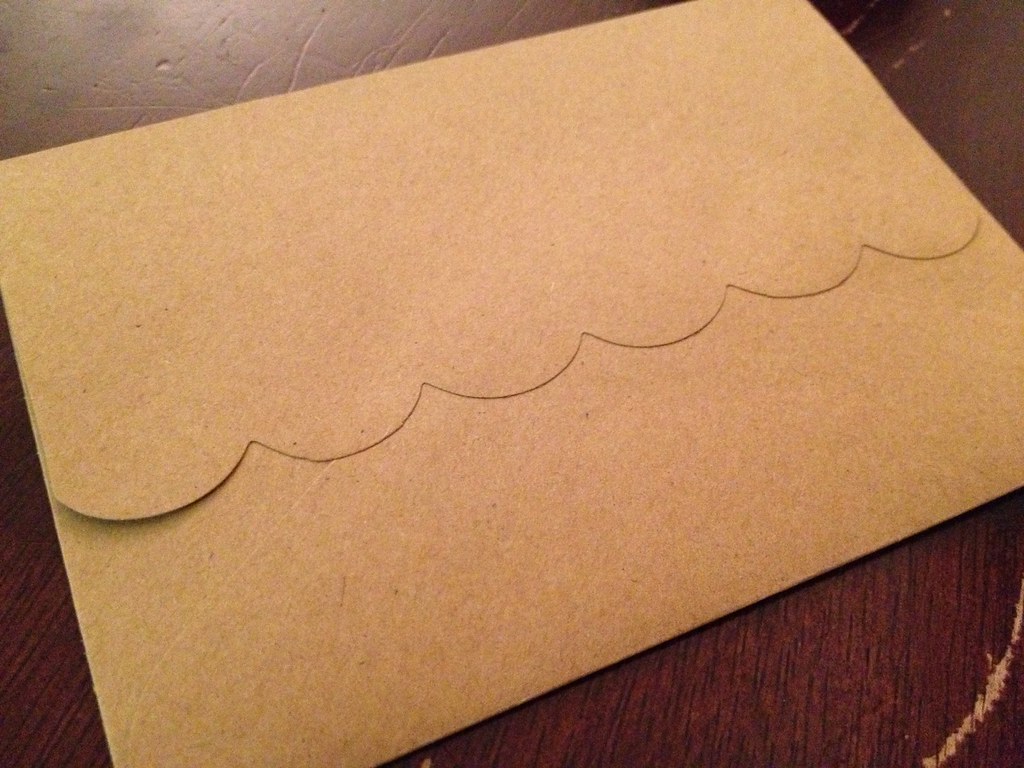
I ended up writing a few more than the original three I intended but oh well!
Sunday, December 23, 2012
DIY: Hand Harness, Two Ways
Here comes the first of the five DIY's I'm doing for my Ten Days challenge! It's also ultra-easy if you need a quick present (or two or three) for the holidays still!
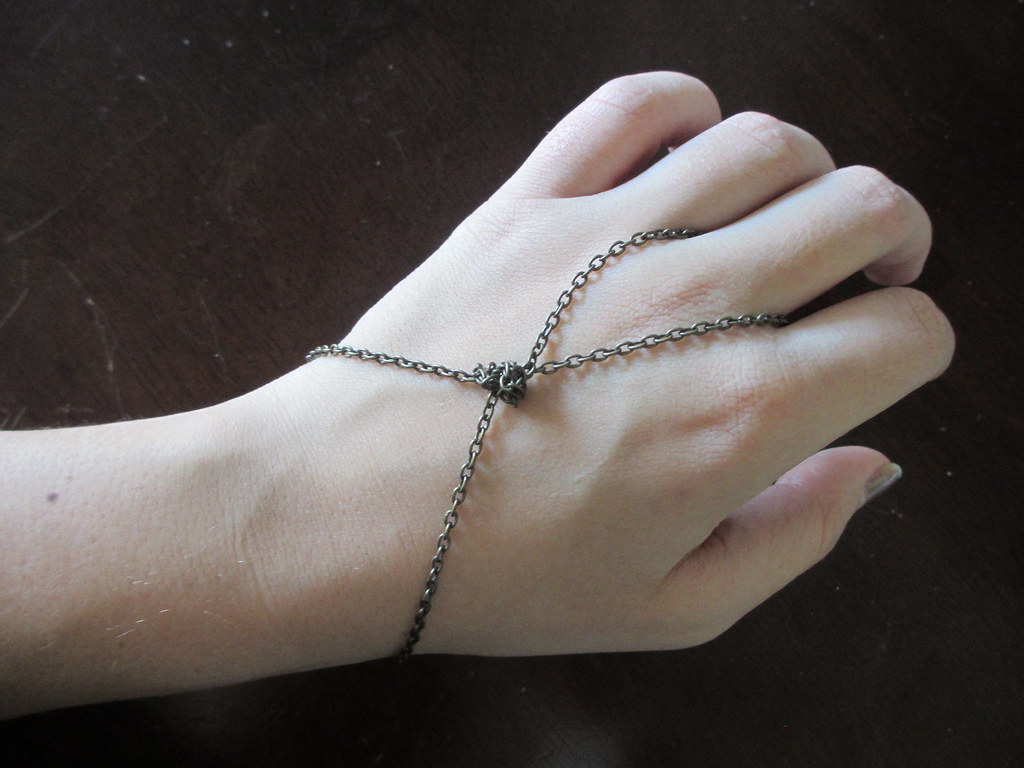
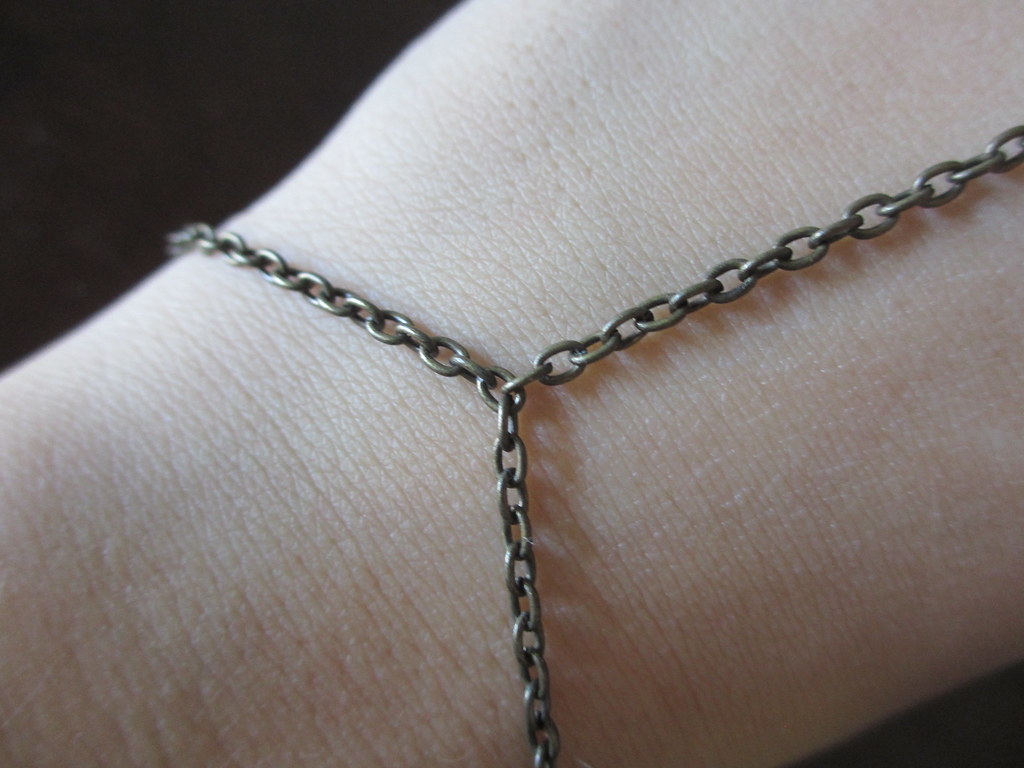
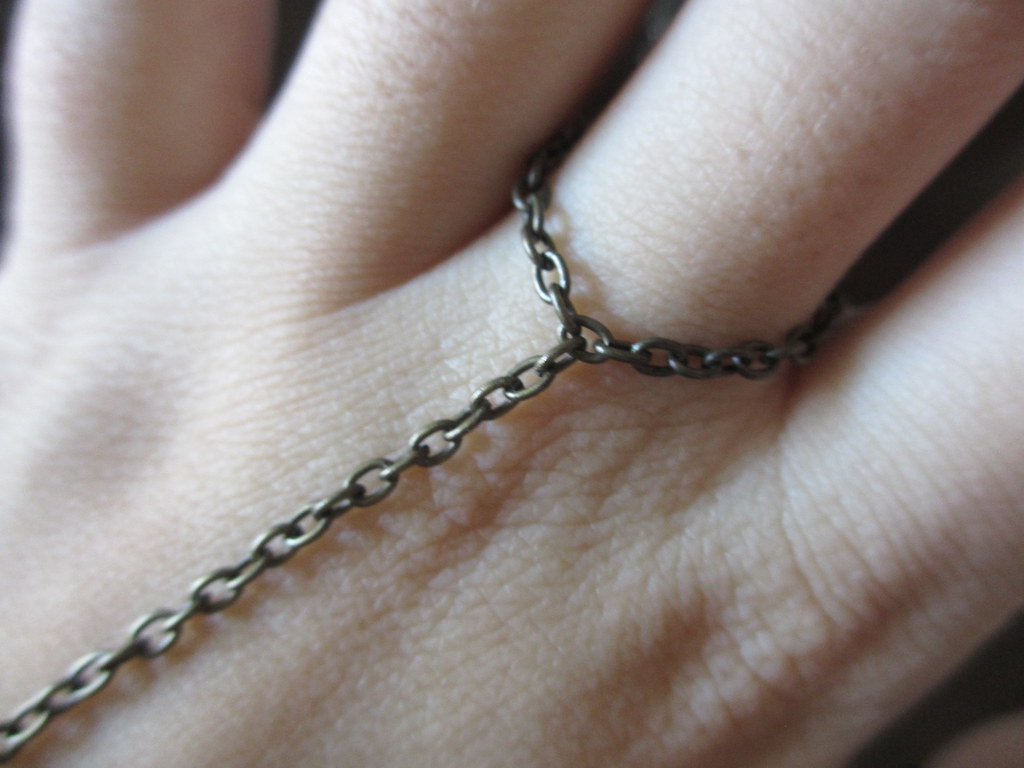
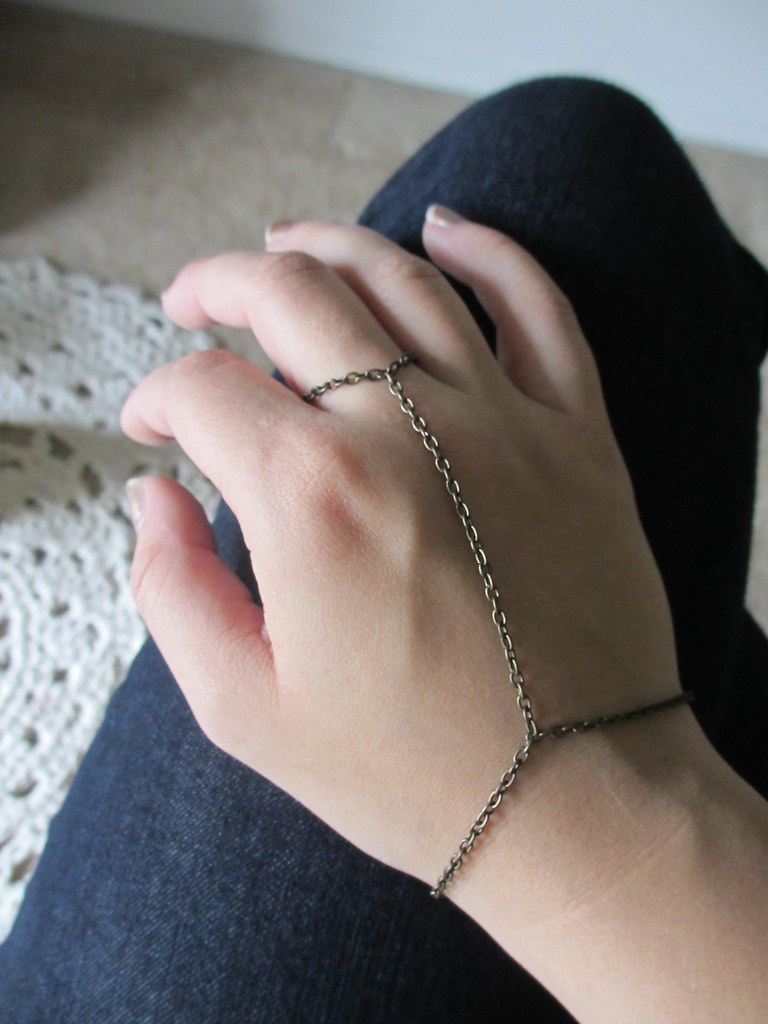
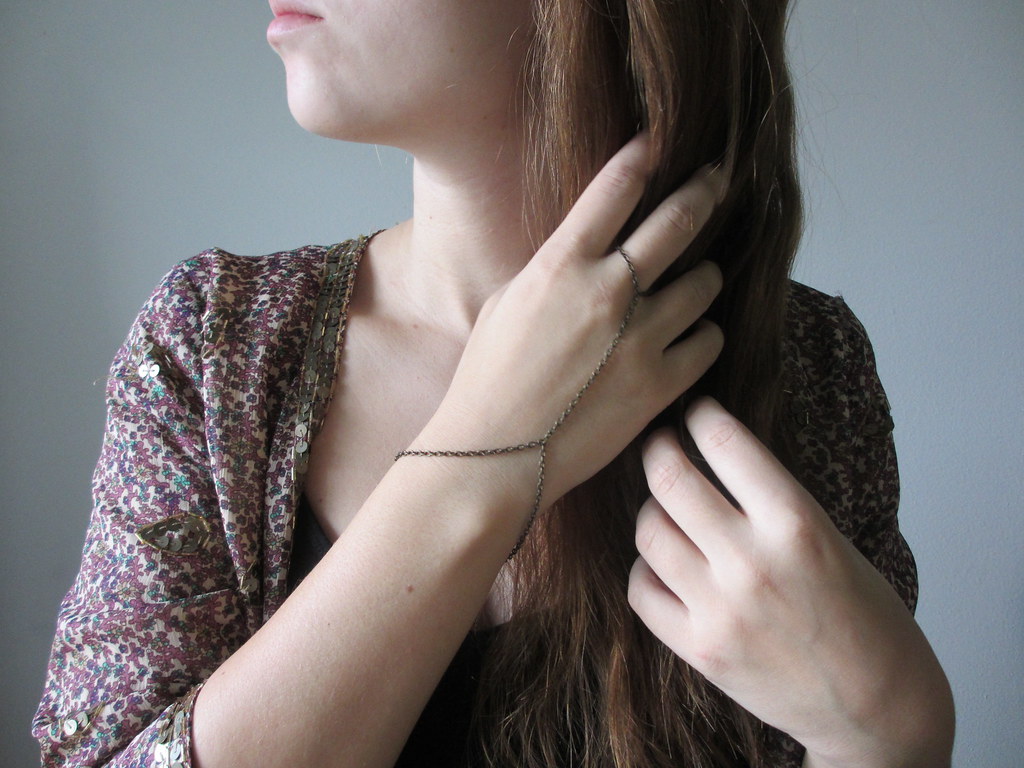
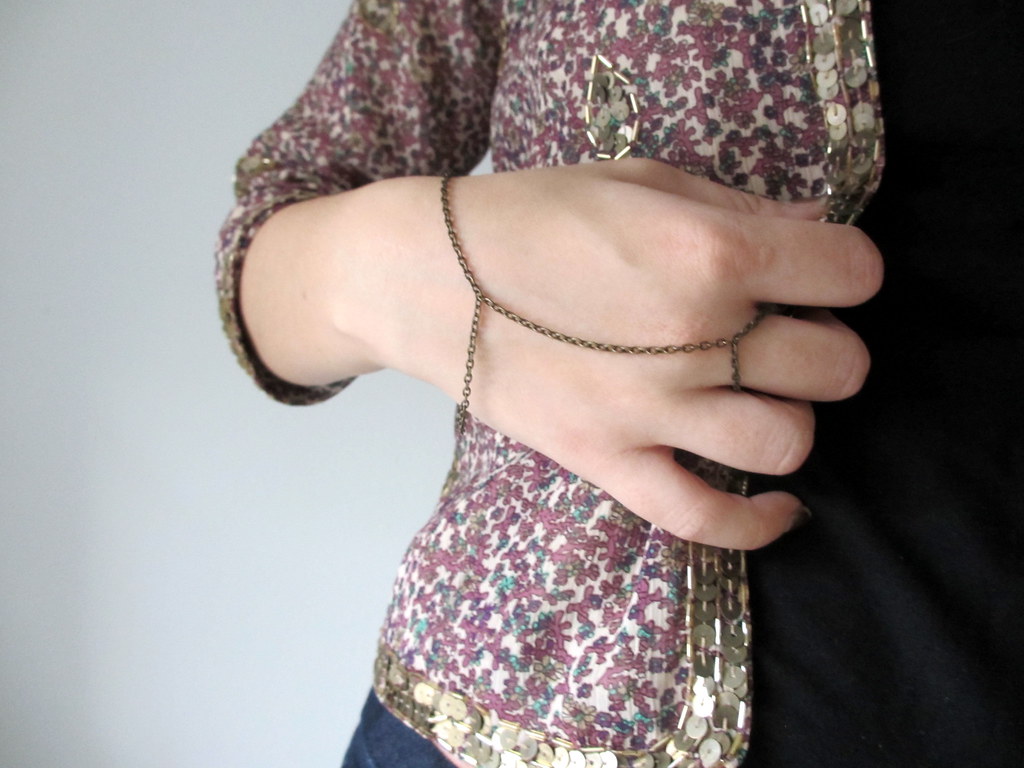
Yes, I know these things are generally called "slave bracelets". Call me too politically correct, just somehow seems a little weird and a little wrong to call them that..... Especially cause they're so dang pretty, and perfectly appeal to my earthy flowy hippie side! In any case, here's two super easy ways to create a umm..... bracelet connected to a ring.


What you need:
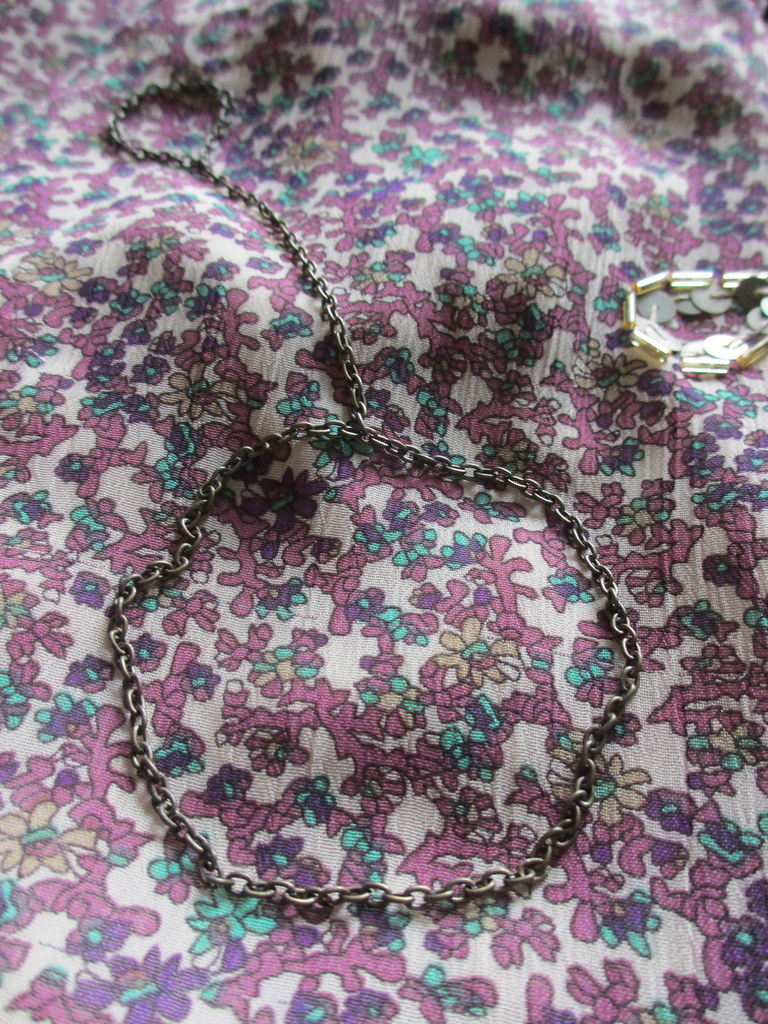
Fine chain
Jump rings (if your chain is too fine to just separate the links)
Jewelry pliers

What you do (part 1):
1) Measure a length of chain that you can easily slide onto your wrist. Make sure to leave several inches of chain on either end.

2) Create a knot in the chain.

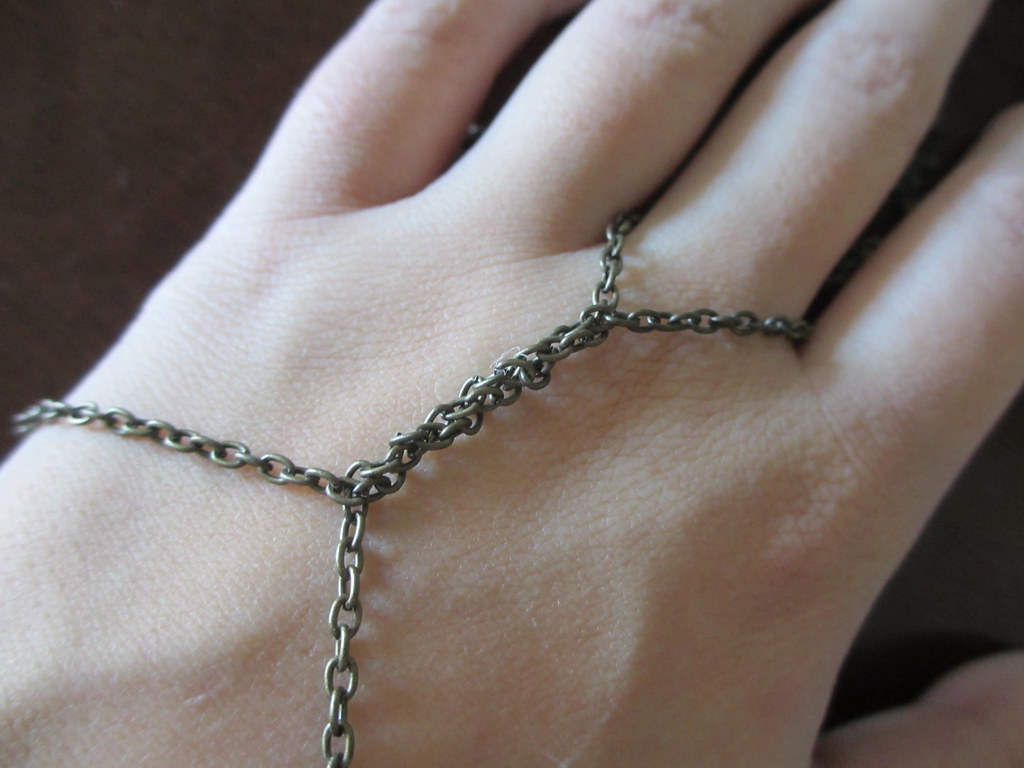
3) Connect the leftover ends of chain behind your middle finger. Keep a bit of slack so you can flex your wrist, but not so much that the whole thing will fall off.

4) You can either finish here, leaving you free to undo the knot and style the chain in other ways (I twisted the chain in the below photo), or you can add a bit of glue to the knot to keep it in place.

What you do (part 2):
1) Create a circle of chain that you can slide onto your wrist. You can add a lobster claw clasp to this version if you'd like, but I like the simplicity of just having the chain.
2) Create another circle of chain that you can slide onto your middle finger (or two or three fingers if you want a more dramatic look).


3) Connect the ring circle(s) with another chain to the bracelet, again leaving some slack so you can flex your wrist easily.


And this step is where you can get creative - you don't just have to have one ring, one bracelet, one chain! Play around with how many rings and how you want it all connected: braid some chains together, spread them out, attach one ring with a bunch of chains... I didn't have enough chain, but I thought a "feathered" look like this would be pretty.


Yes, I know these things are generally called "slave bracelets". Call me too politically correct, just somehow seems a little weird and a little wrong to call them that..... Especially cause they're so dang pretty, and perfectly appeal to my earthy flowy hippie side! In any case, here's two super easy ways to create a umm..... bracelet connected to a ring.

What you need:
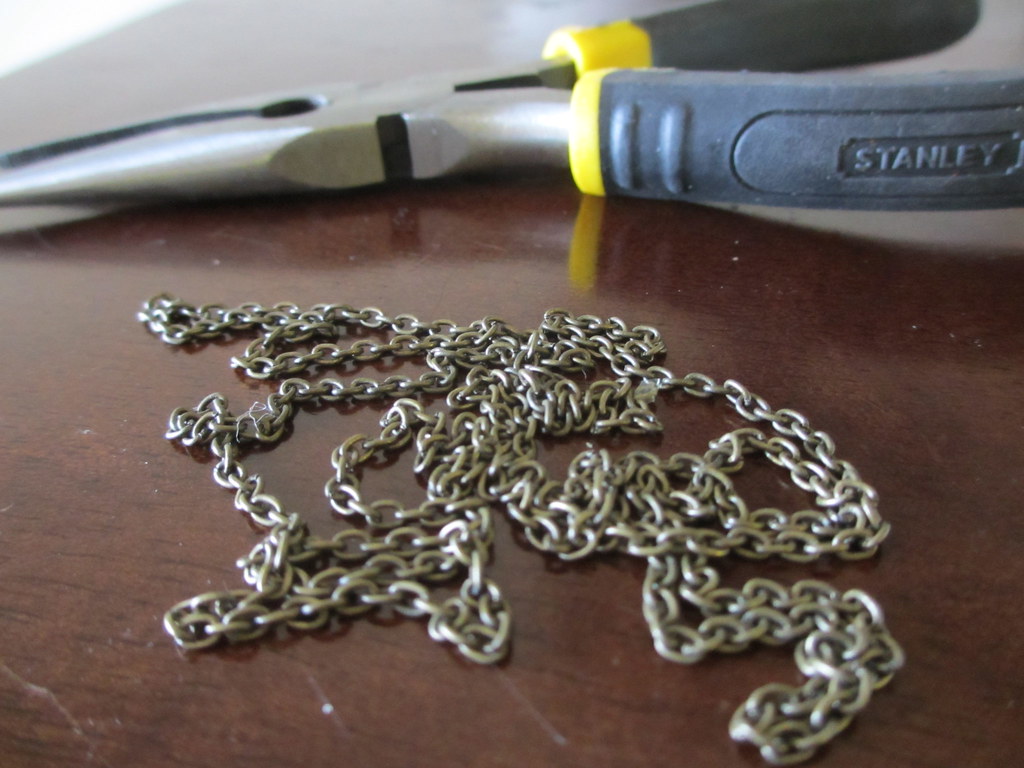
Fine chain
Jump rings (if your chain is too fine to just separate the links)
Jewelry pliers
What you do (part 1):
1) Measure a length of chain that you can easily slide onto your wrist. Make sure to leave several inches of chain on either end.
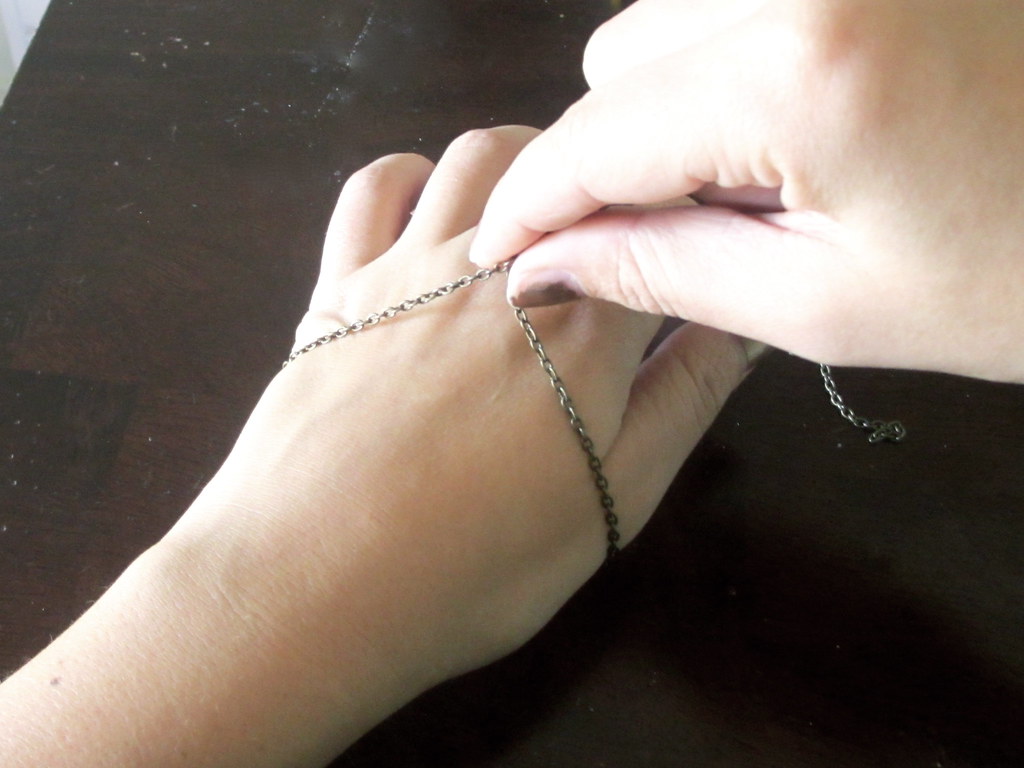
2) Create a knot in the chain.
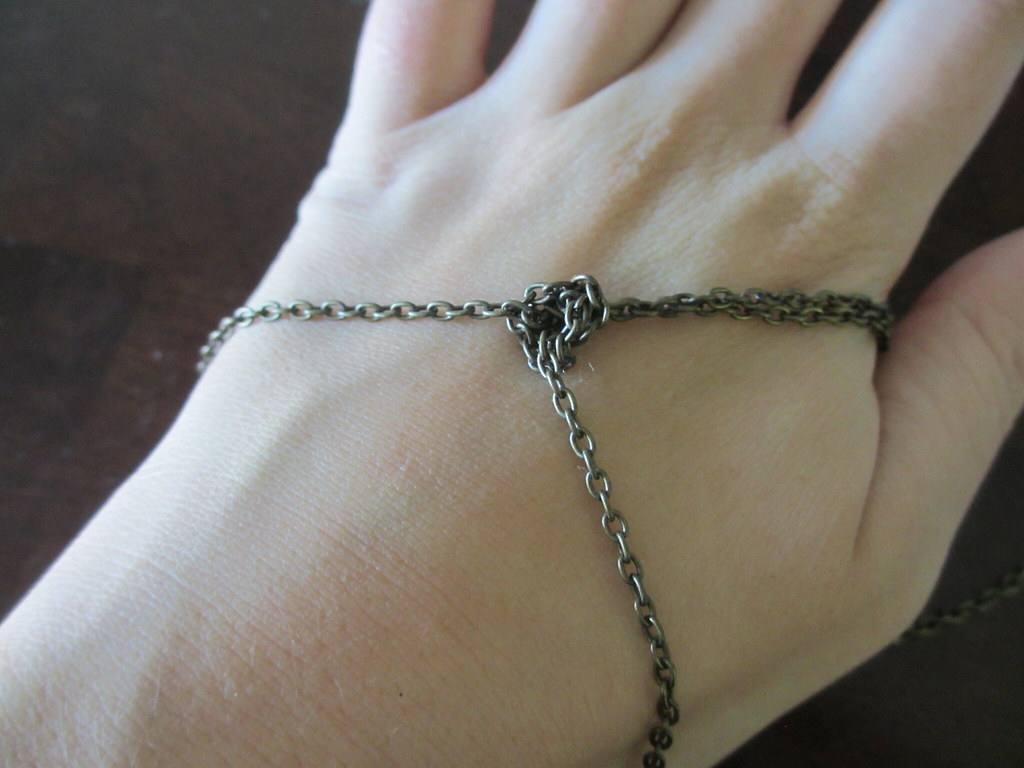
3) Connect the leftover ends of chain behind your middle finger. Keep a bit of slack so you can flex your wrist, but not so much that the whole thing will fall off.

4) You can either finish here, leaving you free to undo the knot and style the chain in other ways (I twisted the chain in the below photo), or you can add a bit of glue to the knot to keep it in place.
What you do (part 2):
1) Create a circle of chain that you can slide onto your wrist. You can add a lobster claw clasp to this version if you'd like, but I like the simplicity of just having the chain.
2) Create another circle of chain that you can slide onto your middle finger (or two or three fingers if you want a more dramatic look).
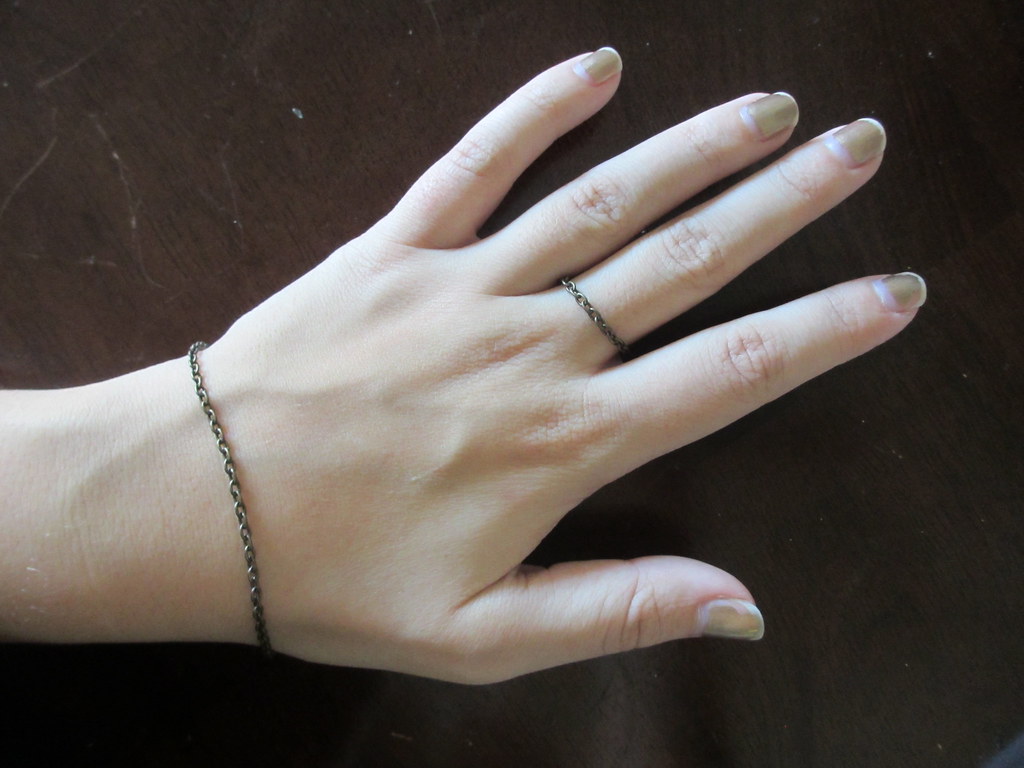
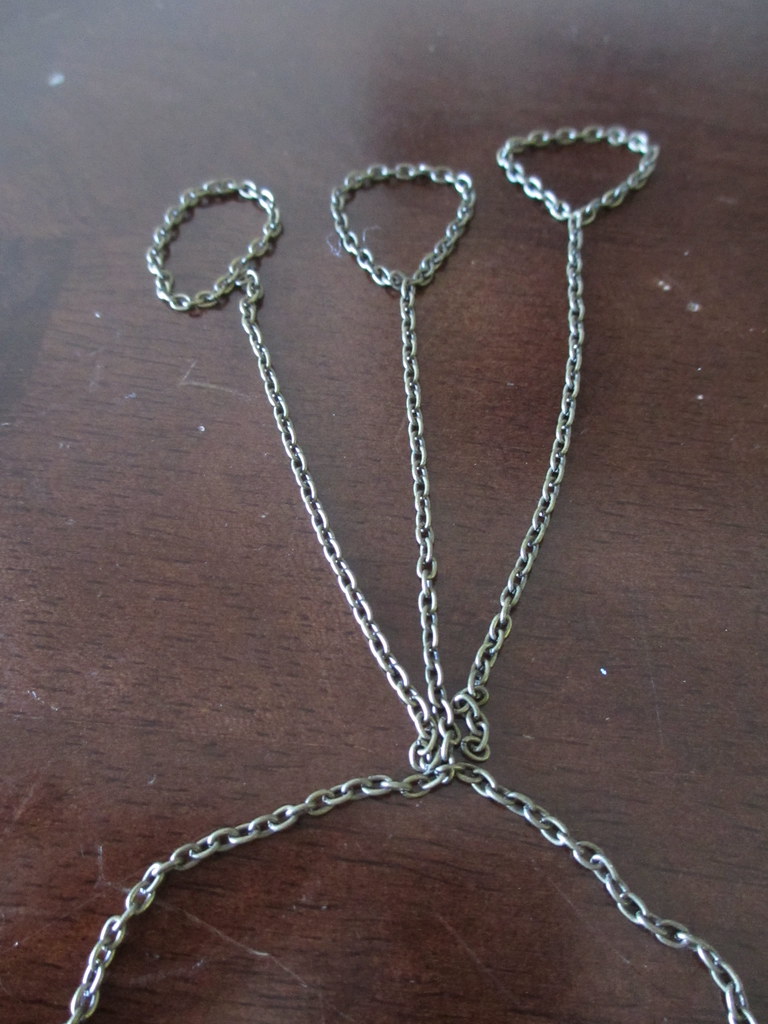
3) Connect the ring circle(s) with another chain to the bracelet, again leaving some slack so you can flex your wrist easily.
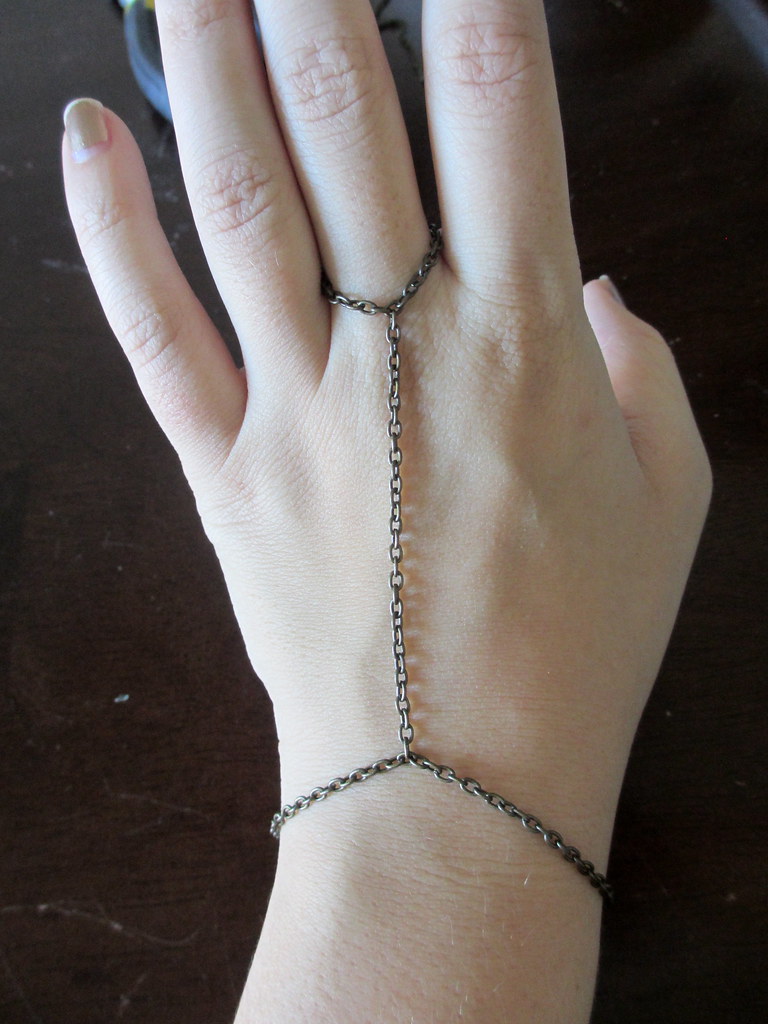
And this step is where you can get creative - you don't just have to have one ring, one bracelet, one chain! Play around with how many rings and how you want it all connected: braid some chains together, spread them out, attach one ring with a bunch of chains... I didn't have enough chain, but I thought a "feathered" look like this would be pretty.

4) Done!
Subscribe to:
Posts (Atom)