Showing posts with label holiday. Show all posts

Sunday, December 23, 2012

DIY: Hand Harness, Two Ways

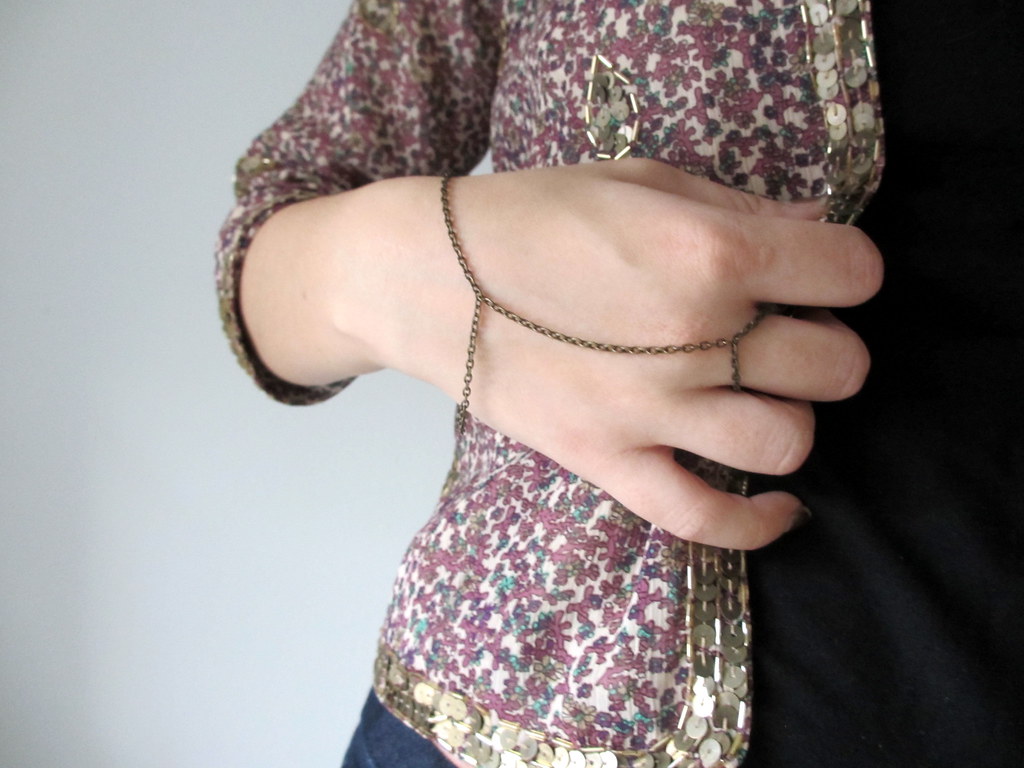
Here comes the first of the five DIY's I'm doing for my Ten Days challenge! It's also ultra-easy if you need a quick present (or two or three) for the holidays still!

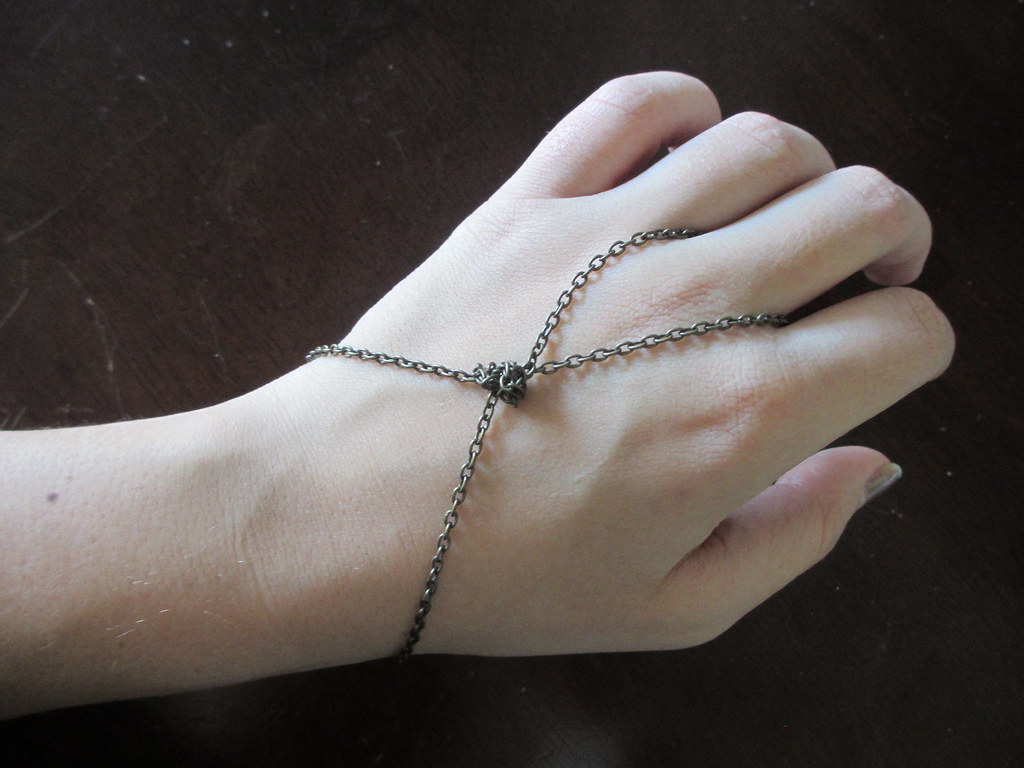
Yes, I know these things are generally called "slave bracelets". Call me too politically correct, just somehow seems a little weird and a little wrong to call them that..... Especially cause they're so dang pretty, and perfectly appeal to my earthy flowy hippie side! In any case, here's two super easy ways to create a umm..... bracelet connected to a ring.

What you need:
Fine chain
Jump rings (if your chain is too fine to just separate the links)
Jewelry pliers
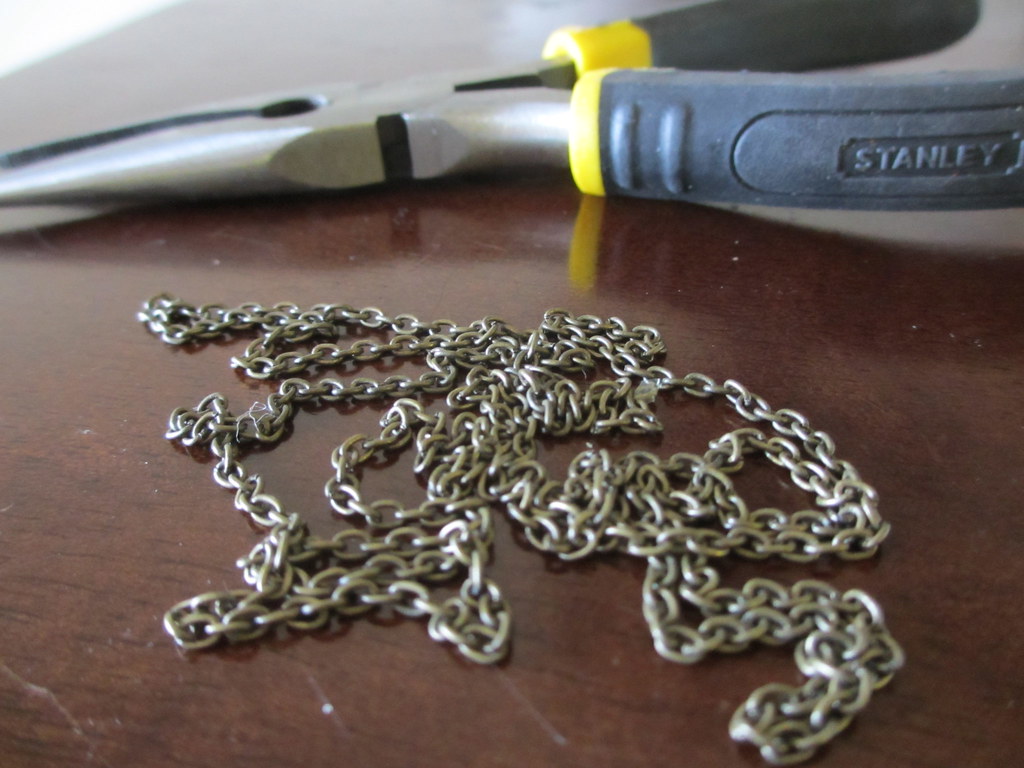
What you do (part 1):
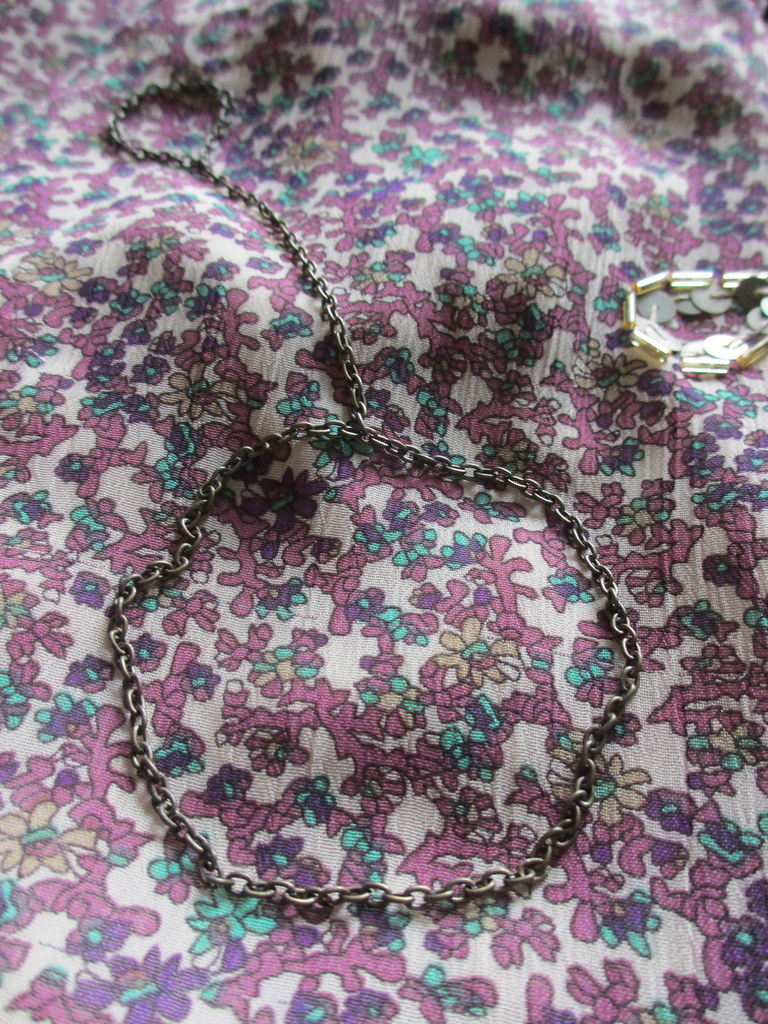
1) Measure a length of chain that you can easily slide onto your wrist. Make sure to leave several inches of chain on either end.
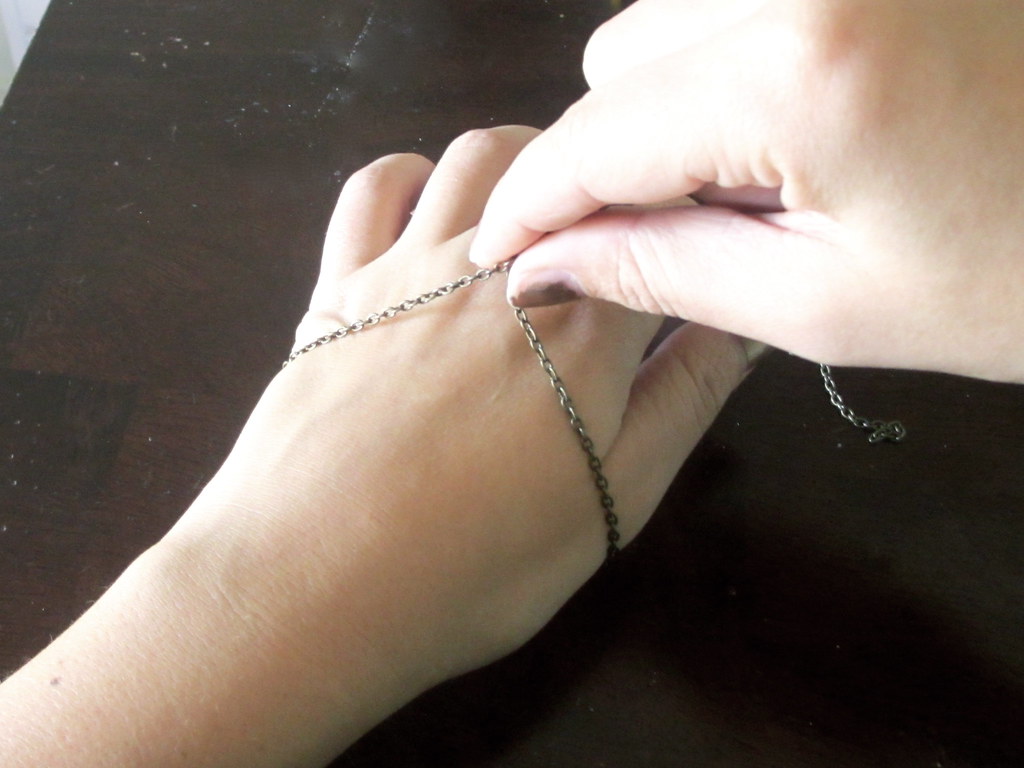
2) Create a knot in the chain.
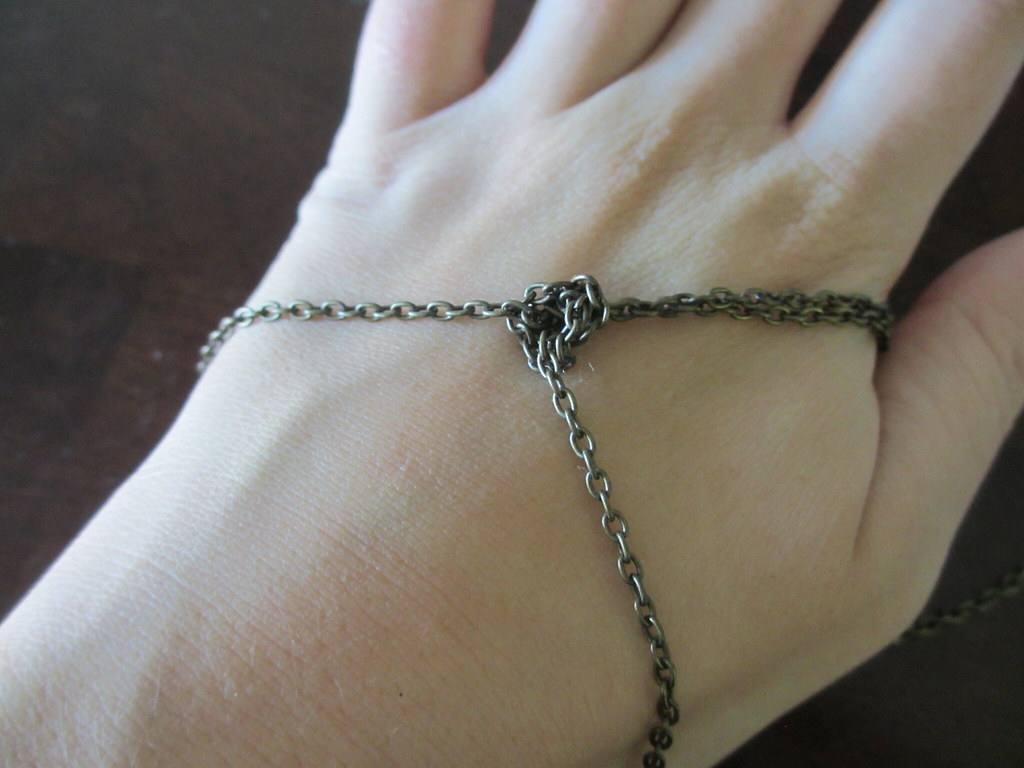
3) Connect the leftover ends of chain behind your middle finger. Keep a bit of slack so you can flex your wrist, but not so much that the whole thing will fall off.

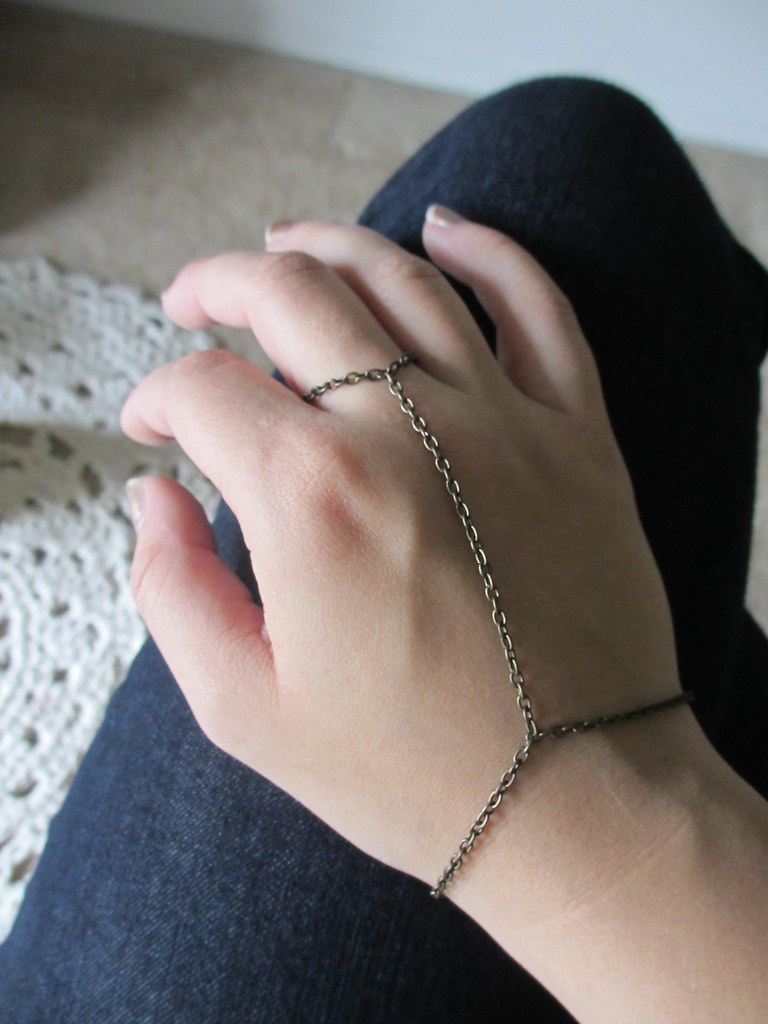
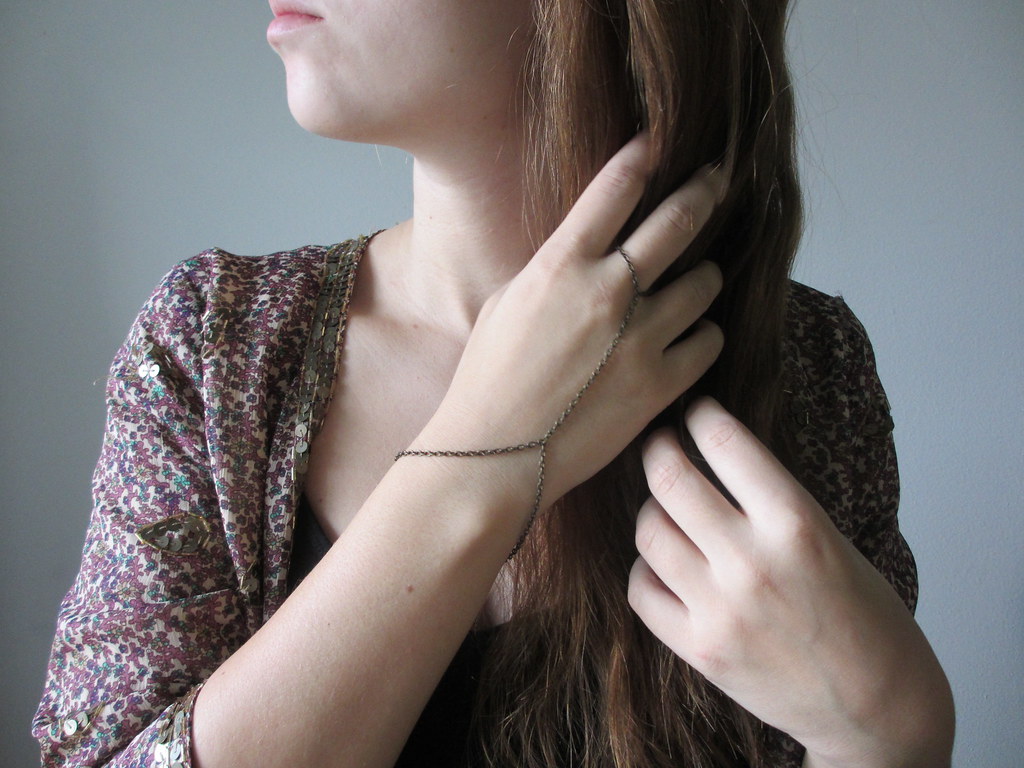
4) You can either finish here, leaving you free to undo the knot and style the chain in other ways (I twisted the chain in the below photo), or you can add a bit of glue to the knot to keep it in place.
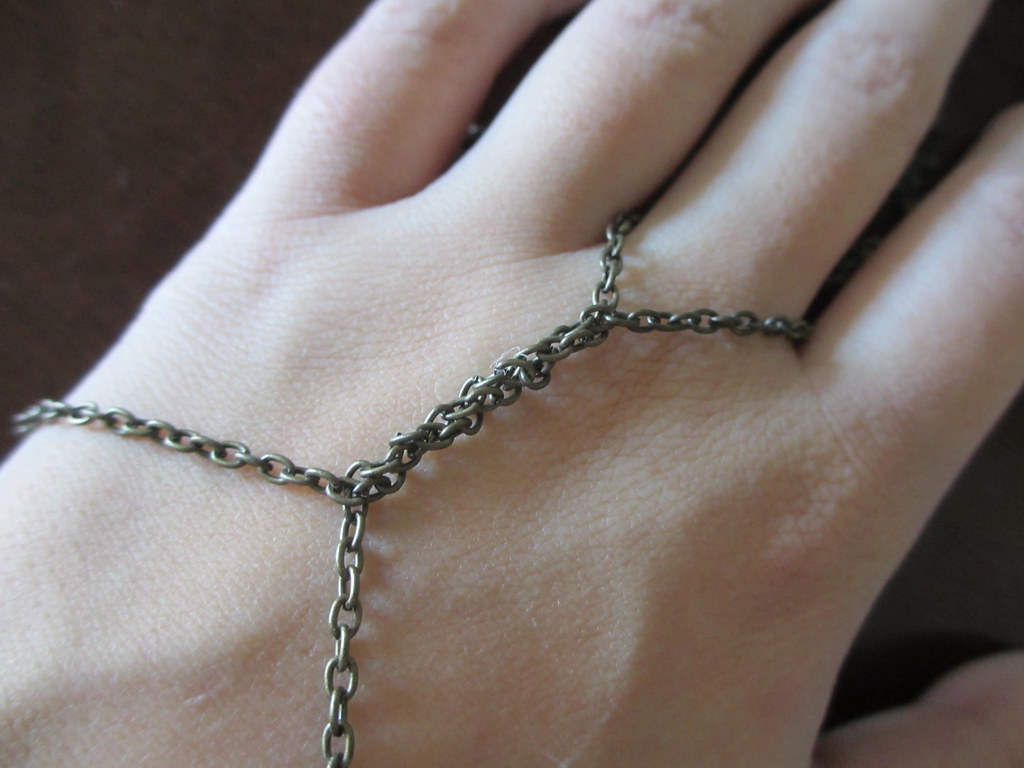


What you do (part 2):
1) Create a circle of chain that you can slide onto your wrist. You can add a lobster claw clasp to this version if you'd like, but I like the simplicity of just having the chain.

2) Create another circle of chain that you can slide onto your middle finger (or two or three fingers if you want a more dramatic look).
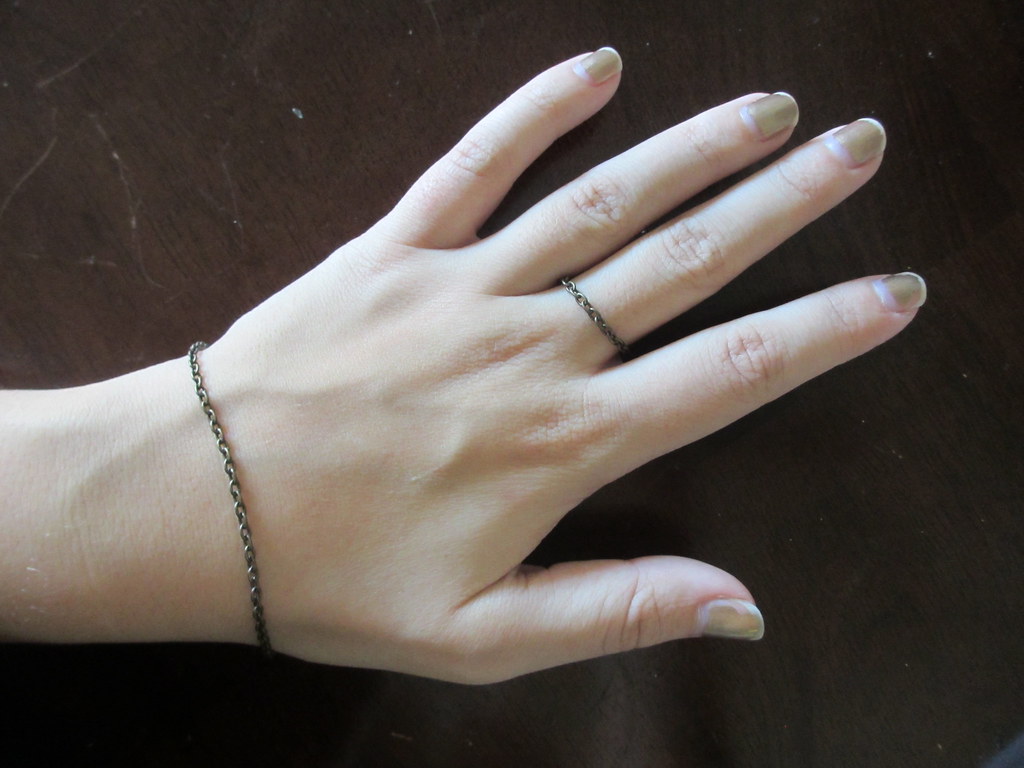
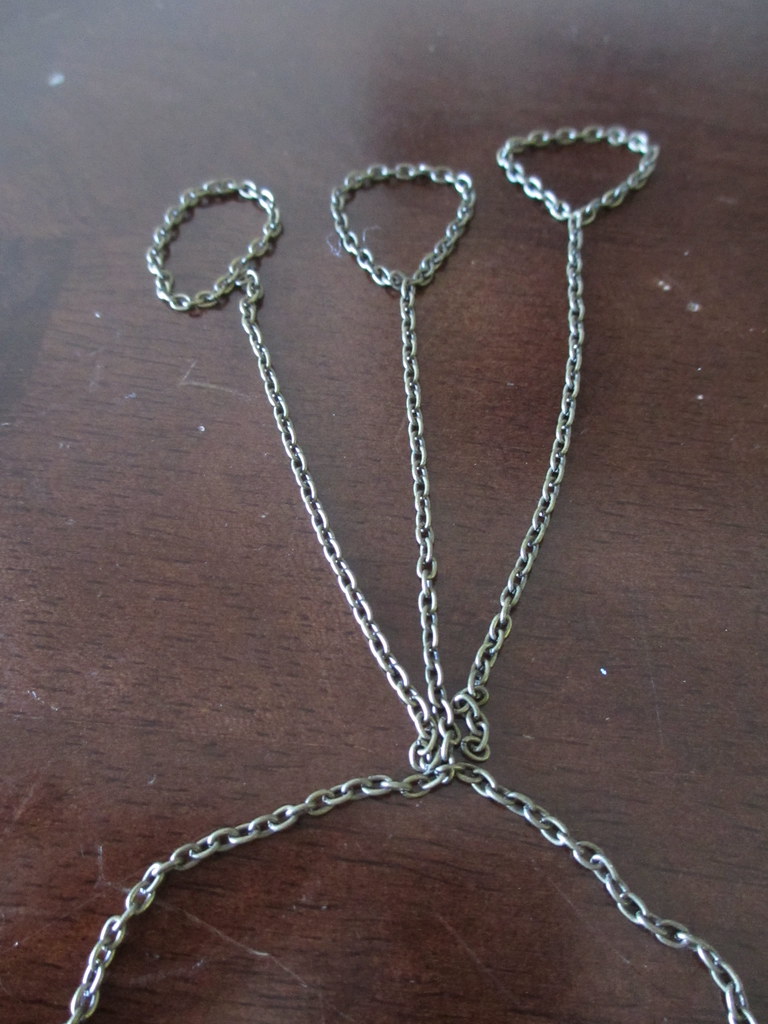
3) Connect the ring circle(s) with another chain to the bracelet, again leaving some slack so you can flex your wrist easily.
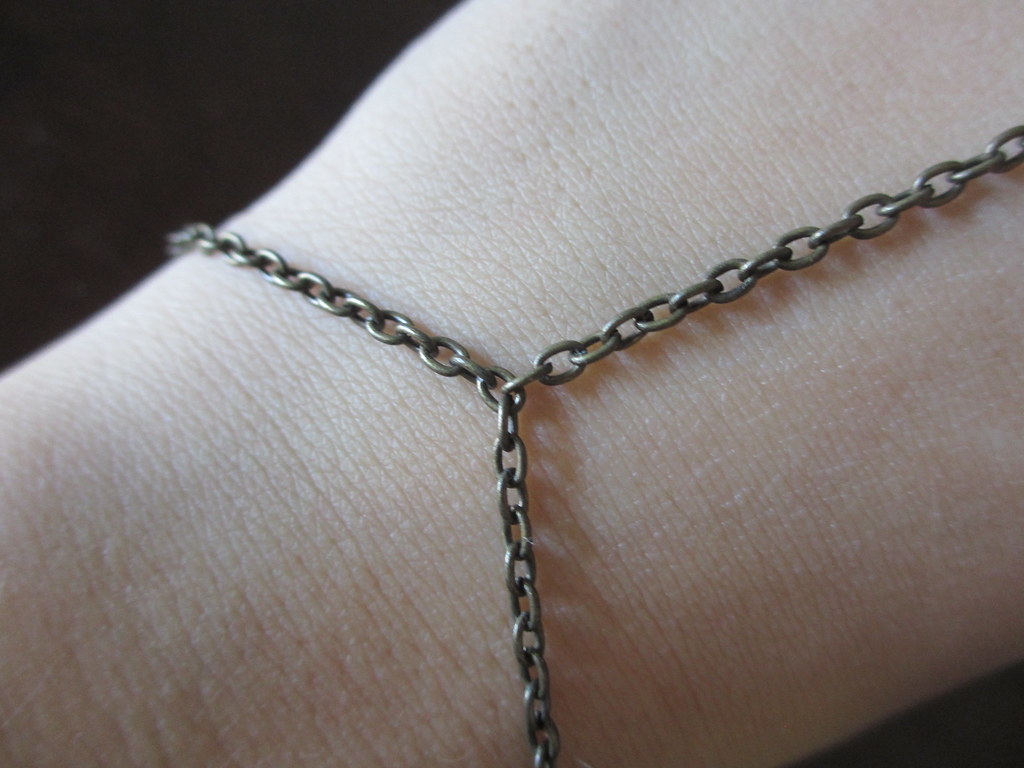
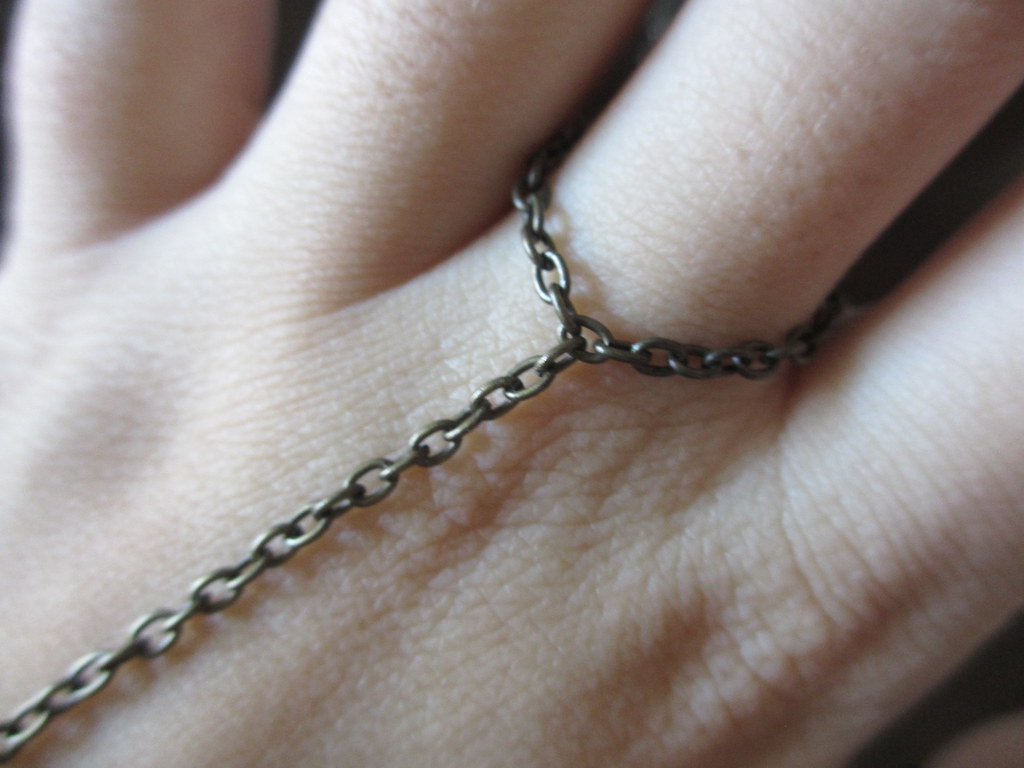
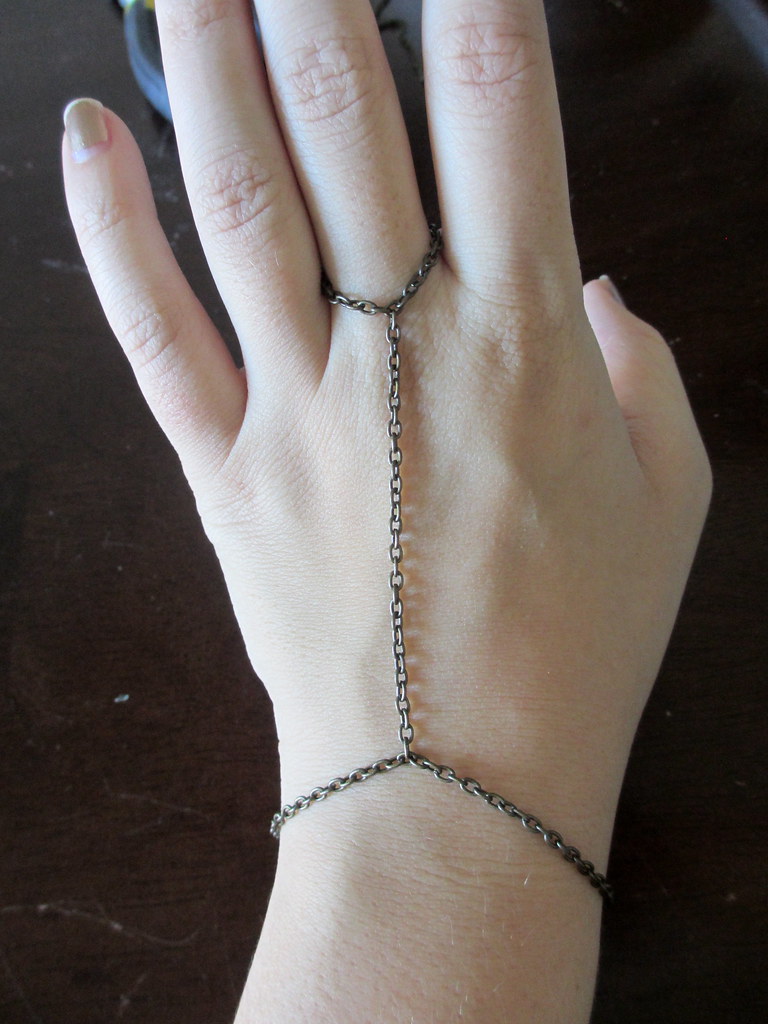
And this step is where you can get creative - you don't just have to have one ring, one bracelet, one chain! Play around with how many rings and how you want it all connected: braid some chains together, spread them out, attach one ring with a bunch of chains... I didn't have enough chain, but I thought a "feathered" look like this would be pretty.

4) Done!
Wednesday, December 12, 2012

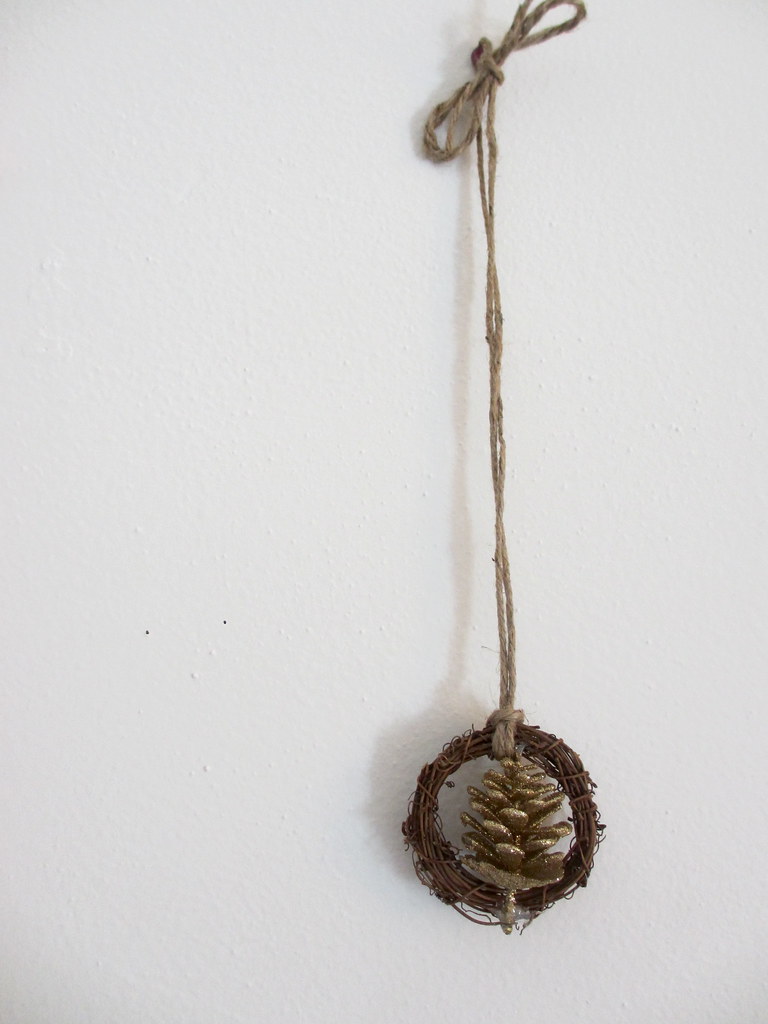
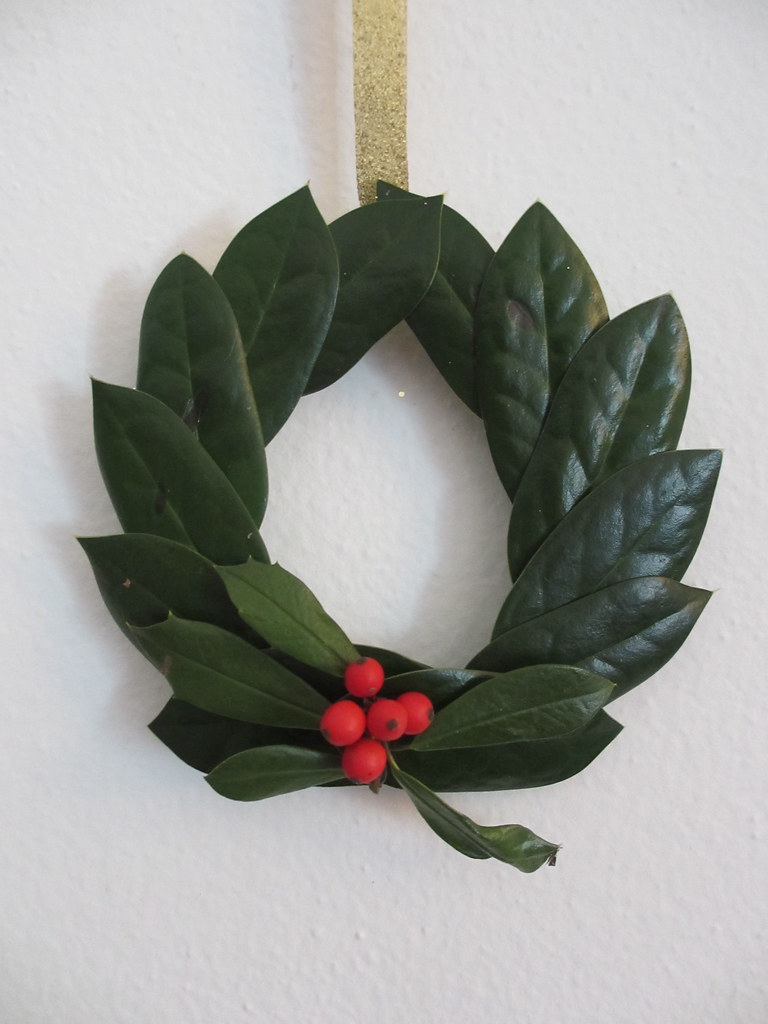
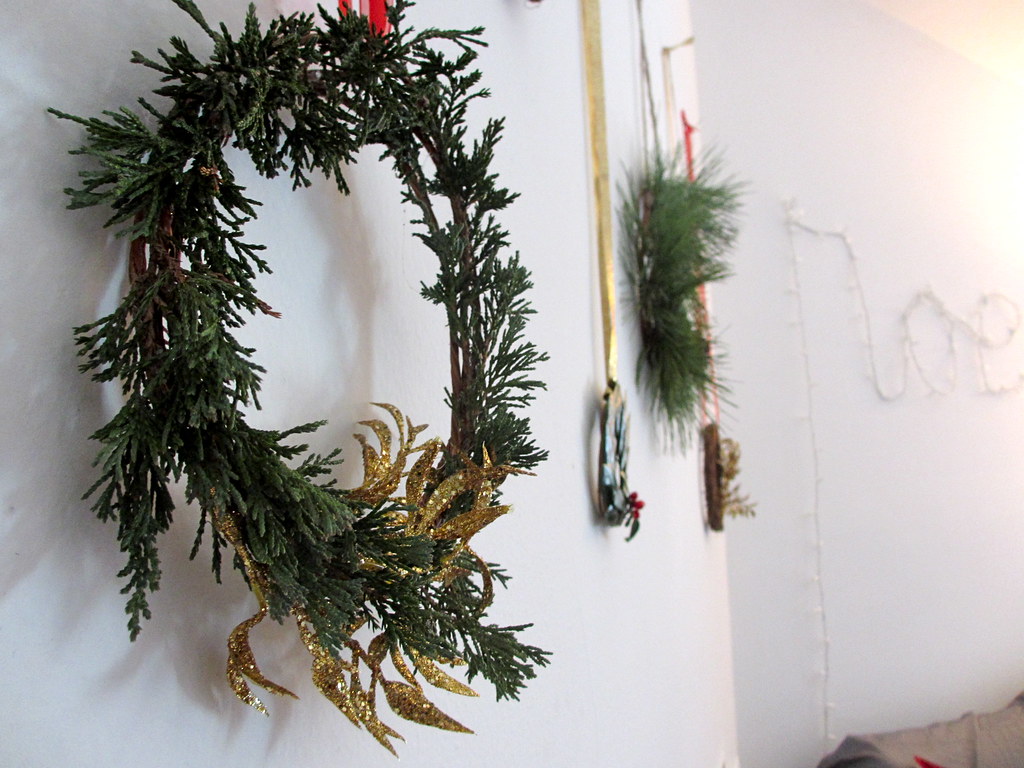
DIY Home: Mini Wreaths

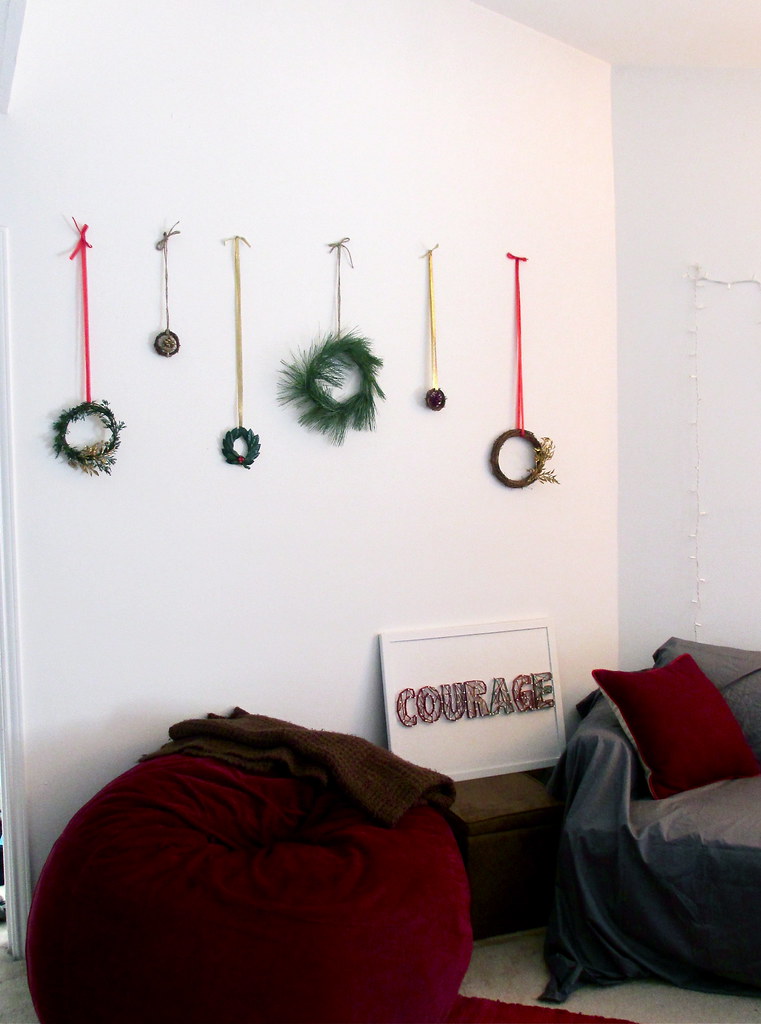
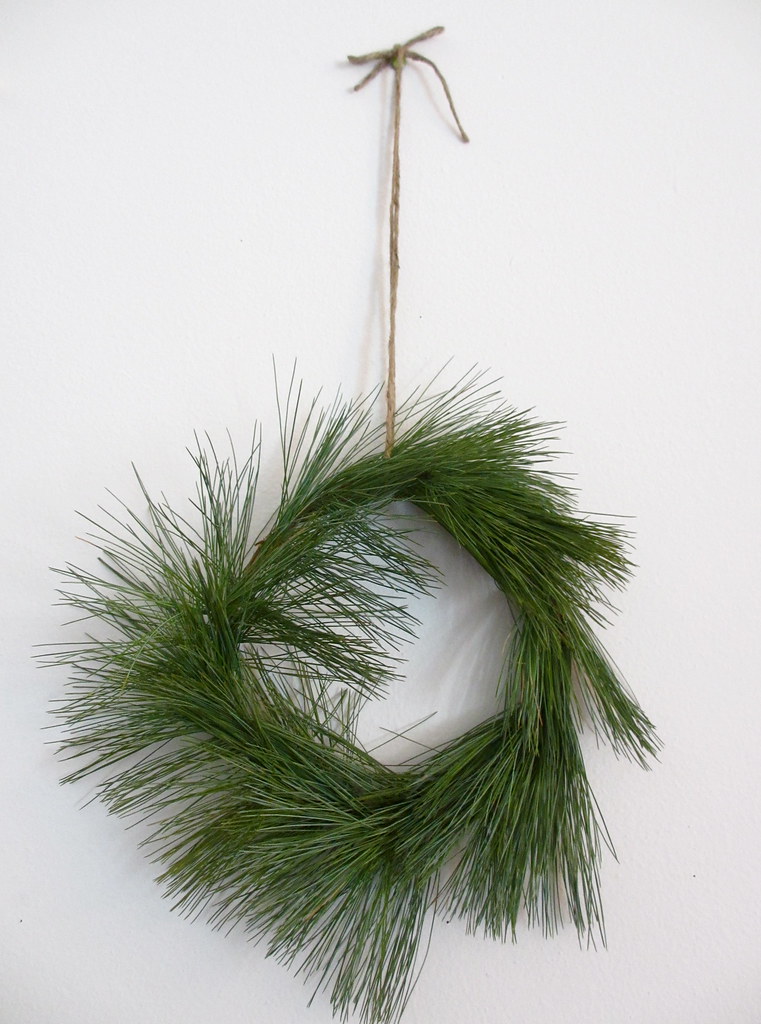
My absolute favorite thing about the holidays is that I have an excuse to drag a giant pine tree into my house and put shiny things all over it. Unfortunately, a tree is slightly outside my budget and available square footage this year so I've had to opt for smaller and less damaging ways to celebrate. This has led to a minor obsession with anything mini and green (I'm sure there are dirty jokes a-plenty that could go here, but refrain yourselves. or not). So, like promised, here's another really great way to decorate for the holidays on a budget, when confined to a tiny apartment!

What you need:
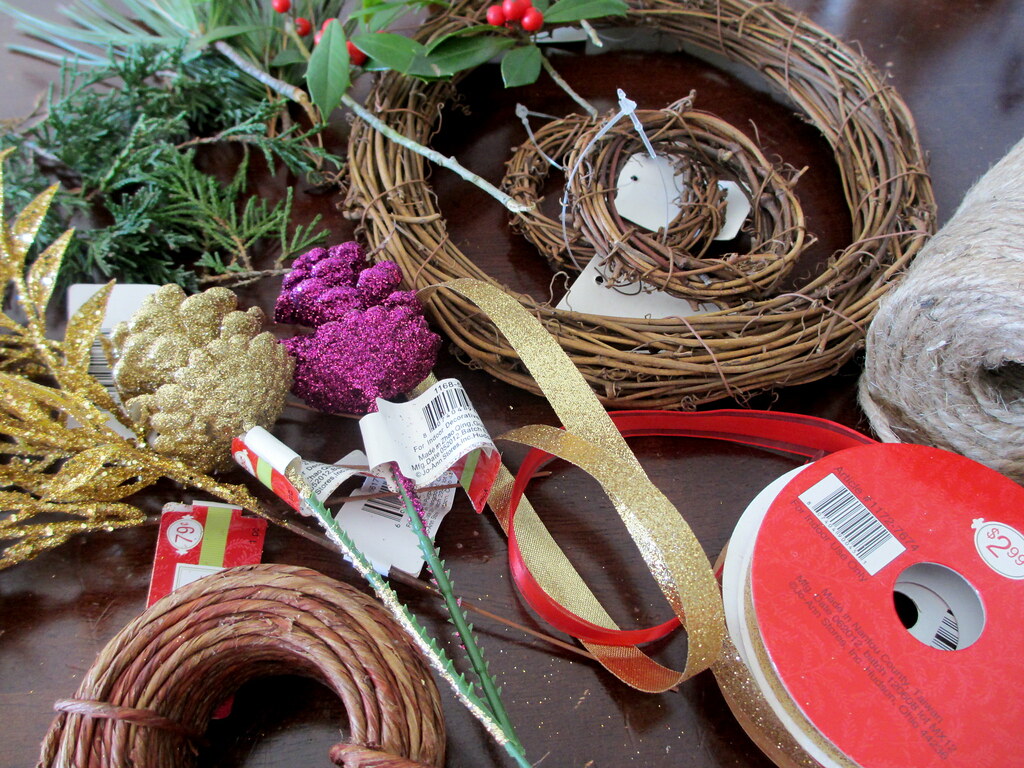
A variety of leaves, pine needle bunches, holly branches, etc.
Glittery faux pinecones, leaves, flowers, etc.
Floral twine (basically wire wrapped in natural-colored twine)
Festive ribbon, twine, or yarn
Hot glue gun
Leaves and branches (unknowingly) courtesy of my dad's backyard - (thanks Dad!)

What you do:
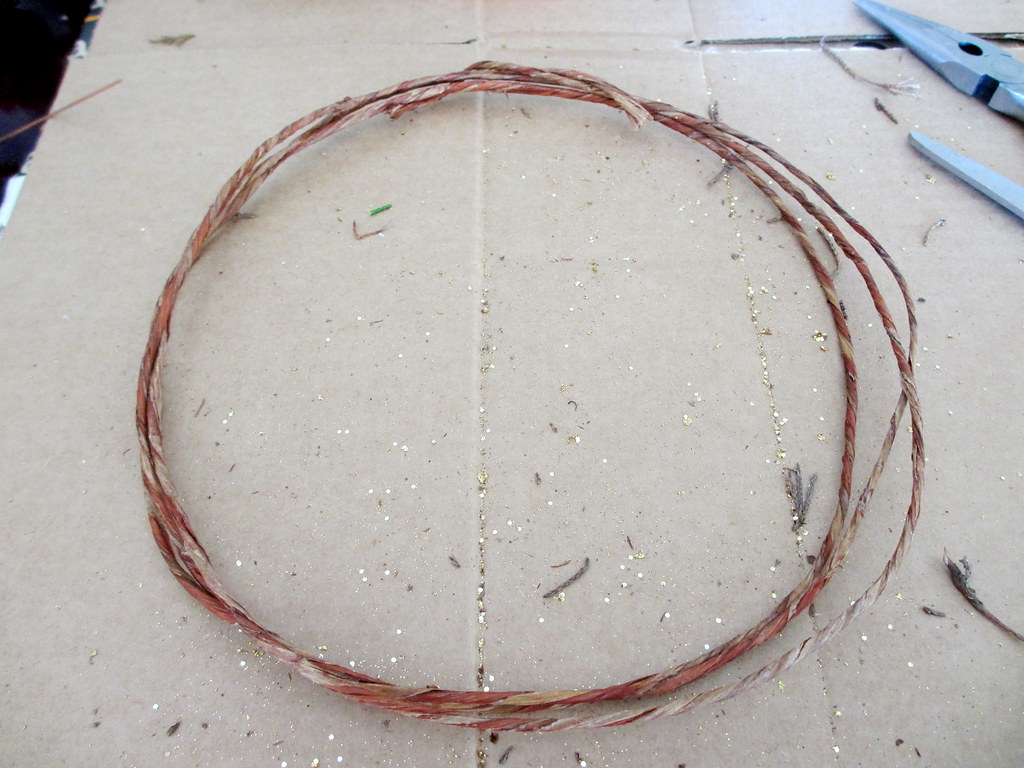
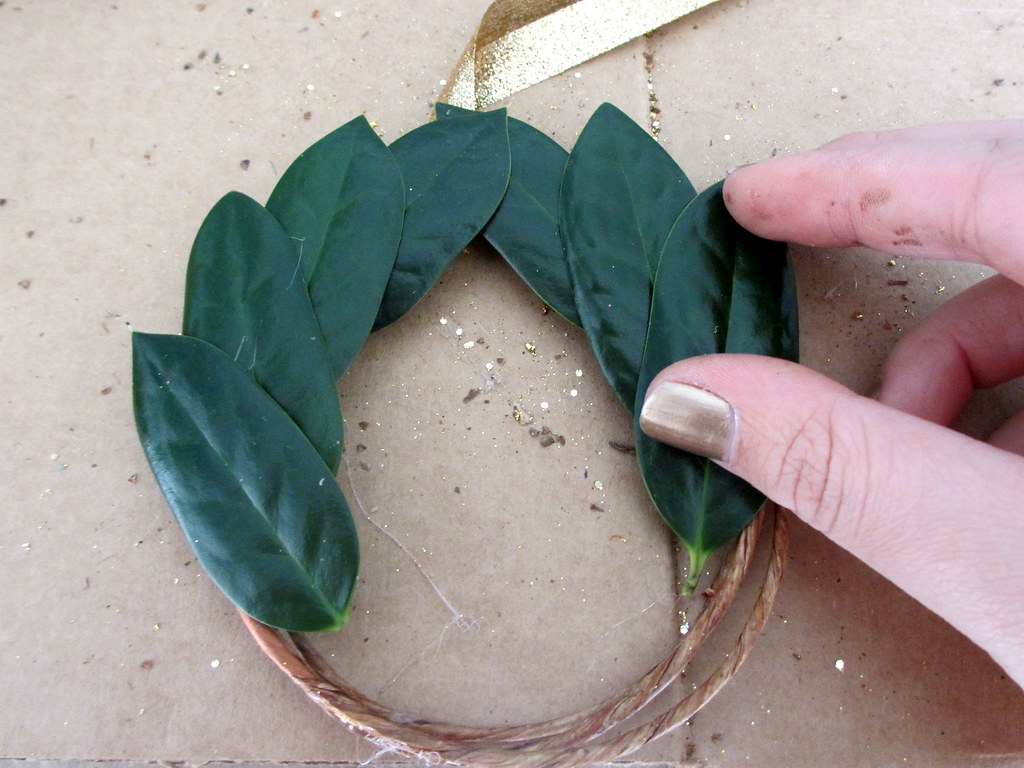
1) Make your wreath base by wrapping the floral twine into a circle three or four times. It's actually helpful if it isn't completely perfect, so you have more of a base to glue things on later. (Note: you can totally buy "premade" wreath bases, but they're much more expensive and not as customizable as just getting floral twine)

2) Squish the twine circles flat and hot glue gun the strands together at a few points around the circle so it stays more or less that way.

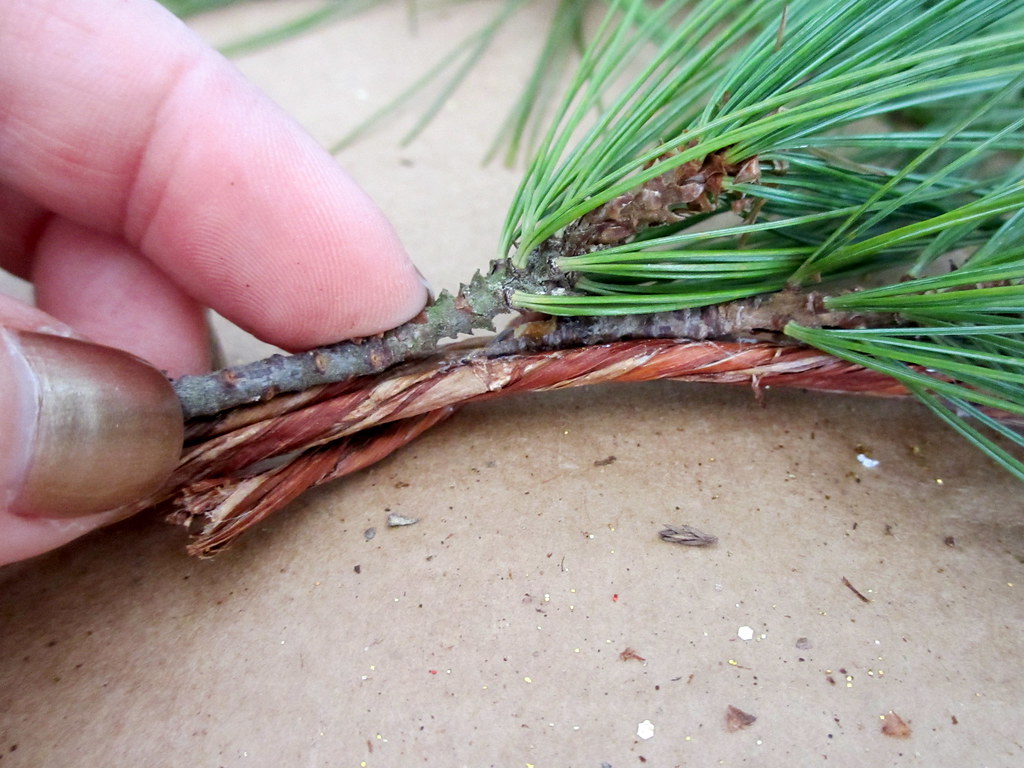
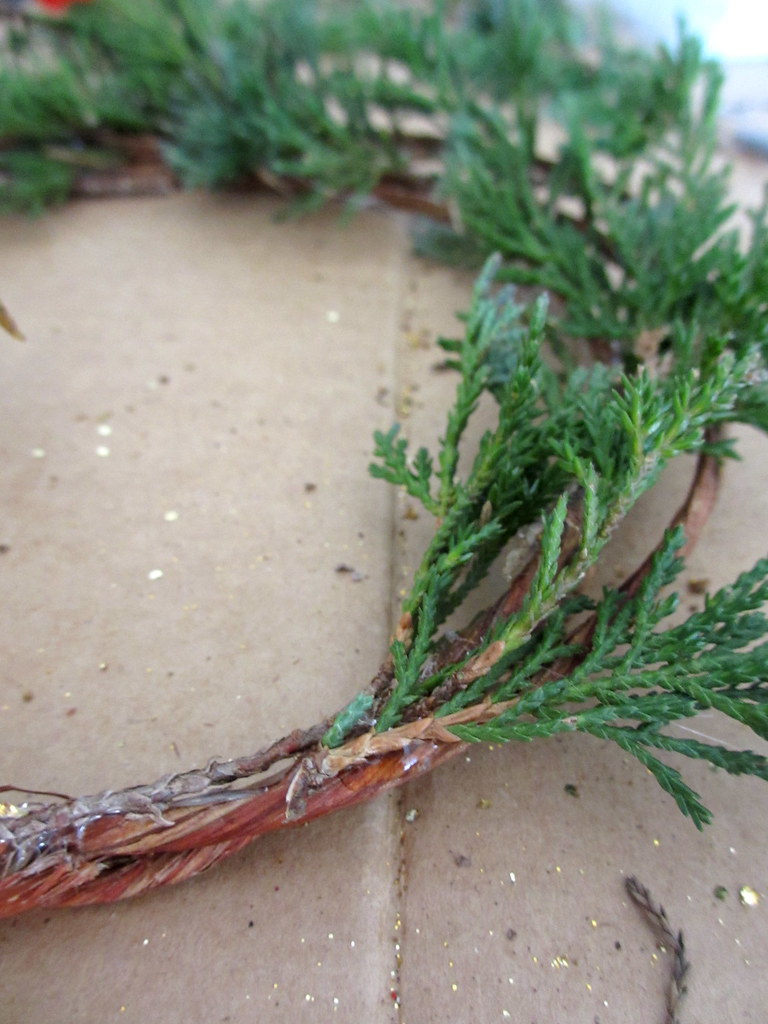
3) Start gluing leaves/branches/glitter onto branches, making sure to overlap them so the stems don't show.
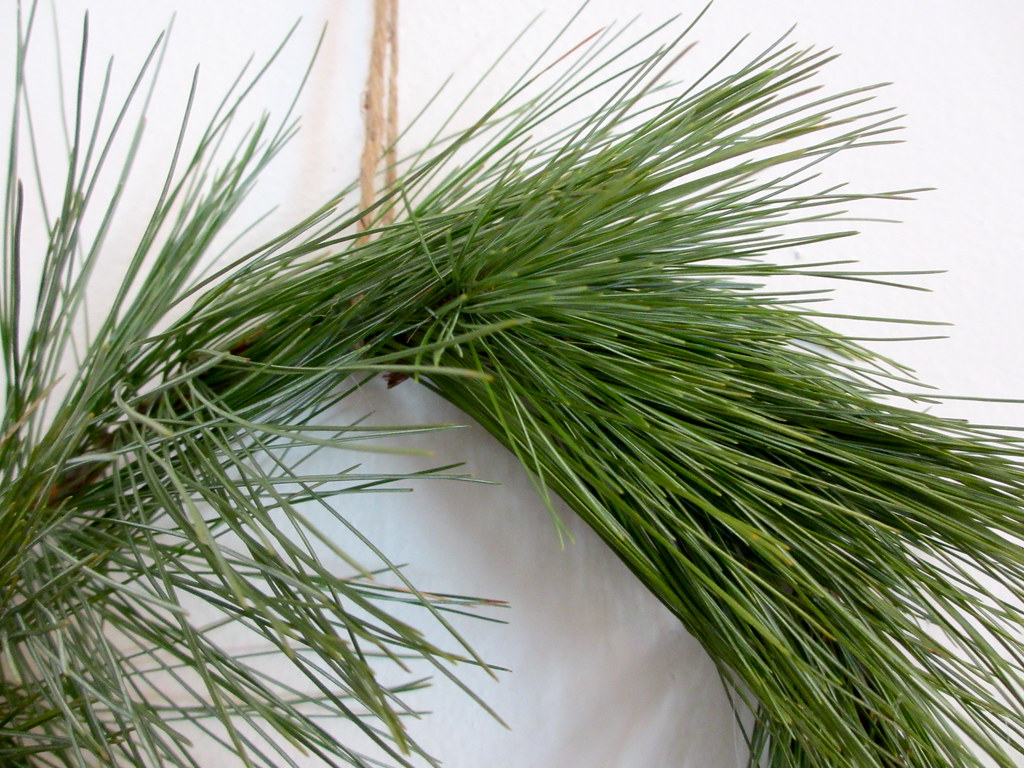
excuse my fingers... pine needle sap...

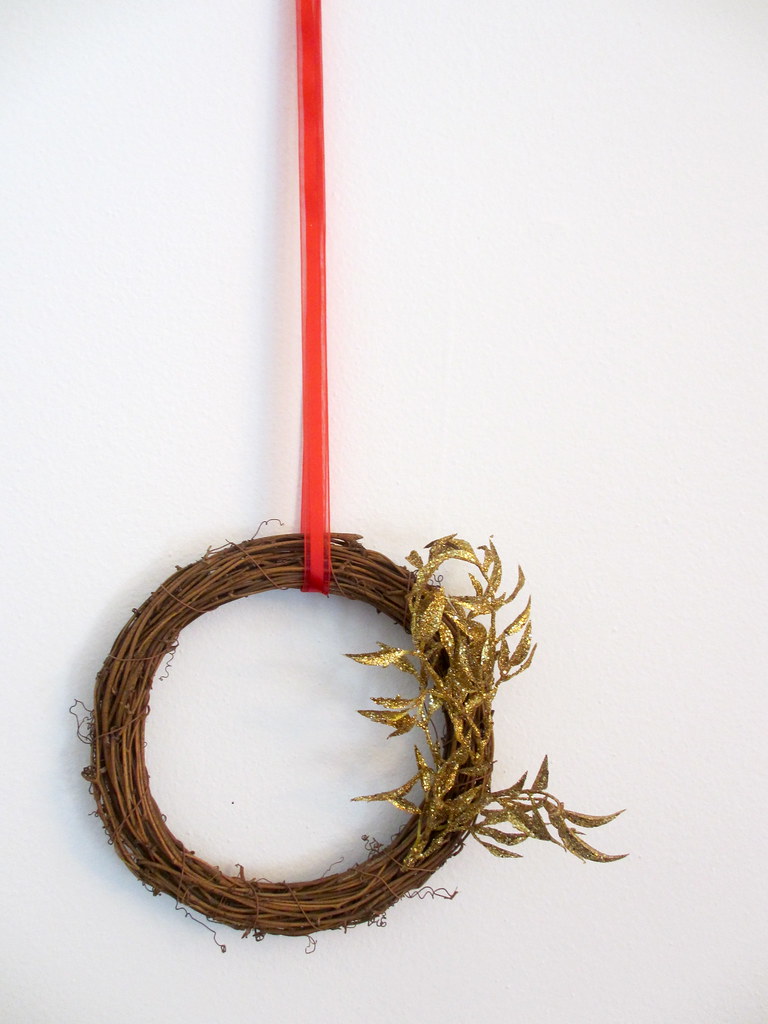
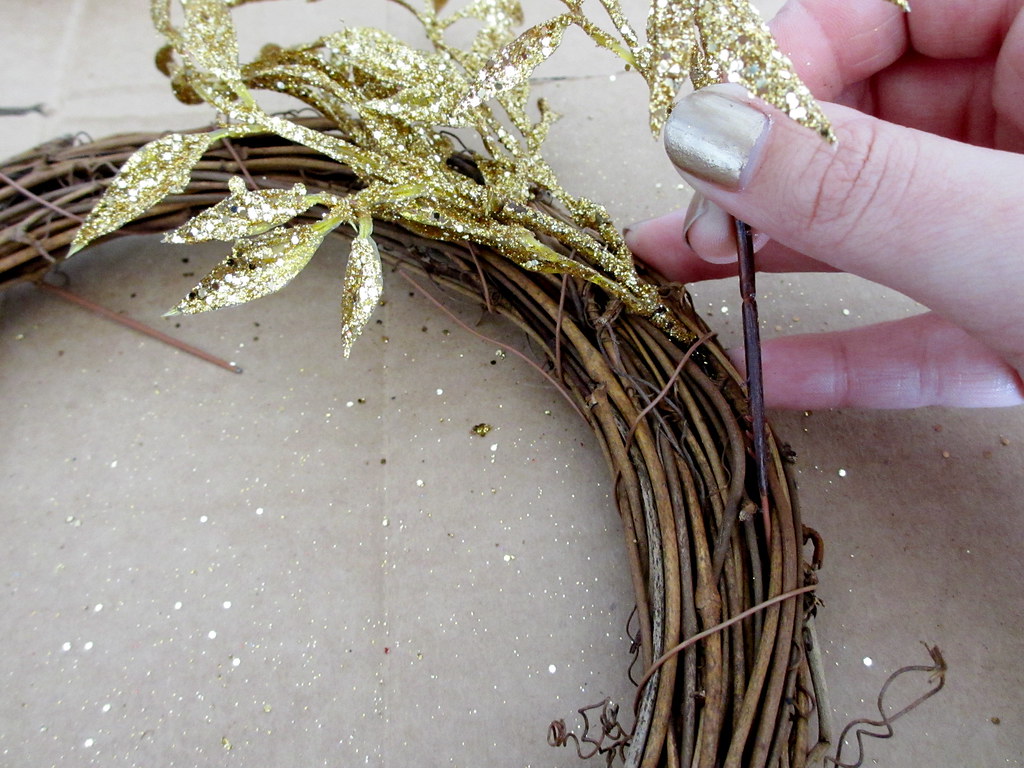
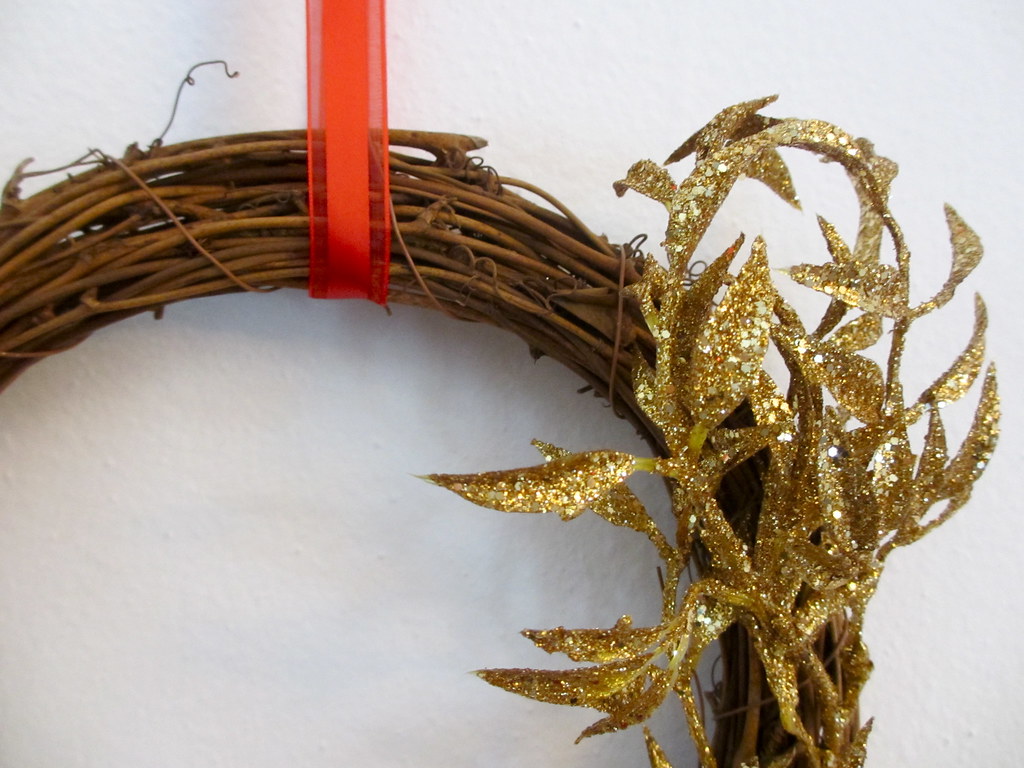
You can also just weave branches into the wreath, like I did with these faux leaves into this (premade) wreath.

4) Add a big ribbon bow or just thread some ribbon through the middle and hang!