I've always felt a weird aversion to theme-y DIYs. They always look so cute in pictures, but so horribly cheesy in my living room. So I tend to avoid them like the plague.
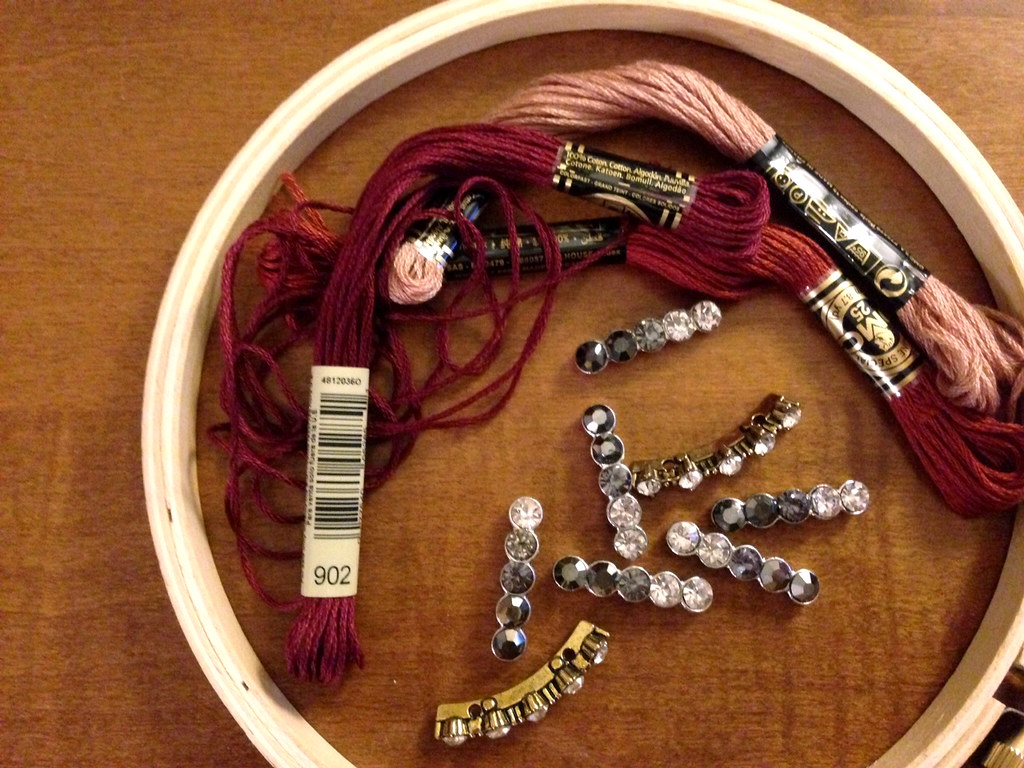
Buuuuut with all of these sparkly things leftover from projects past, I couldn't help myself. Especially since it would make for such a horrible pun about catching the man of my dreams for Valentine's... But I'll try to restrain myself....
What you need:
Embroidery thread or yarn
Rhinestones and beads
Embroidery hoop
Glue
Scissors
What you do:
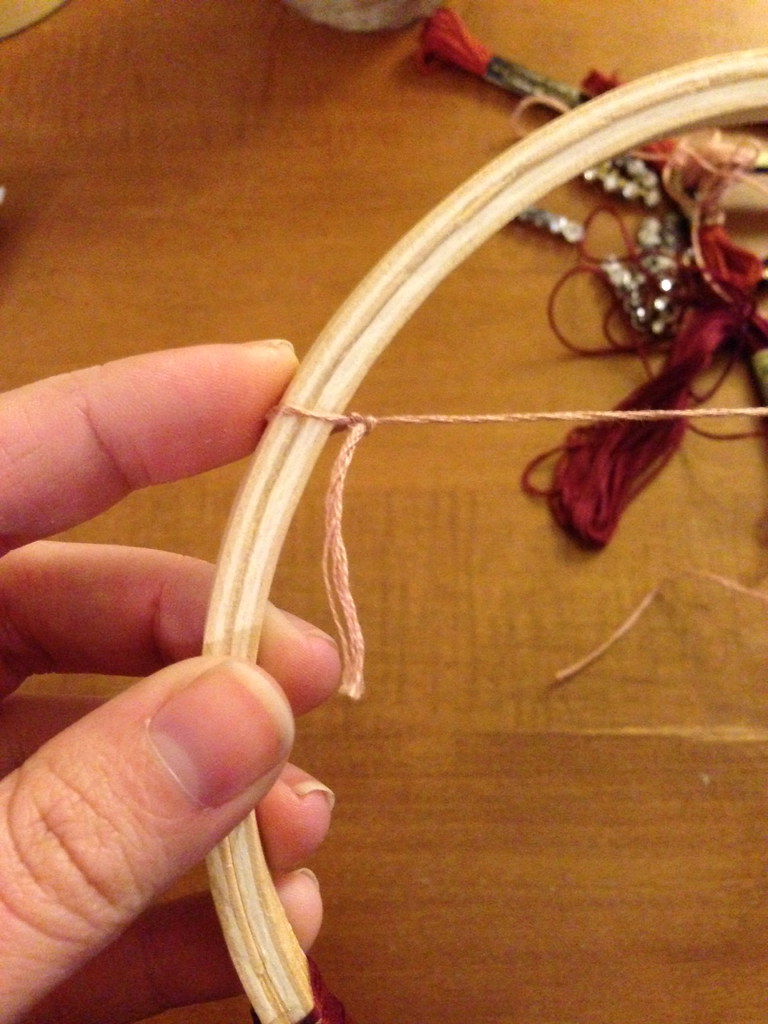
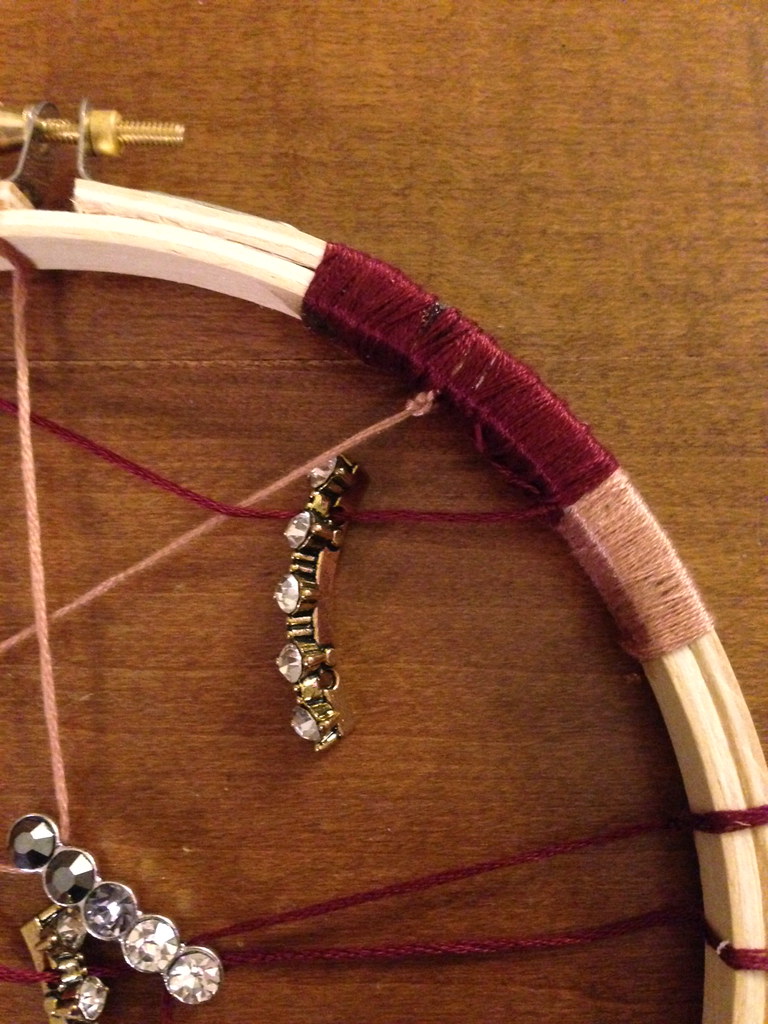
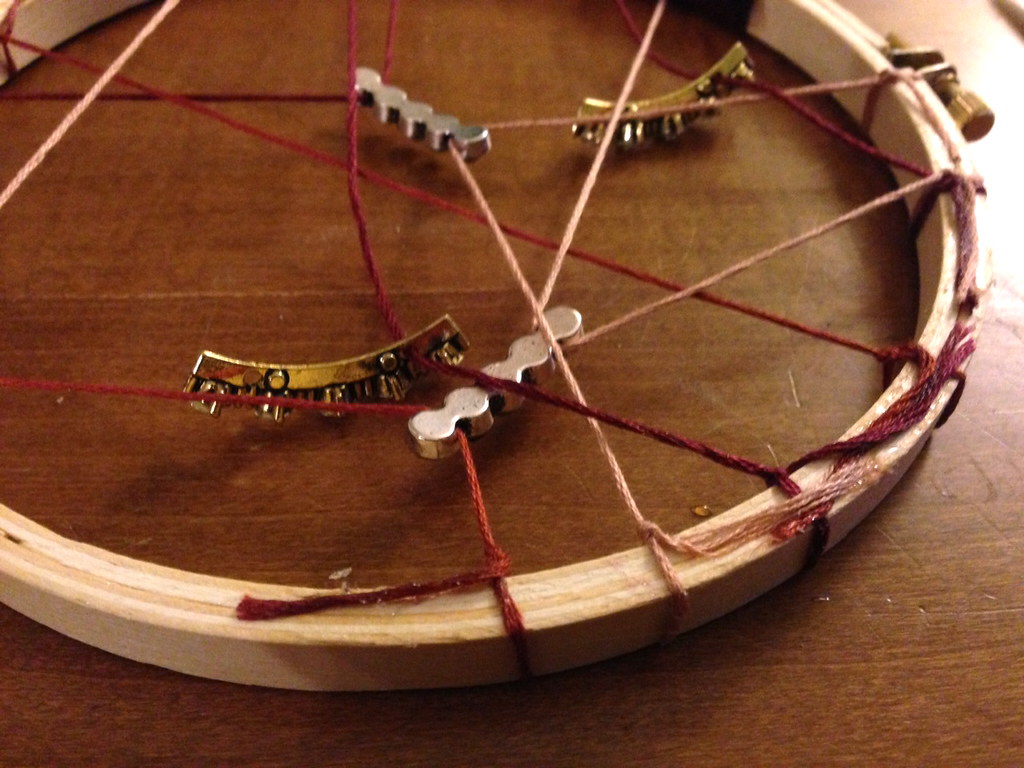
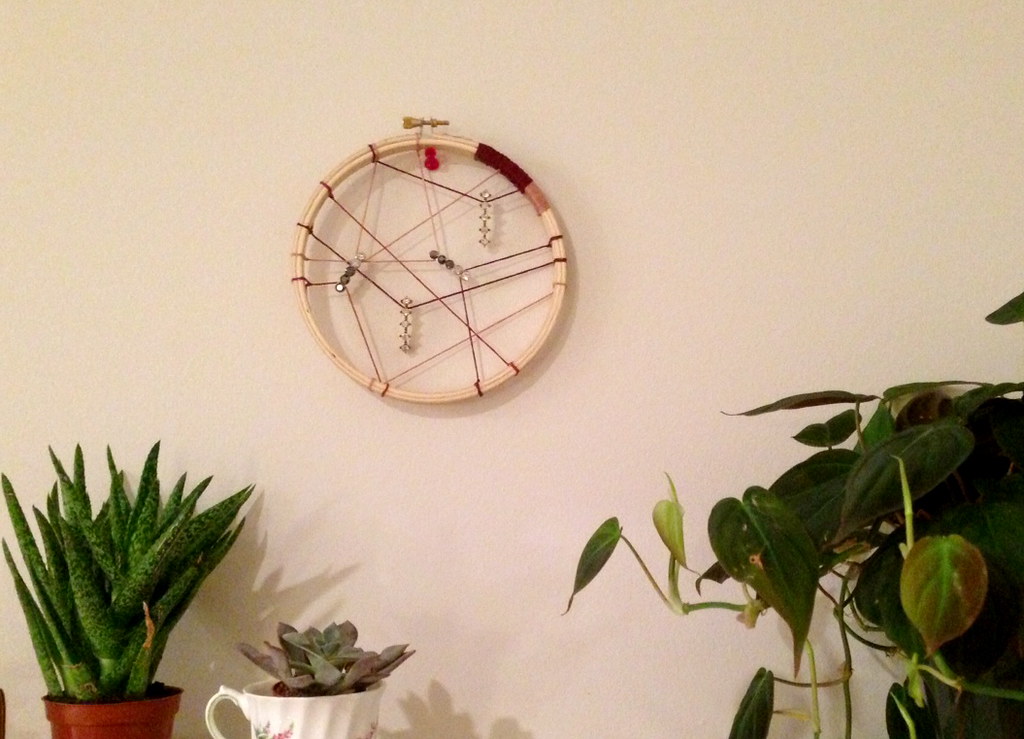
1) Tie thread around the edges of the embroidery hoop at random.
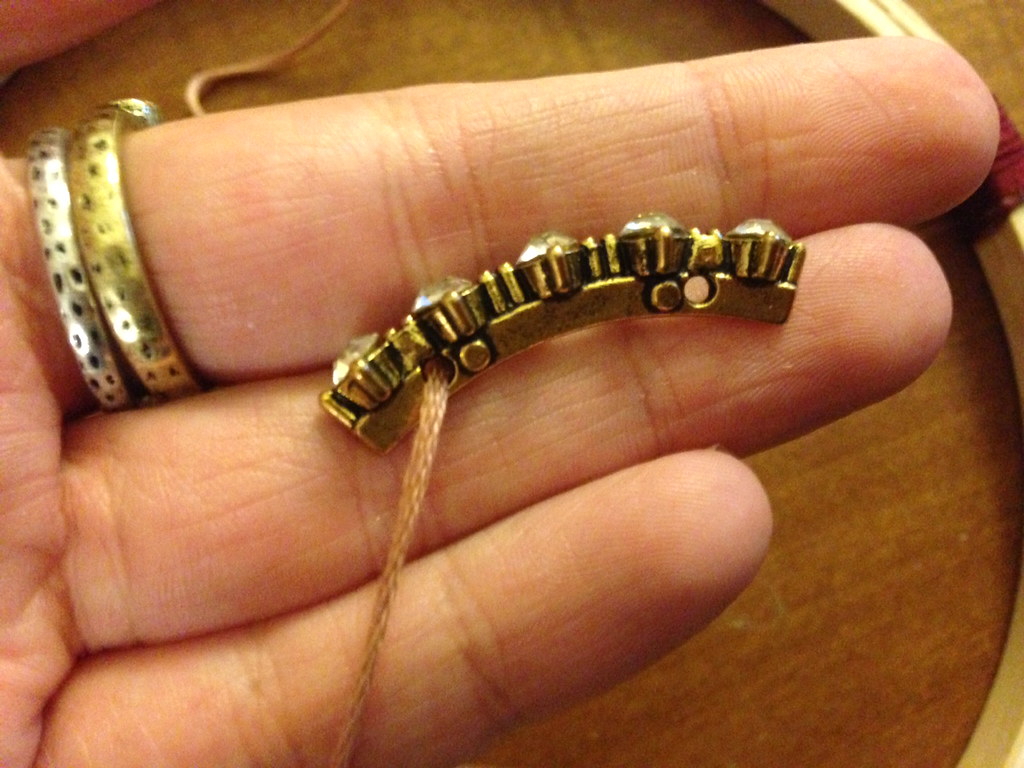
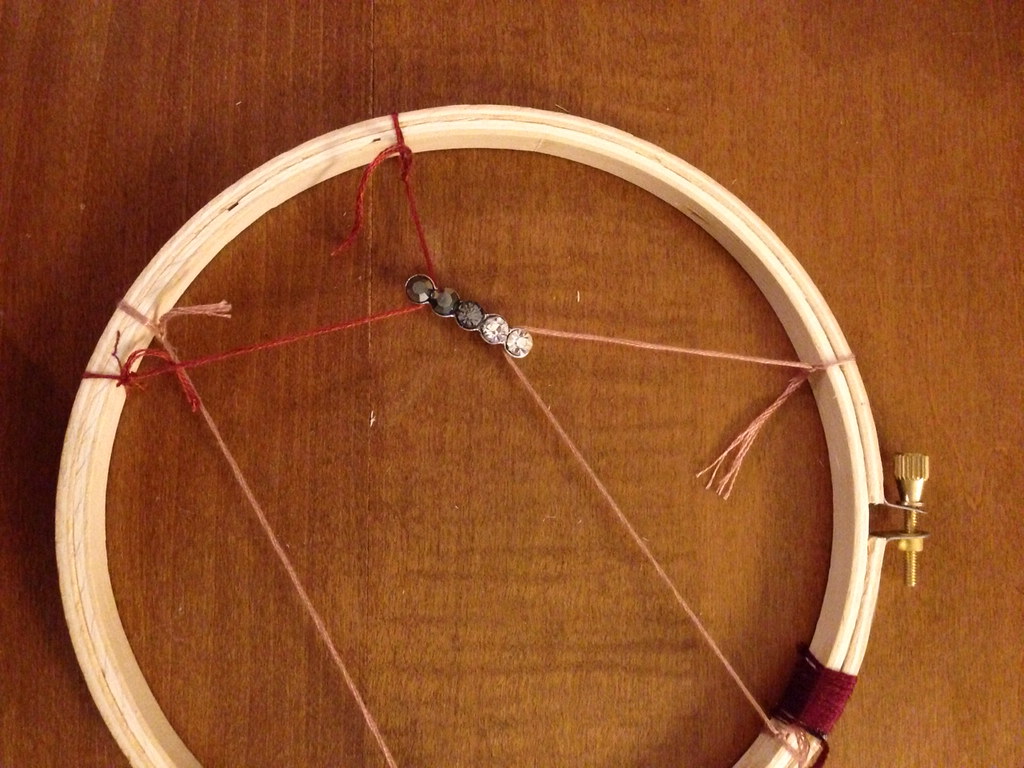
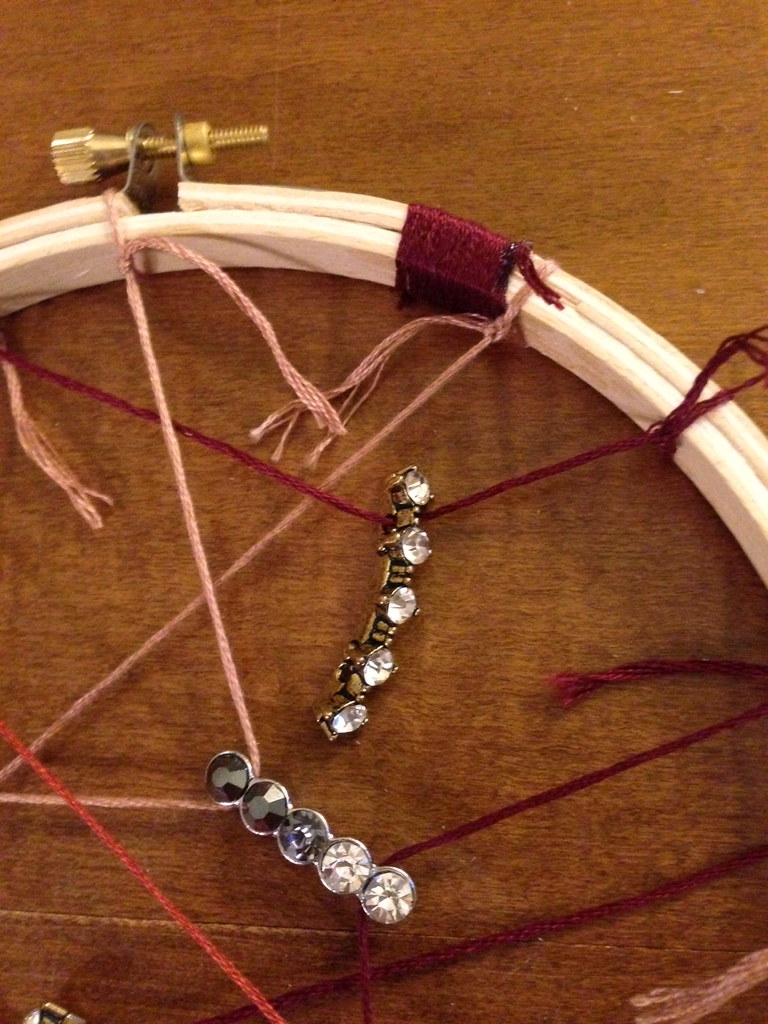
2) String some beads or rhinestones along some of the threads. I had rhinestones that had two holes, so I used two threads to suspend a couple, and then let a couple hang down. You could also tie knots on either side of the bead to keep them in place.
3) Wrap some thread around the embroidery hoop if desired.
4) Glue all the loose ends to the back of the hoop.
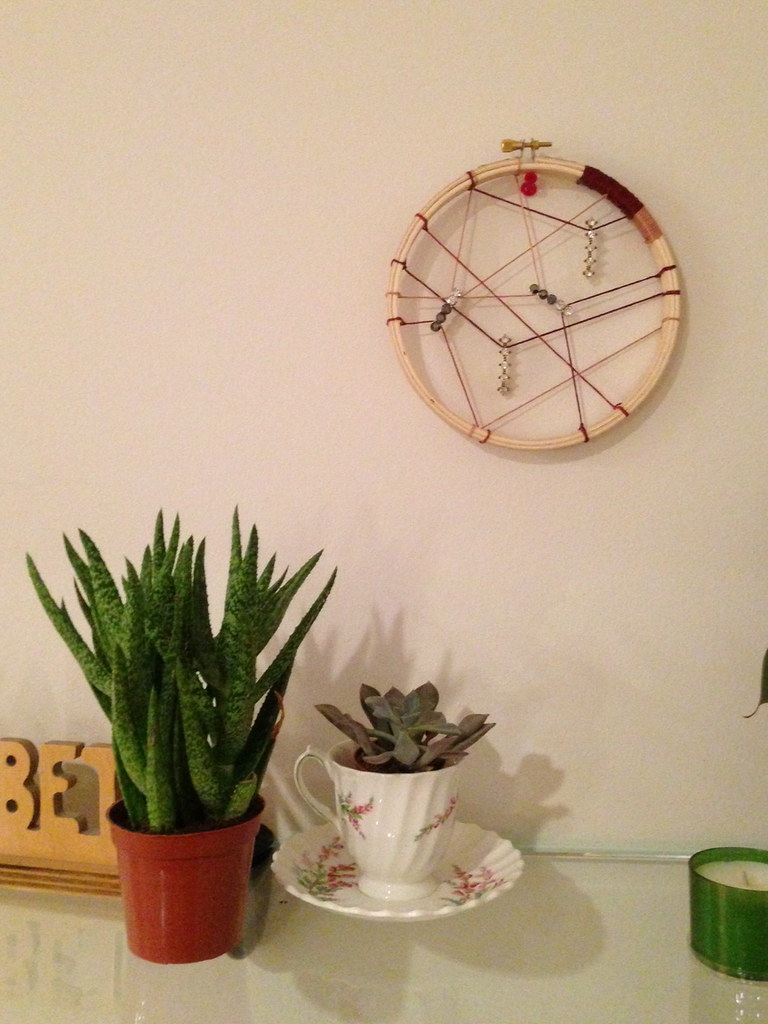
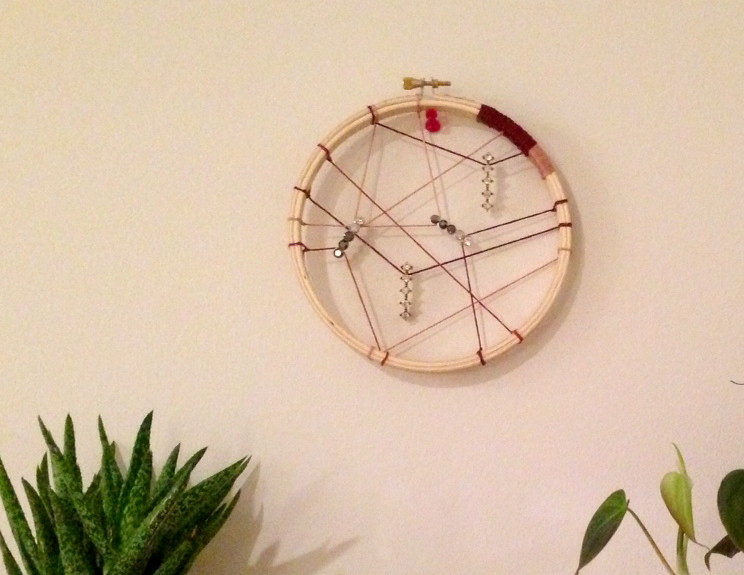
5) Hang up! Hint: Oh look, a preview of an upcoming apartment decor post :)
Showing posts with label glitter. Show all posts
Wednesday, February 13, 2013
Wednesday, December 12, 2012
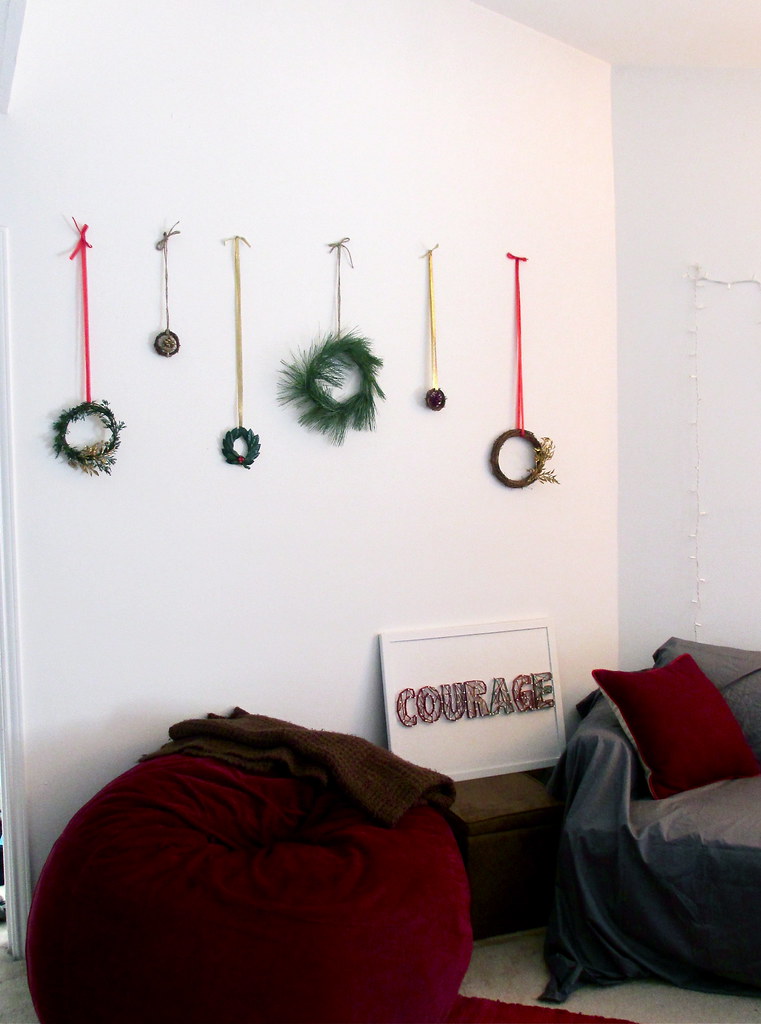
DIY Home: Mini Wreaths
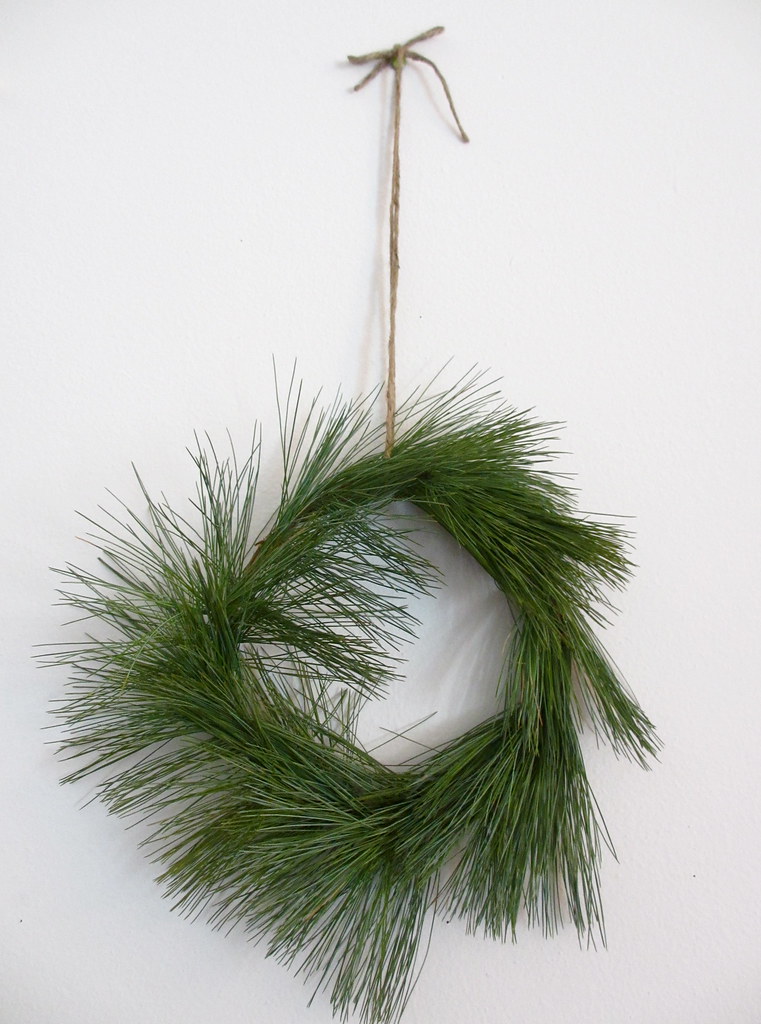
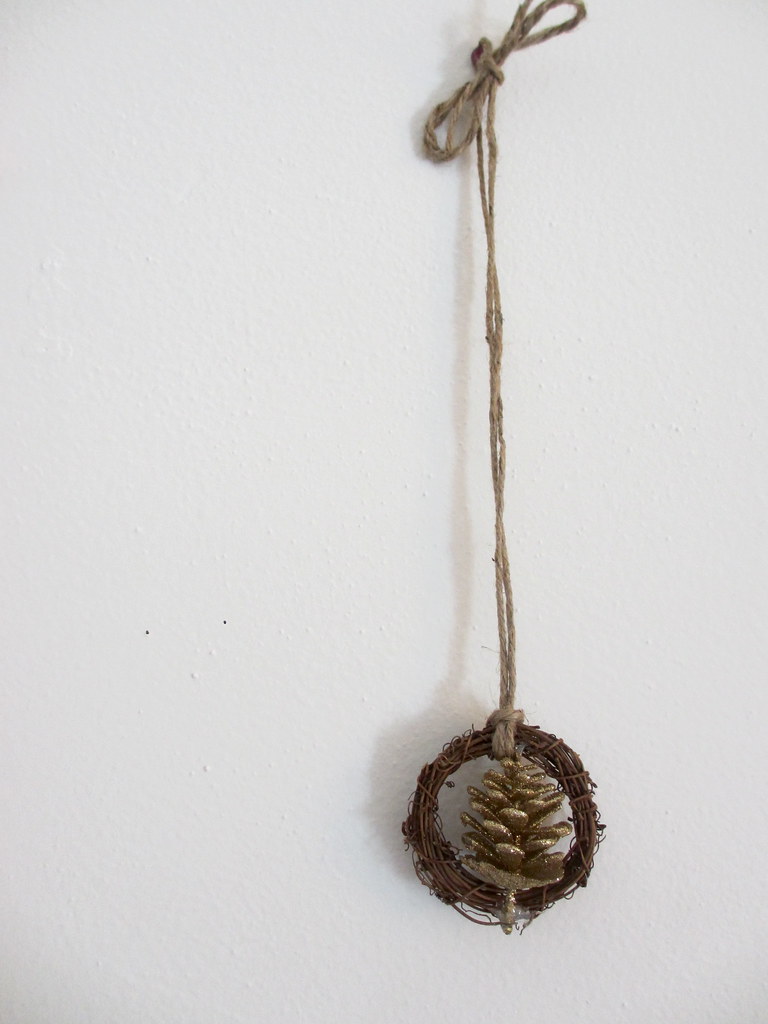
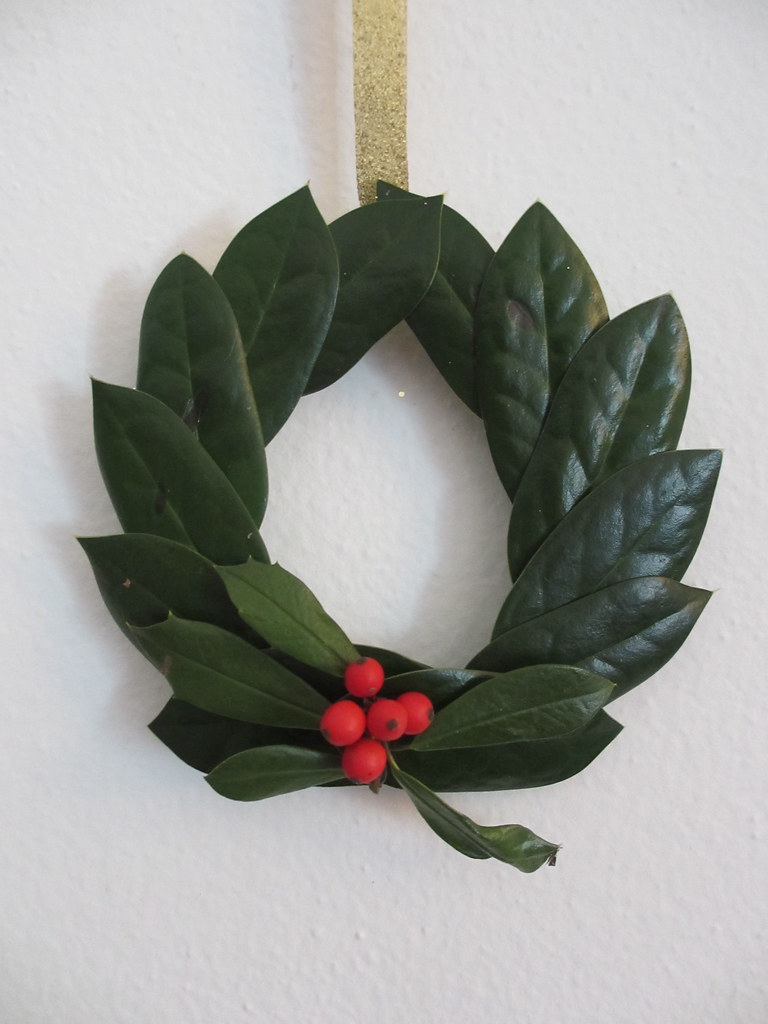
My absolute favorite thing about the holidays is that I have an excuse to drag a giant pine tree into my house and put shiny things all over it. Unfortunately, a tree is slightly outside my budget and available square footage this year so I've had to opt for smaller and less damaging ways to celebrate. This has led to a minor obsession with anything mini and green (I'm sure there are dirty jokes a-plenty that could go here, but refrain yourselves. or not). So, like promised, here's another really great way to decorate for the holidays on a budget, when confined to a tiny apartment!
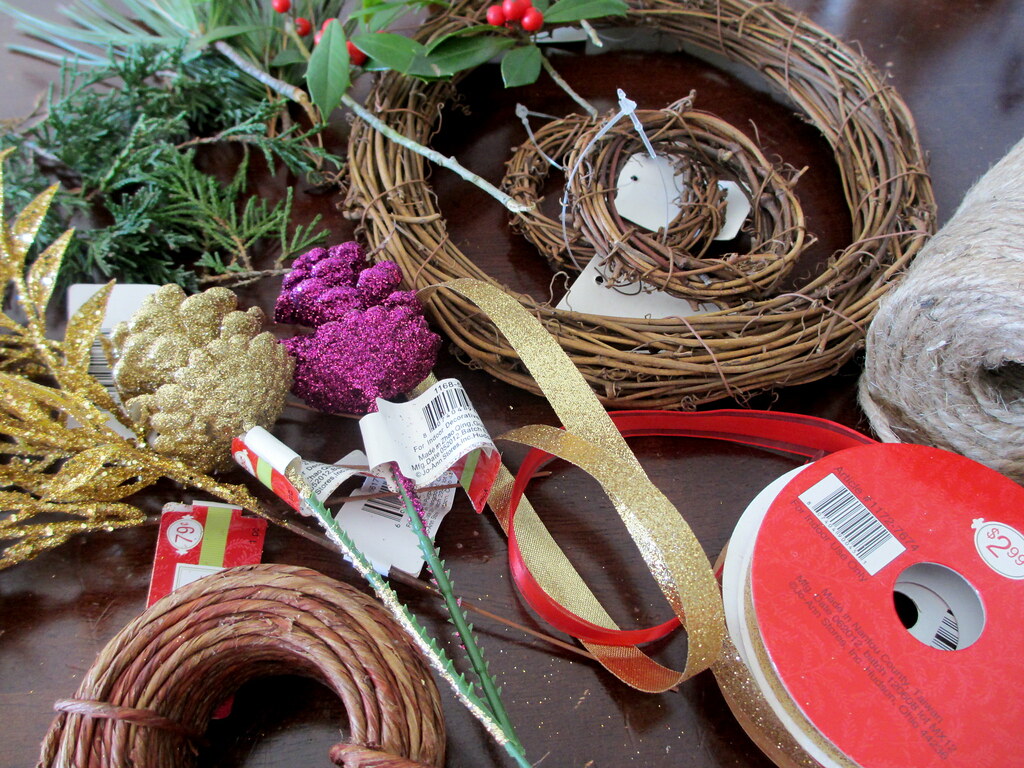
What you need:
A variety of leaves, pine needle bunches, holly branches, etc.
Glittery faux pinecones, leaves, flowers, etc.
Floral twine (basically wire wrapped in natural-colored twine)
Festive ribbon, twine, or yarn
Hot glue gun
What you do:
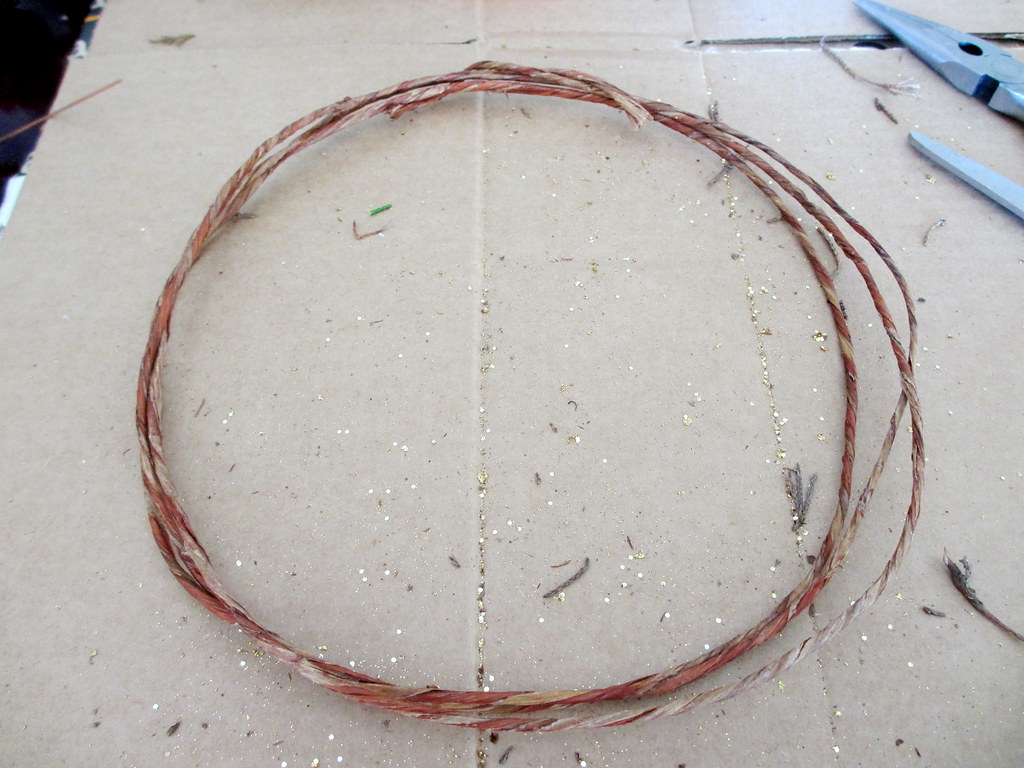
1) Make your wreath base by wrapping the floral twine into a circle three or four times. It's actually helpful if it isn't completely perfect, so you have more of a base to glue things on later. (Note: you can totally buy "premade" wreath bases, but they're much more expensive and not as customizable as just getting floral twine)
2) Squish the twine circles flat and hot glue gun the strands together at a few points around the circle so it stays more or less that way.
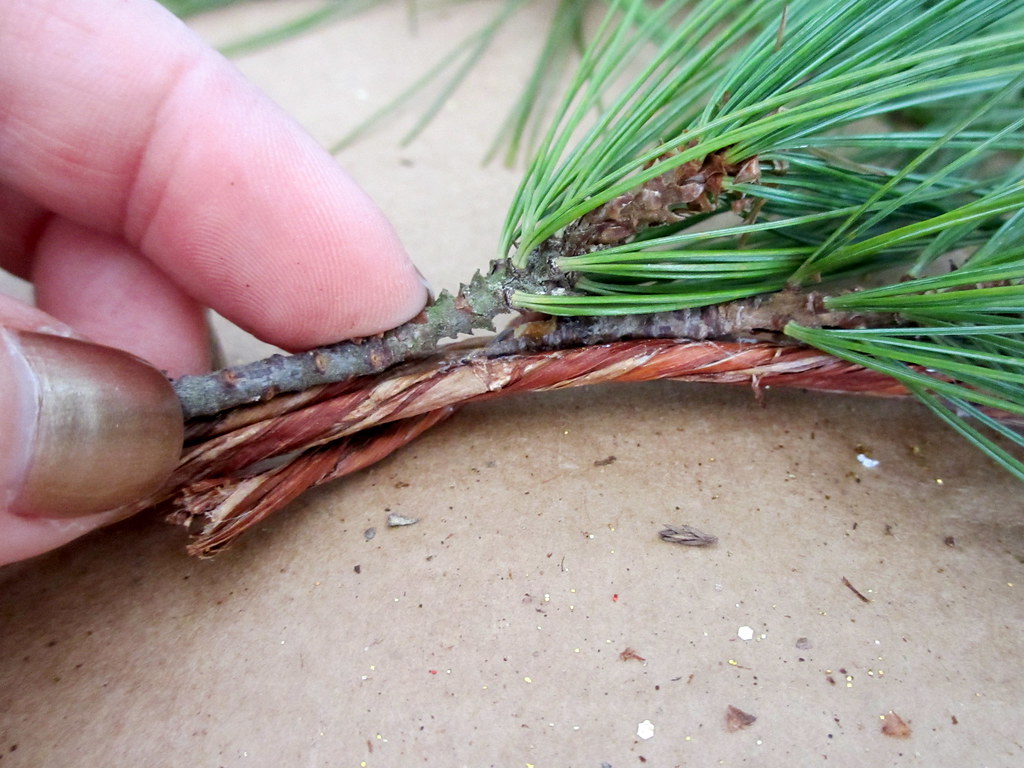
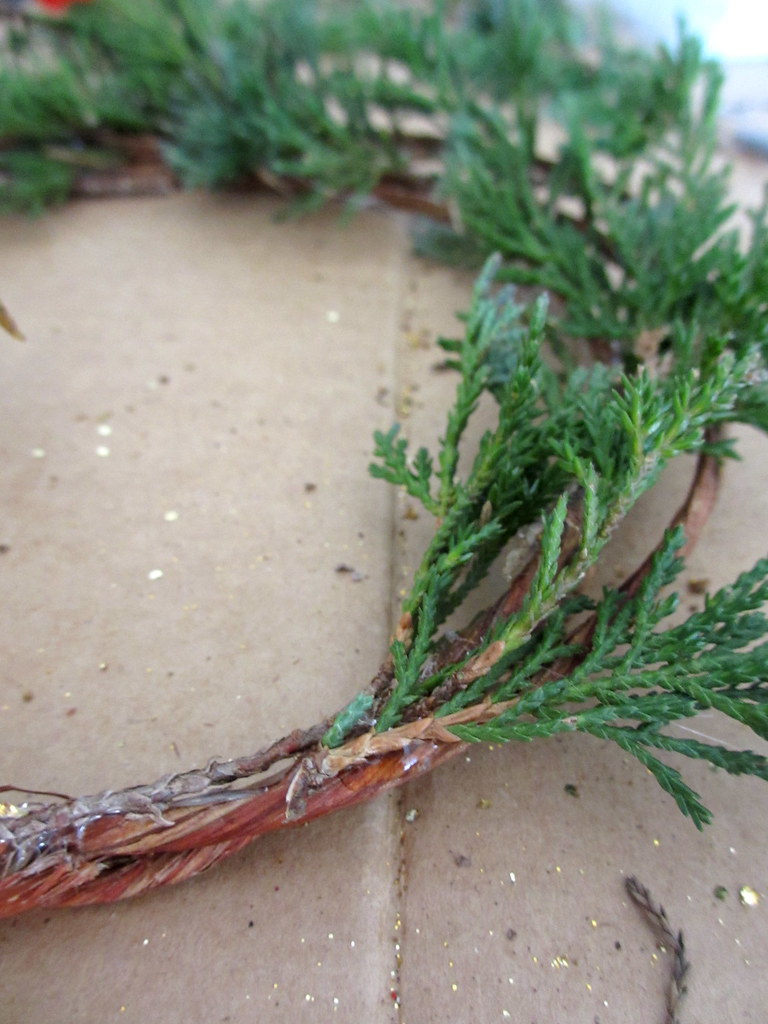
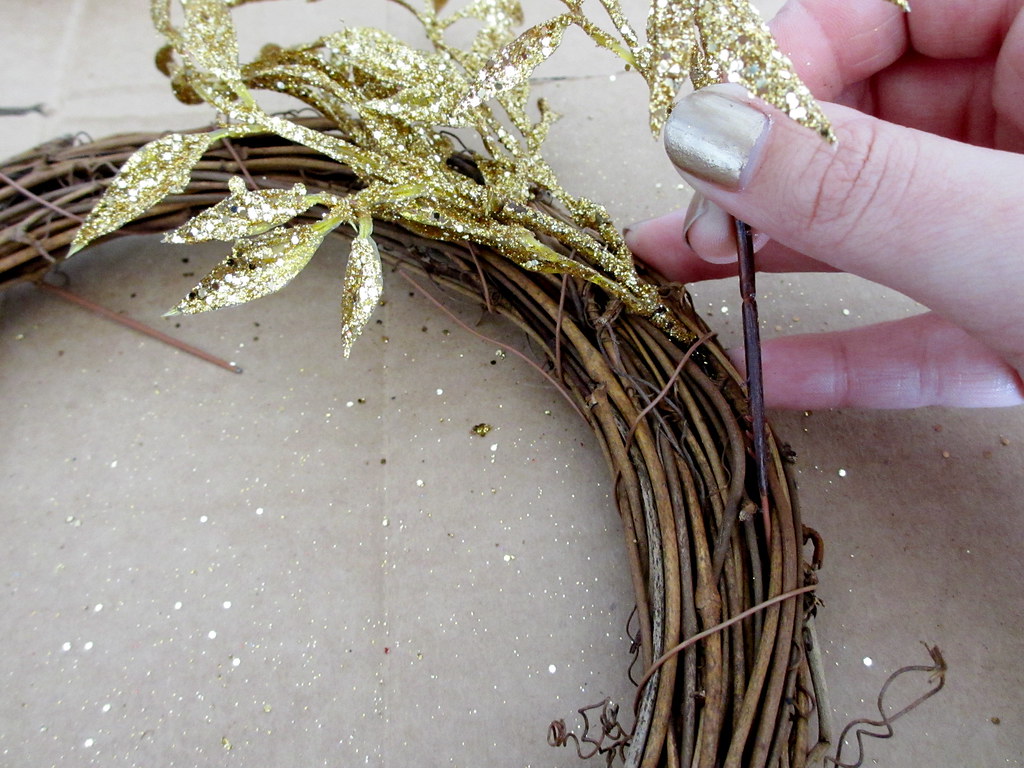
3) Start gluing leaves/branches/glitter onto branches, making sure to overlap them so the stems don't show.
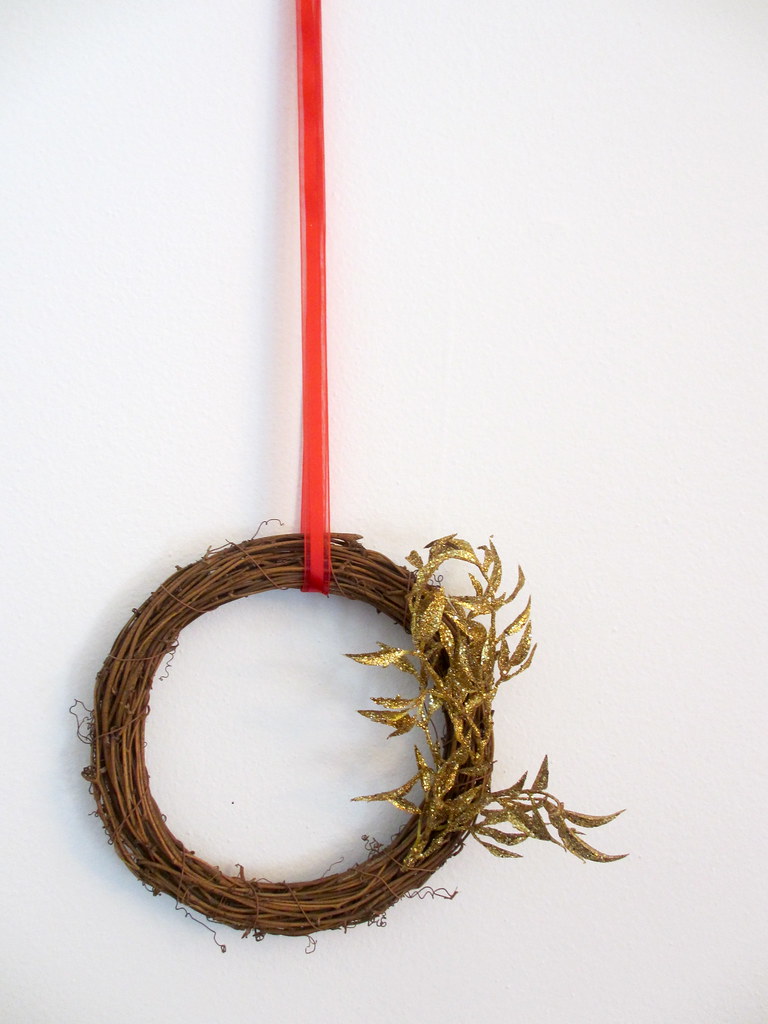
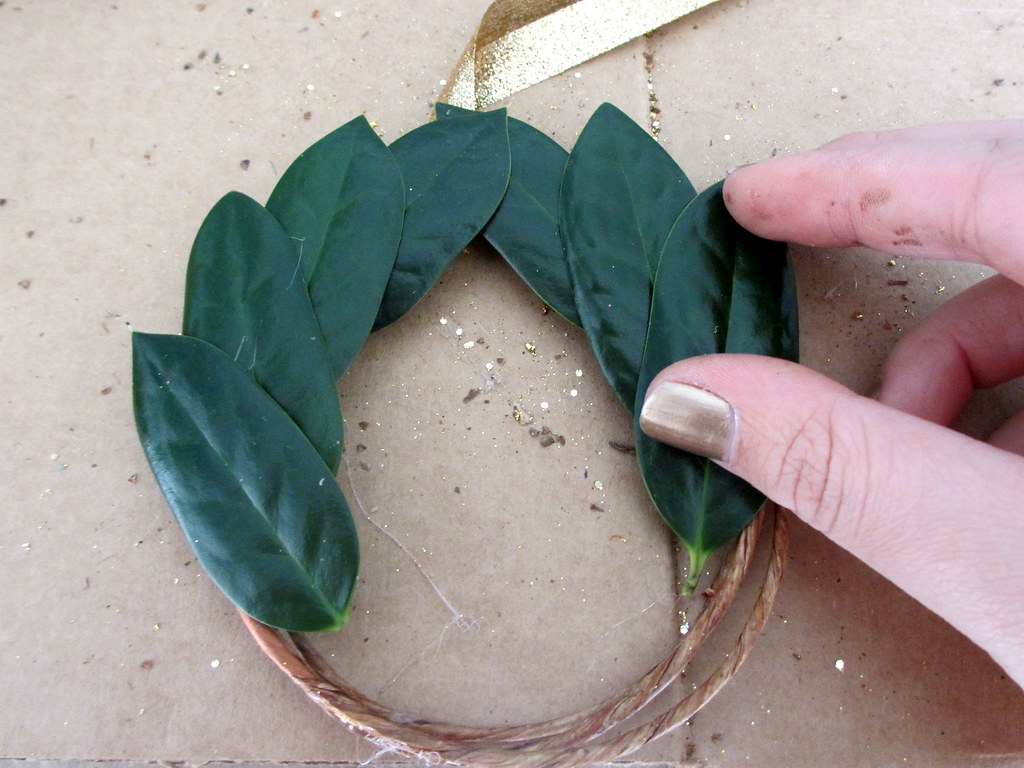
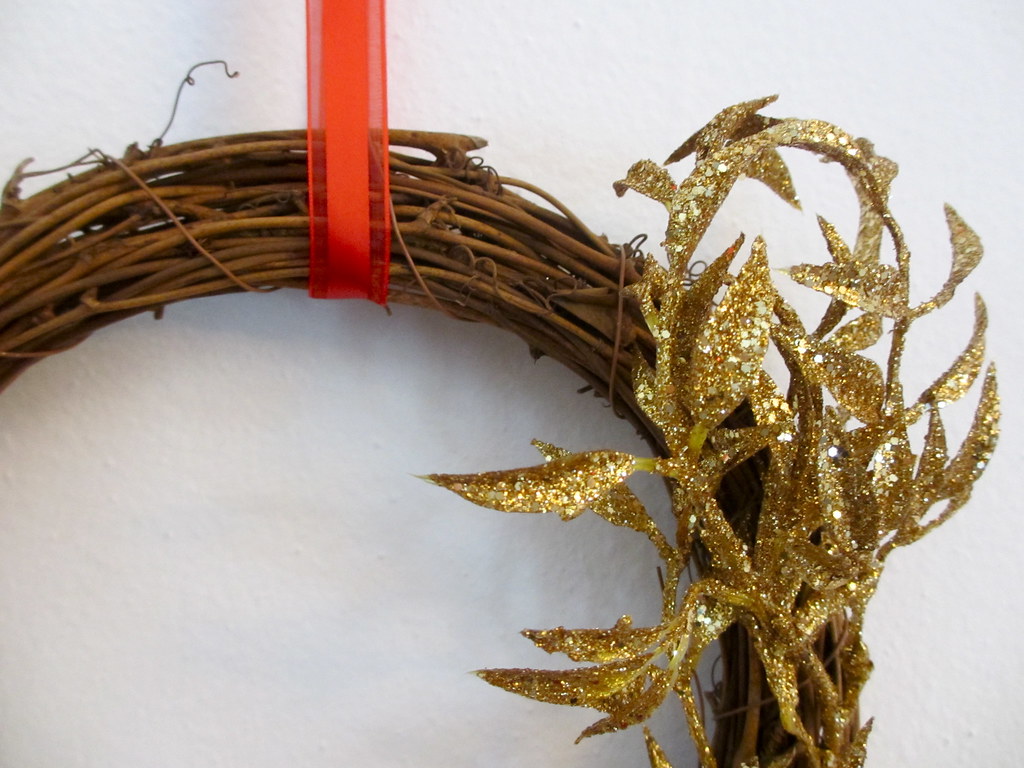
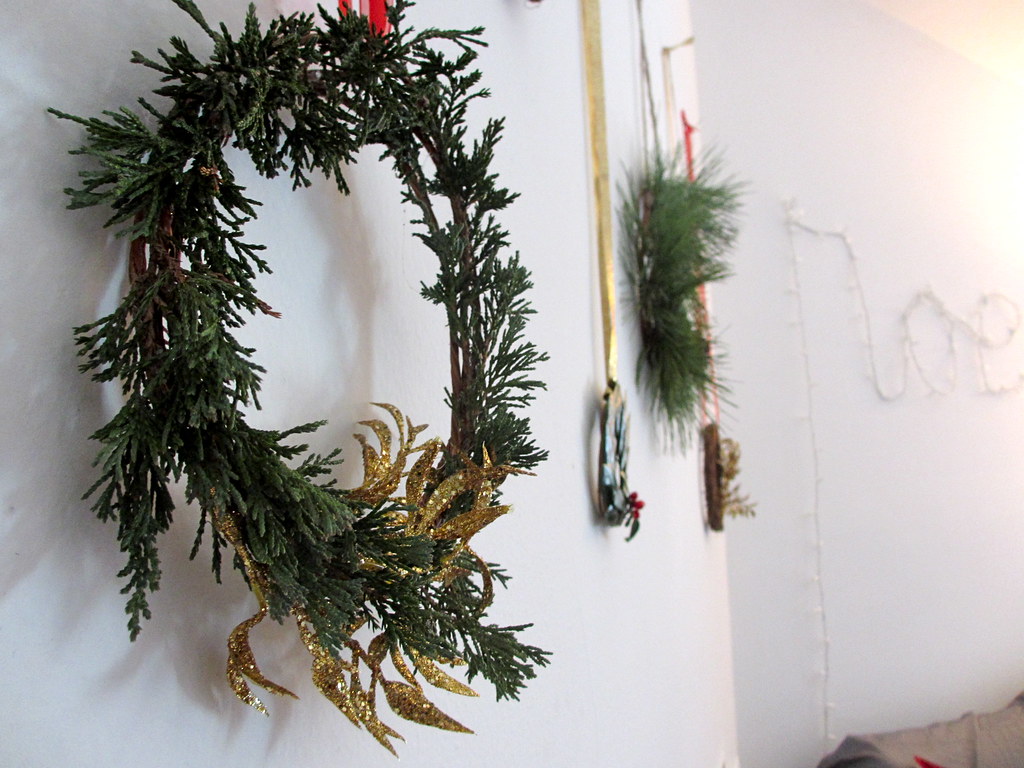
You can also just weave branches into the wreath, like I did with these faux leaves into this (premade) wreath.
4) Add a big ribbon bow or just thread some ribbon through the middle and hang!
What you need:
A variety of leaves, pine needle bunches, holly branches, etc.
Glittery faux pinecones, leaves, flowers, etc.
Floral twine (basically wire wrapped in natural-colored twine)
Festive ribbon, twine, or yarn
Hot glue gun
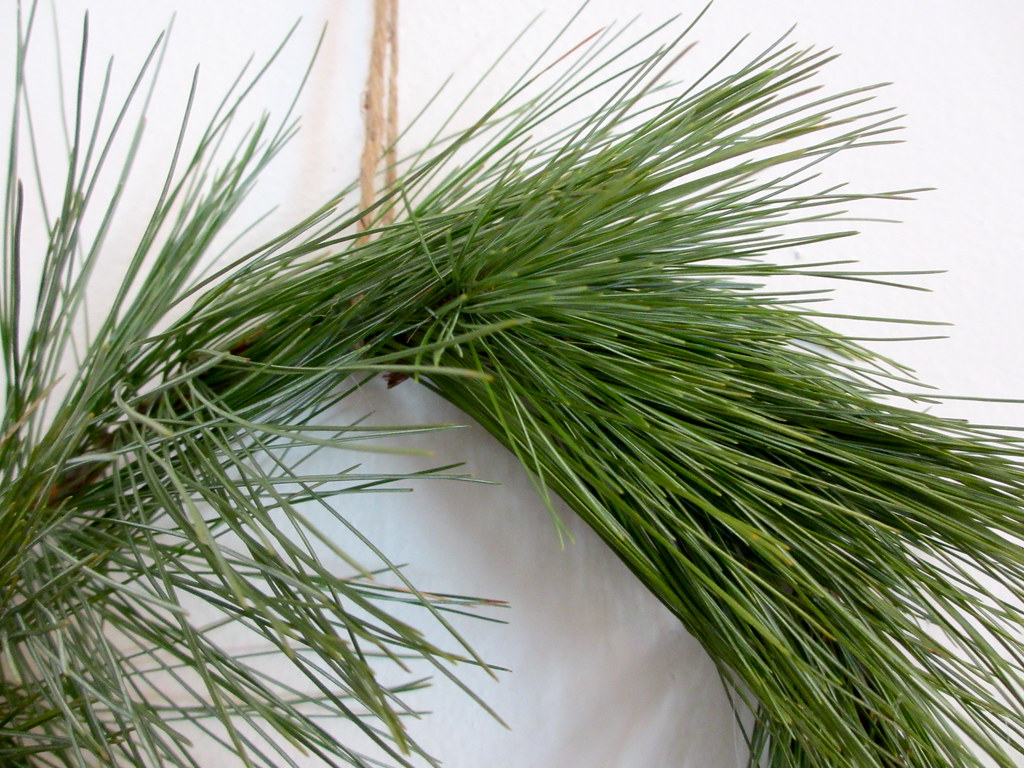
Leaves and branches (unknowingly) courtesy of my dad's backyard - (thanks Dad!)
1) Make your wreath base by wrapping the floral twine into a circle three or four times. It's actually helpful if it isn't completely perfect, so you have more of a base to glue things on later. (Note: you can totally buy "premade" wreath bases, but they're much more expensive and not as customizable as just getting floral twine)
2) Squish the twine circles flat and hot glue gun the strands together at a few points around the circle so it stays more or less that way.
3) Start gluing leaves/branches/glitter onto branches, making sure to overlap them so the stems don't show.
excuse my fingers... pine needle sap...
You can also just weave branches into the wreath, like I did with these faux leaves into this (premade) wreath.
4) Add a big ribbon bow or just thread some ribbon through the middle and hang!
(anyone see the christmas lights DIY I posted about a couple days ago?)
Sunday, October 28, 2012
Outfit: Birthday Sequins
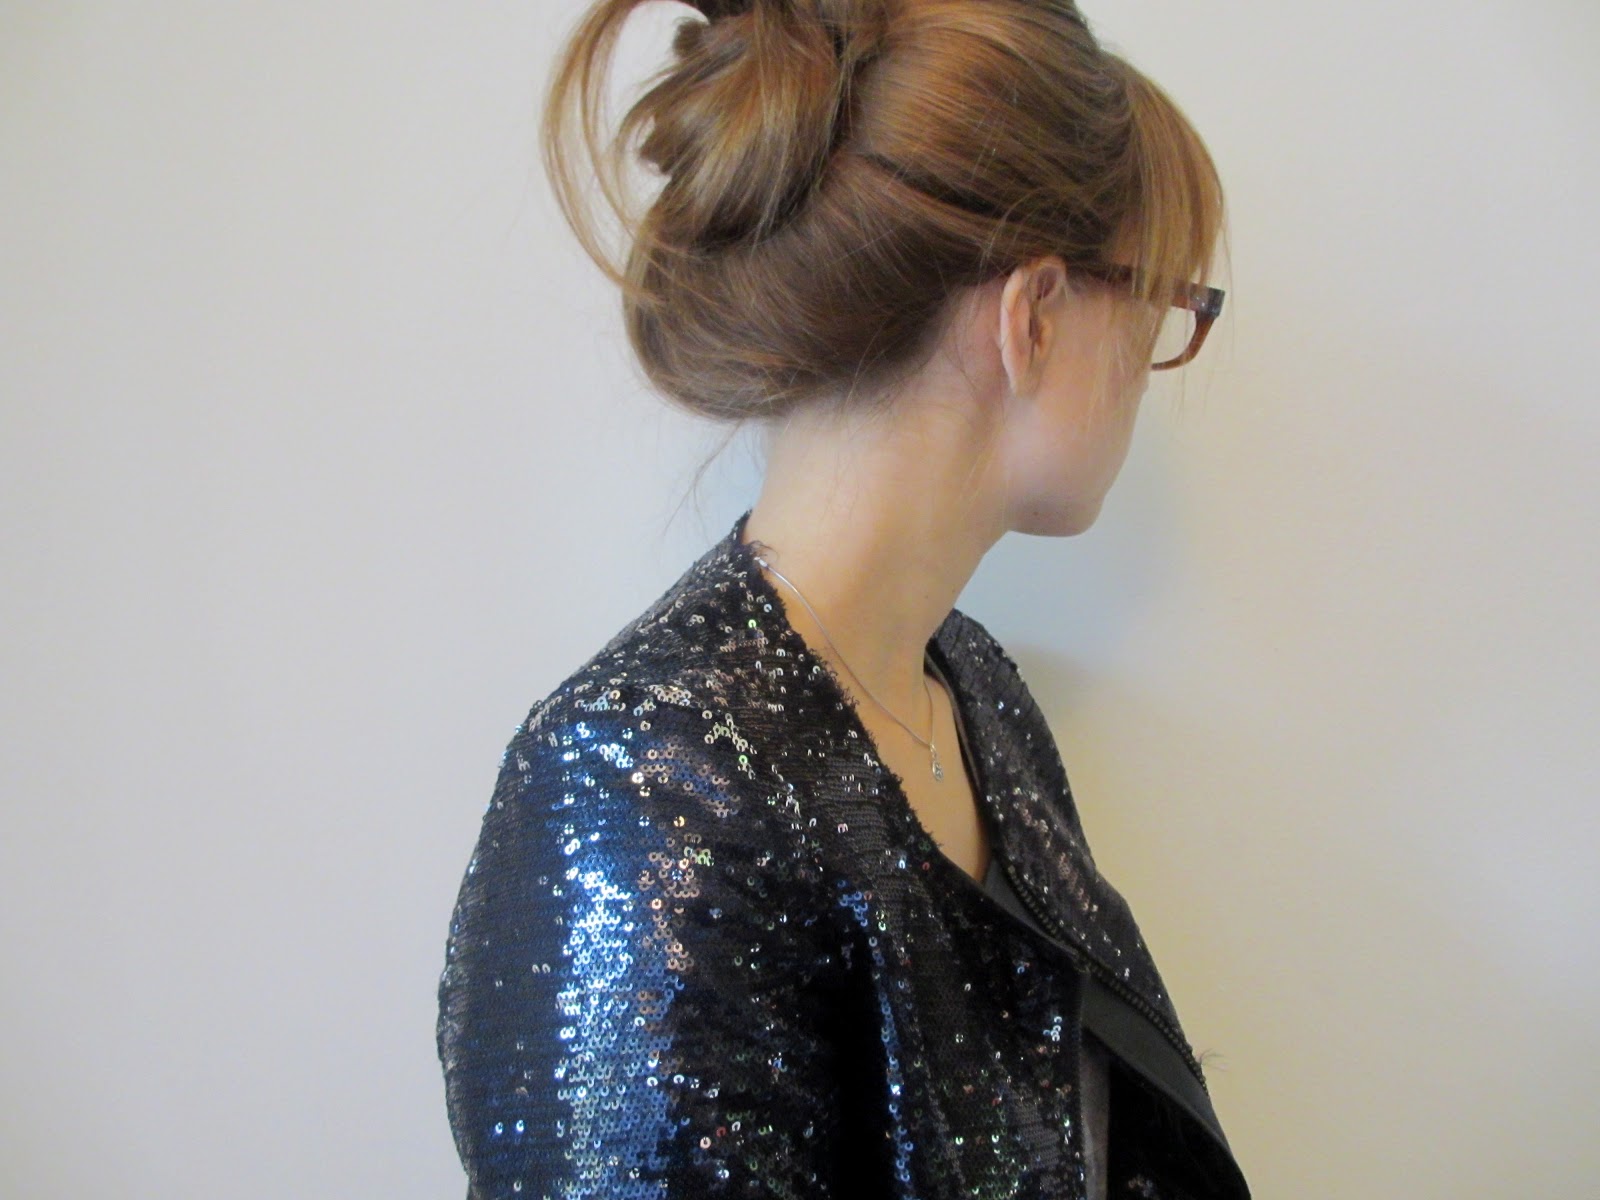
So today is my birthday woo hoo! 23 is kind of awesome and kind of boring. It feels like just the right age, exactly where I want to be for a while (maybe for the next year?) but also strangely old for how I feel. And while I don't get any more adult powers and nothing really special happened, it did give me an excuse to romp around in my new sparkly jacket and new pumps all day! Now for a long bath and cake and the girliest movie I can find.
Henley tank: Target
Jacket: from a local store, Jondie's
Jeans: old Levi's
Black patent pumps: from a local store, Blush
Necklace: gift from my father from Australia
Henley tank: Target
Jacket: from a local store, Jondie's
Jeans: old Levi's
Black patent pumps: from a local store, Blush
Necklace: gift from my father from Australia
Thursday, October 11, 2012
DIY: Blinged Out Beanie
This whole sequins and sweaters thing I talked about a couple weeks ago is becoming more true than I dare to even say.
So instead, please direct your attention to this uh-mazing photo (again by the Sartorialist - I'm obsessed, okay??) of a woman (I'll bake cookies to whoever can tell me who it is) wearing a blinged out beanie. Let me repeat that. BLINGED. OUT. BEANIE. I mean, lookit her hat! And her arm party, and the neon chunky statement necklace and the layering and ugh. I want it all. Especially that hat. Cue my most loyal life partner in crime modeling my latest DIY.
What you need:
A beanie
Lots of rhinestones
Glue and/or sewing thread and needle
What you do:
1) Try on your hat and fold up the beanie "brim" however far your want. I chose this awesome F21 one with a neon interior. ¡Viva la neon!
2) Organize the rhinestones by color since you're kind of a freak for stuff like that.
3) Play around with how you'd like the rhinestones to look on your beanie.
4) Carefully glue down each piece, stretching the hat a bit. I'm probably going to go back and also stitch everything down since I don't want to be dropping rhinestones all over the place.
5) Voila! I will hopefully also be posting an alternate method of creating this look sometime soon, so stay tuned. Like always.
So instead, please direct your attention to this uh-mazing photo (again by the Sartorialist - I'm obsessed, okay??) of a woman (I'll bake cookies to whoever can tell me who it is) wearing a blinged out beanie. Let me repeat that. BLINGED. OUT. BEANIE. I mean, lookit her hat! And her arm party, and the neon chunky statement necklace and the layering and ugh. I want it all. Especially that hat. Cue my most loyal life partner in crime modeling my latest DIY.
World, this is Sumo my teddy bear of the last 15 years. Sumo, this is internet fame.
A beanie
Lots of rhinestones
Glue and/or sewing thread and needle
What you do:
1) Try on your hat and fold up the beanie "brim" however far your want. I chose this awesome F21 one with a neon interior. ¡Viva la neon!
2) Organize the rhinestones by color since you're kind of a freak for stuff like that.
3) Play around with how you'd like the rhinestones to look on your beanie.
4) Carefully glue down each piece, stretching the hat a bit. I'm probably going to go back and also stitch everything down since I don't want to be dropping rhinestones all over the place.
5) Voila! I will hopefully also be posting an alternate method of creating this look sometime soon, so stay tuned. Like always.
This is me being blogger-posed sad that this is the only human-model photo I've taken of this hat, and it's nowhere near as cute as a teddy bear. In other news, I'm now accepting applications for a photographer who can do more than count to ten and flash an orange light in my face.
Thursday, September 27, 2012
Style Inspiration: Ashish Spring 2013
There are literally no words that could express how much I love this collection. Mixing glitter and sweatpants, ripping up overalls for the accidental cutout shoulder (or collarbone or waist) look, hair thrown up with 90's style scrunchies that perfectly says "I'm a grad student subsisting solely on caffeine and adrenaline (but still fashionable, dammit)", and trainers paired with polka dot palazzo pants.
Me too, model who so unbelievably perfectly embodies this collection. Me too.
Subscribe to:
Posts (Atom)