
Monday, December 10, 2012
DIY Home: Lighted Words
There's a huge blank white wall over said couch and I decided that it was time to take my string lights down from my balcony (getting too cold to be outside anyways) and use them to decorate inside! I used pushpins to tack the wire where I wanted it, though I'm sure any electrician/fire and safety inspector would frown mightily upon this. More cheap/free holiday decorating tips for the small-apartment-bound coming soon!
Friday, December 7, 2012
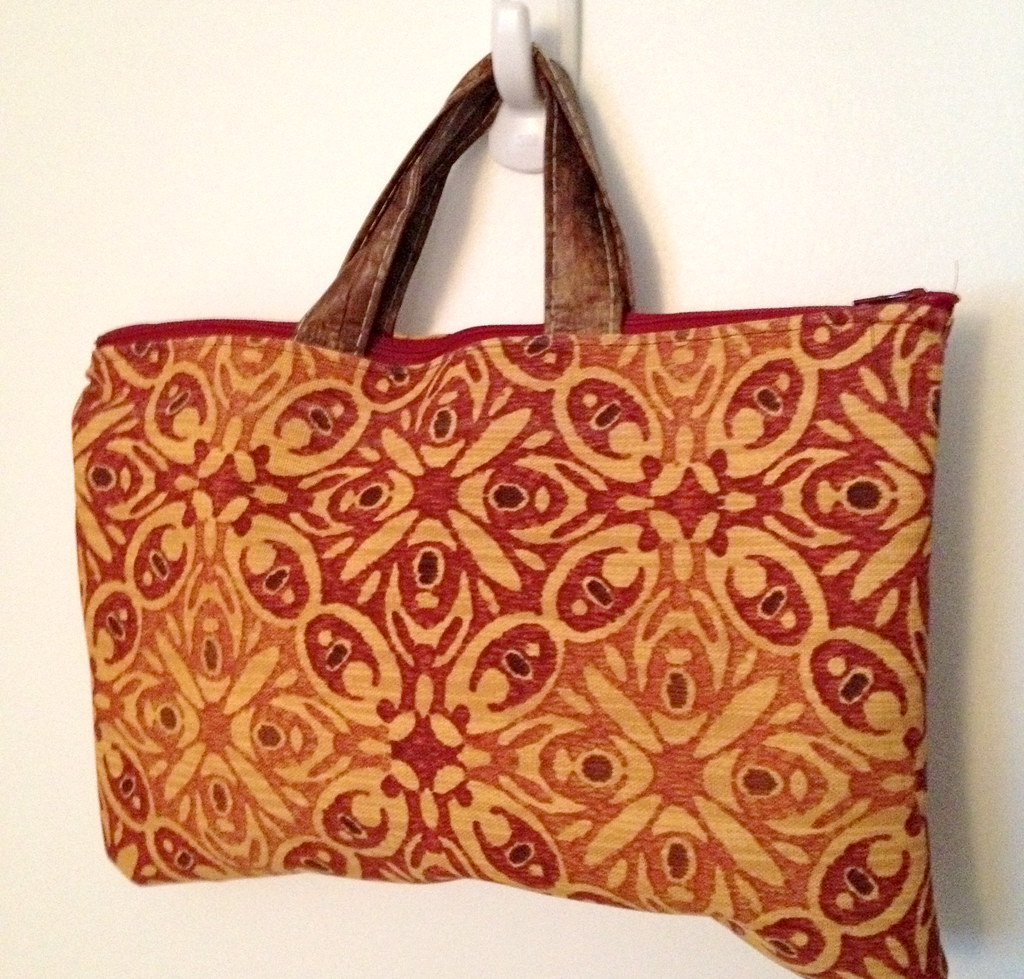
DIY: Toiletries Bag (Alternatively, A Simple Lined Clutch)
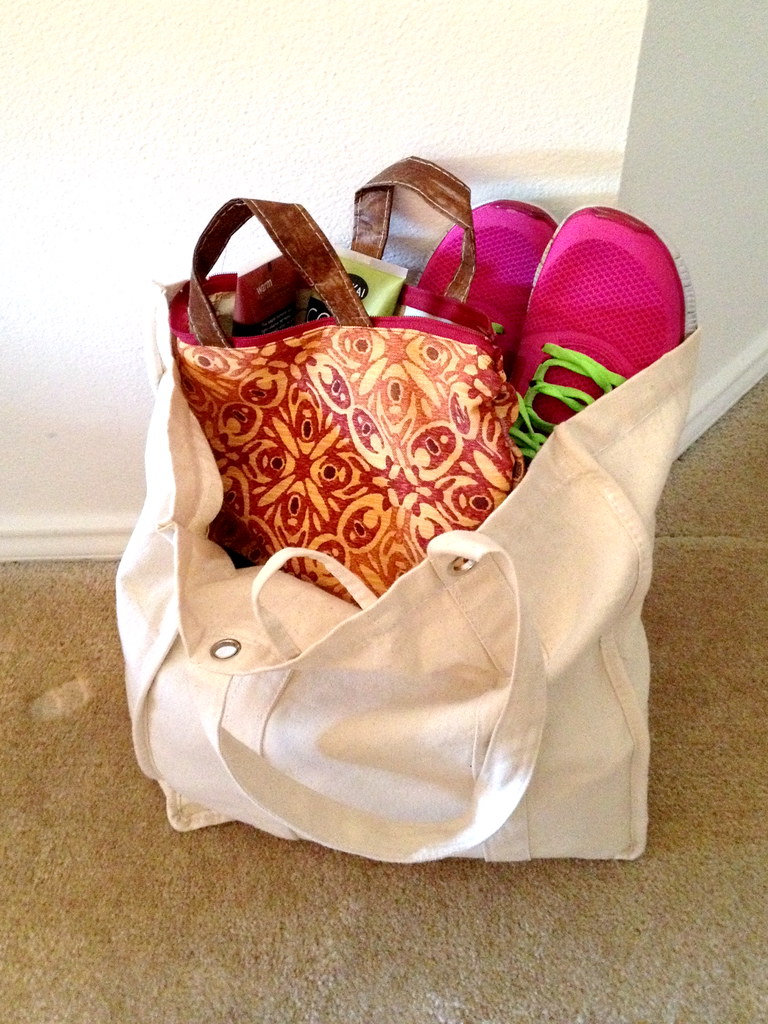
The biggest pain for me about going to the gym is all of the baggage I have to carry around with me (day clothes, work clothes, make up, hair dryer, lotions, etc), plus the damp toiletries I have to tote around in an unsightly plastic grocery store bag. This usually equates to me staggering out of the house in the morning with two or three psuedo-gym bags, plus my normal purse. Not. Fun.
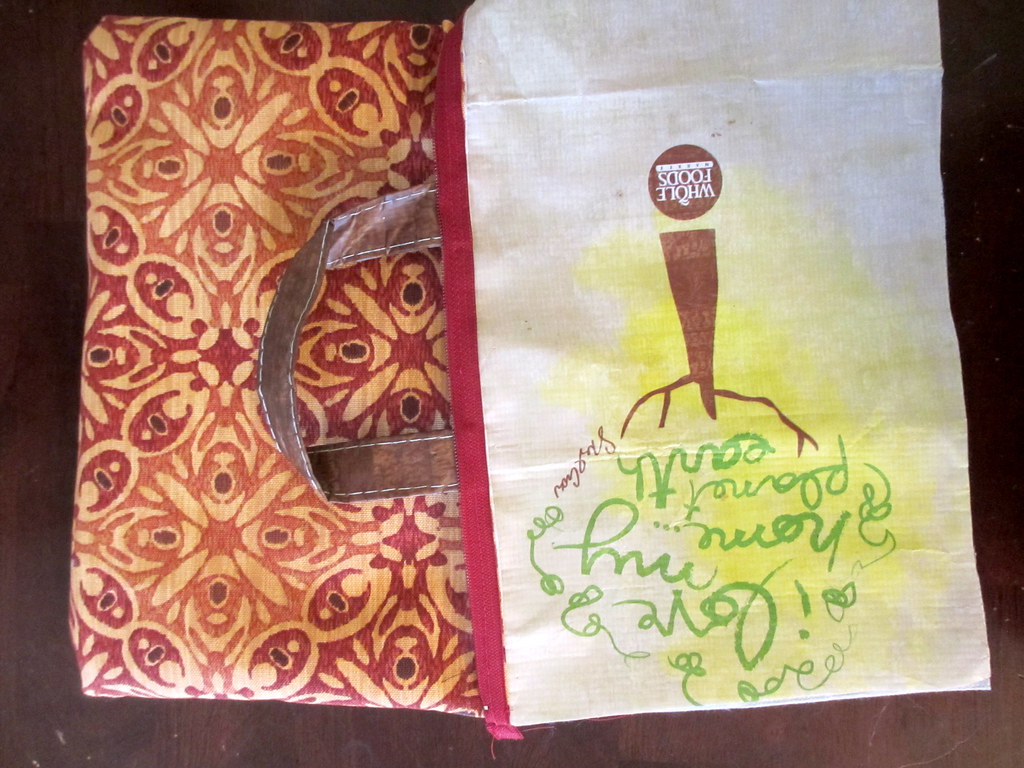
The first step into solving this was getting a proper toiletries bag. Enter a ridiculously tiny Whole Foods reusable (and notably, waterproof) bag that I never ever use due to its size. Are you thinking what I'm thinking? DIY project made (mostly) with stuff you have lying around the house anyways, yay!
NOTE: you can totally use this method to create a cute lined clutch! Just pick different fabrics, remove or change the handles, and voila!
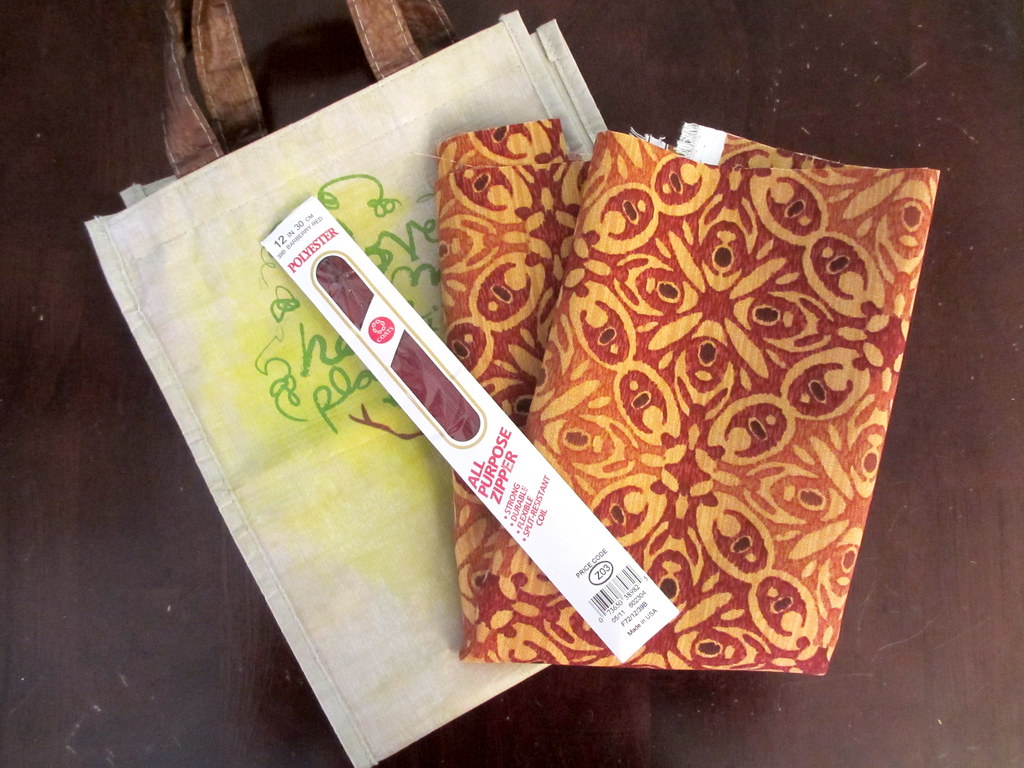
What you need:
A plastic/waterproof reusable grocery bag
Some outdoor fabric - it repels water and resists mildew etc!
A zipper (I used a 12" one)
Scissors
Sewing Machine
What you do:
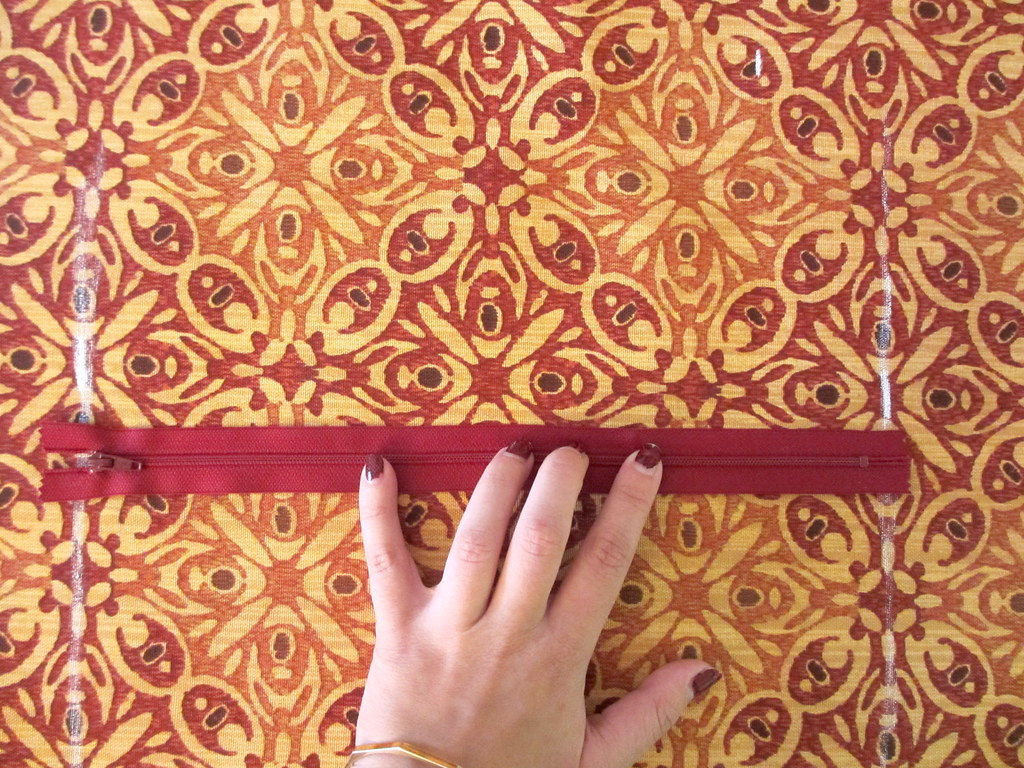
1) Cut two rectangles of fabric that are slightly wider than the zip part of the zipper, and however long is convenient to fit your shampoo bottles in.

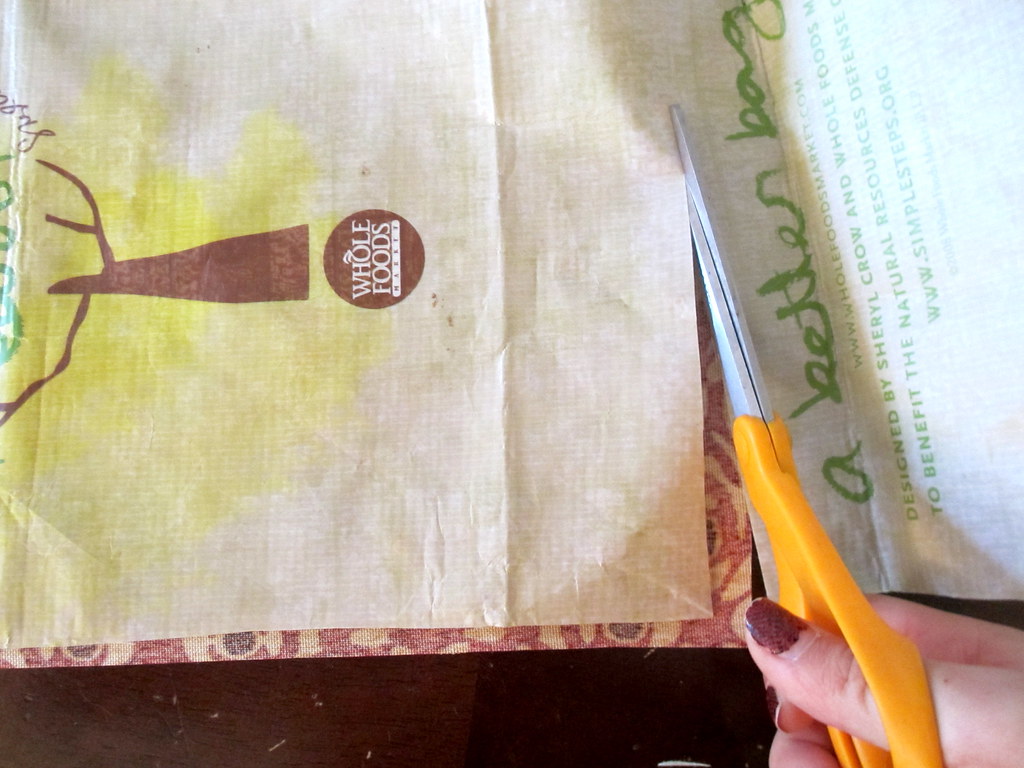
2) Cut two rectangles from your plastic reusable bag that are slightly smaller than the ones you cut from your fabric. Cut off the handles of the bag and save.
The outside of my bag was a plastic waterproof material, so I'll be calling that side the "right" side.
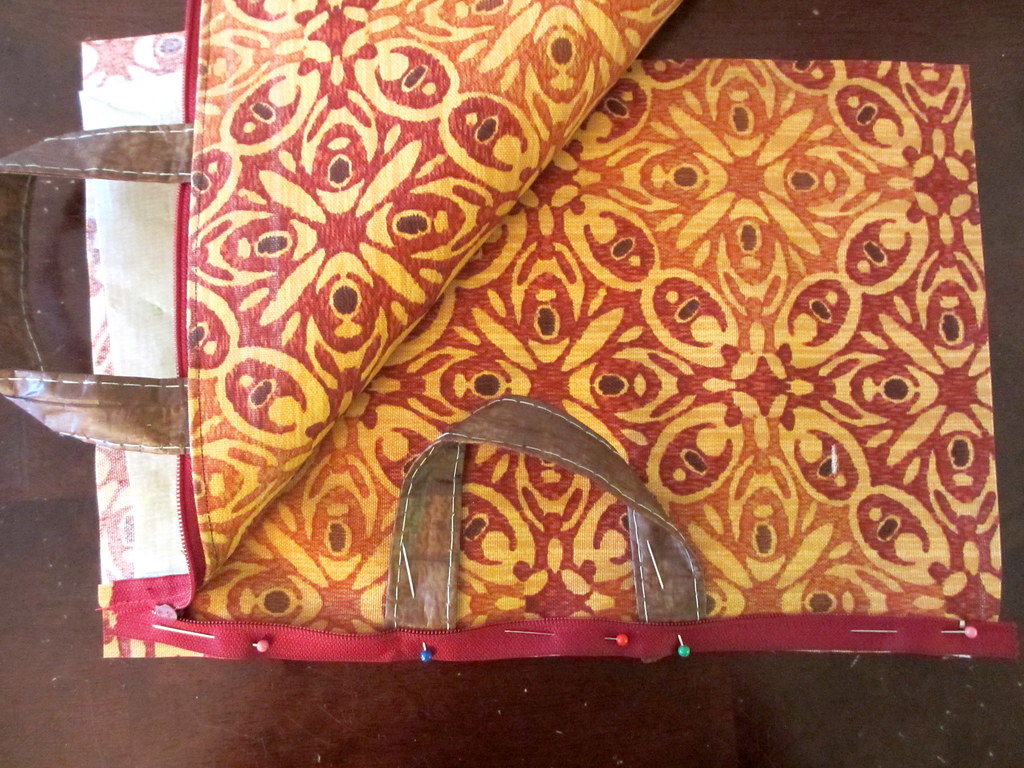
3) Line up and pin down your zipper (right side DOWN) on top of one handle, one of the fabric rectangles (right side UP), and one plastic bag rectangle (right side DOWN). Sew down, and topstitch if desired.

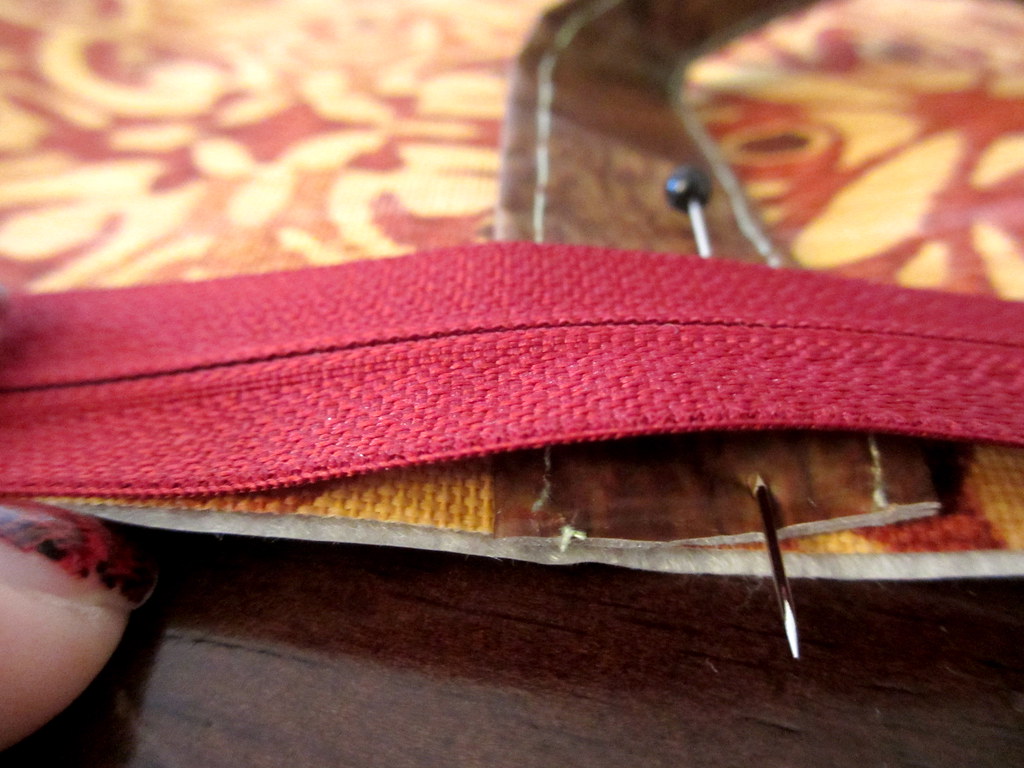
Make sure the edges are in line like this - the top photo is just for order reference!
5) Move both sides of the liner out of the way, and sew all the way around the edges of the outer fabric.
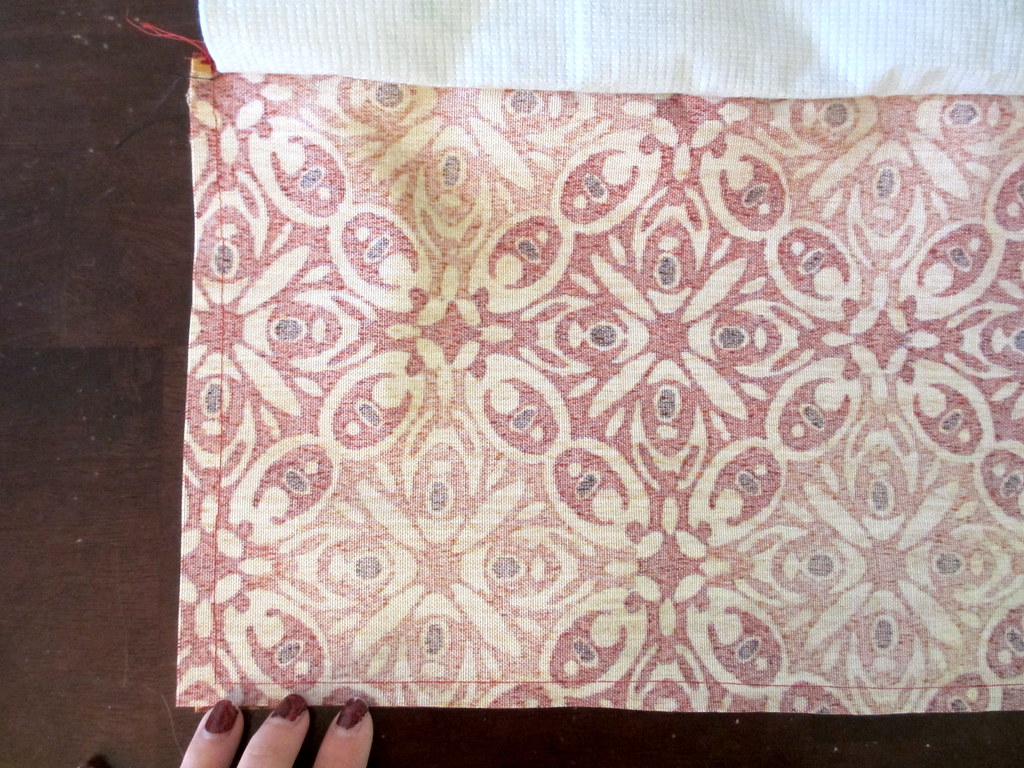
6) Turn the bag inside out so the liner sticks out, then sew all the way around the edges of the liner.

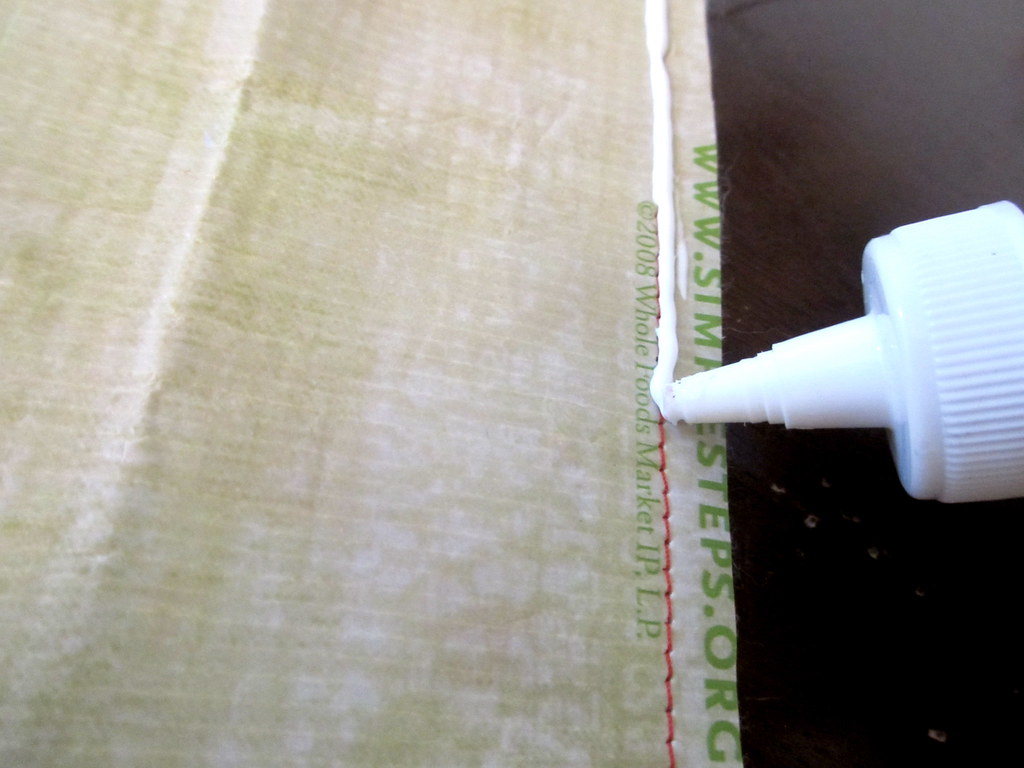
7) To make the bag more water-resistant, I added a couple layers of glue over the stitches in the lining, but this is optional.
8) Push the liner inside the bag, situate everything so its nice and flat, and tote that sucker to the gym!
Thursday, December 6, 2012
Thankful Thursday: Struggles and Successes
Sorry for the wall'o'text - pictures were a bit hard to come by this week. Definitely a goal for this next week! Anyways, this week I'm thankful for....

1) Getting to present my research to a group of well-published psychologists. The conference was so much fun and Long Island is gorgeous.
2) My family not only being able, but also willing to support me during my joblessness. Sucks having to depend so heavily upon DaddyATM©, but I'm lucky to be able to.
3) On a similar note, landing a job interview for a company that I am thrilled beyond measure about. No details yet until things are more settled, but excited nonetheless!
4) That even though I was barely able to get out of bed the past couple days, I did, and was able to make it worthwhile.
5) For finding inspiration in the strangest of places (I see you local bakery and closet from high school). SO MANY DIY IDEAS.
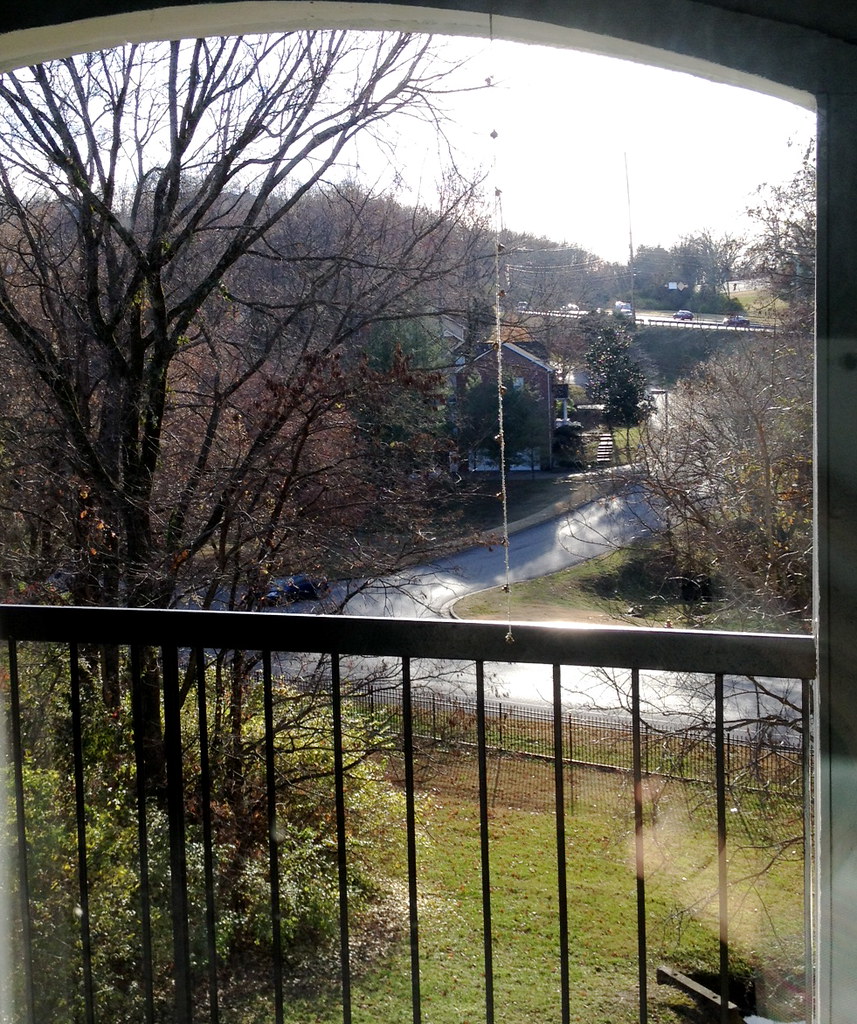
6) Beautiful views from my apartment patio.
7) The rain we've been having here recently. Makes me feel slightly more justified taking afternoon naps.
8) Long text conversations with friends who are 3 and 7 time zones away from me. BL and MH, you guys are wonderful and I'm so thankful that we've kept in touch.
9) Victoria's Secret coupons for free things in the mail!! And I guess mail in general. Letters are my favorite. hinthint.
10) And of course, being included in Liz of Cotton&Curls' leather week reader DIY post!!! So excited to be included in a list of such beautiful projects (which I am totally doing with all the leftover leather I somehow STILL have).


Here's a link to my "dudely DIY" wallet tutorial!
Subscribe to:
Posts (Atom)