Showing posts with label easy. Show all posts

Tuesday, September 30, 2014

How To: Cheap and Easy Vanity Table DIY

This little pseudo-vanity table is one of my favorite parts of my tiny little room. Most pre-built vanities I looked at were insanely expensive... Come on, we've all drooled over them on Pinterest - you know what I'm talking about. As a recent grad, it was a bit (read: WAY) out of my budget to spend more on what is essentially a table with some built-in drawers and a mirror than I do on my monthly car payment.

And then I realized wait, it's a table with some built-in drawers and a mirror. I can totally make that. Or at least fake it. Et voila!


Table: $5 at a sample sale (it's seriously 3 pieces of wood glued/screwed together, ultra easy to DIY)
Gold box: $2 also from sample sale (again, spray paint a cheap Joanns tray for another easy DIY)
Mirror: reused from this home DIY from my last apartment
Plastic drawers: Target for like $15 bucks
Chair: "gifted" from my dad - go thrift one that fits your table for super cheap!


The gold tray on top of the drawers holds all of the things I use daily: face lotion, eye cream, body lotion, deodorant, perfume, etc. My hair tools, make up, and masques/specialty lotions/etc live in the drawers.


Yes, the plastic drawers are a tad janky and should probably be replaced with some decent looking ones (or painted/have a cool scrapbook paper makeover!). Yes, it's not very ornate and the chair doesn't "match". But it's got plenty of natural light, more than enough storage, outlets to plug in my hair dryer/curler, and cost like 40 bucks! I'll take it!


And yes, that "hand of God" pencil drawing is there to stay (it's actually a pencil study that a right handed art student did of his left hand lying on the table). I weirdly love its creepiness.


Gratuitous selfie... Yes I'm way pale, and no my hair is so not really that dark...


Tuesday, April 2, 2013

DIY Home Inspiration: 6 Easy Ways To Update Your Kitchen

First off, here's where I should be announcing who gets a $10 gift certificate from me for winning my riddle challenge. However, no one's even attempted soooooo here's a hint: 26.

Secondly, have I mentioned yet how much I love love love these LEAF videos? The ladies behind them are just genius. And their latest video is a home run for someone (like me) who can't exactly renovate their entire kitchen.


Sunday, December 23, 2012

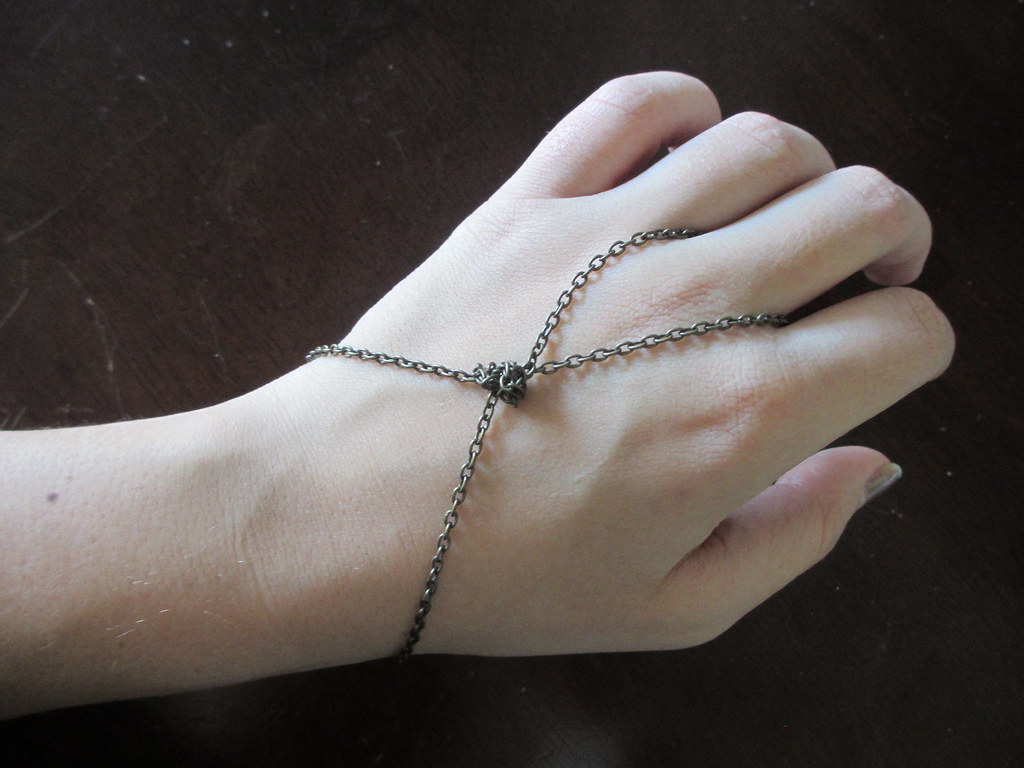
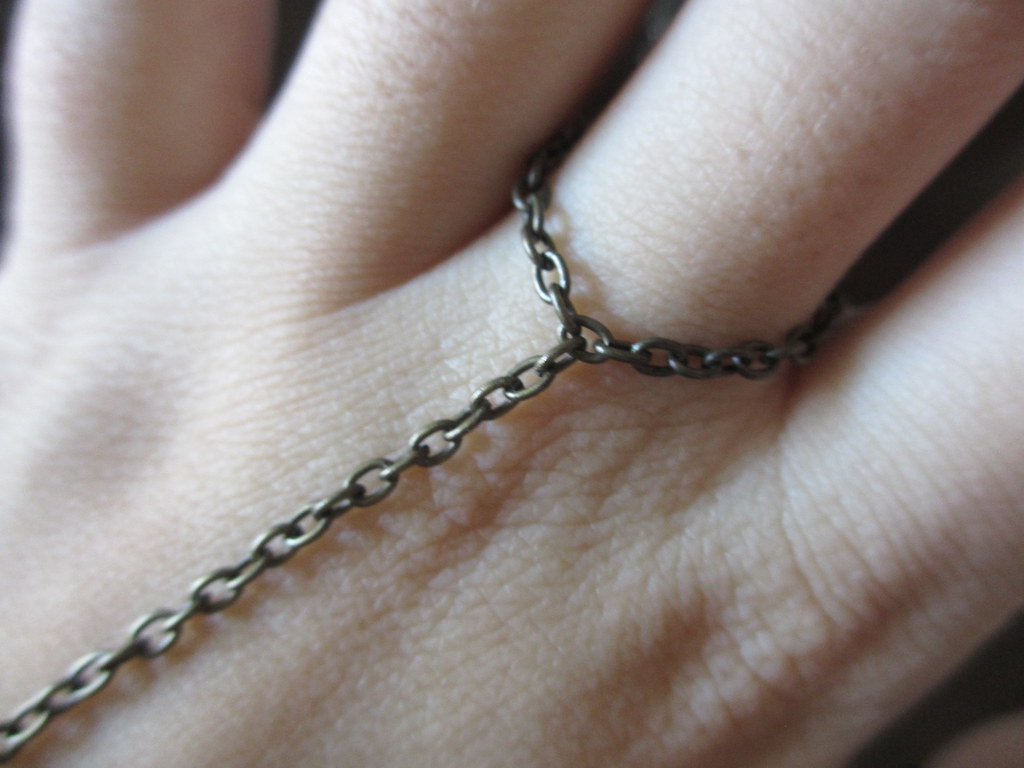
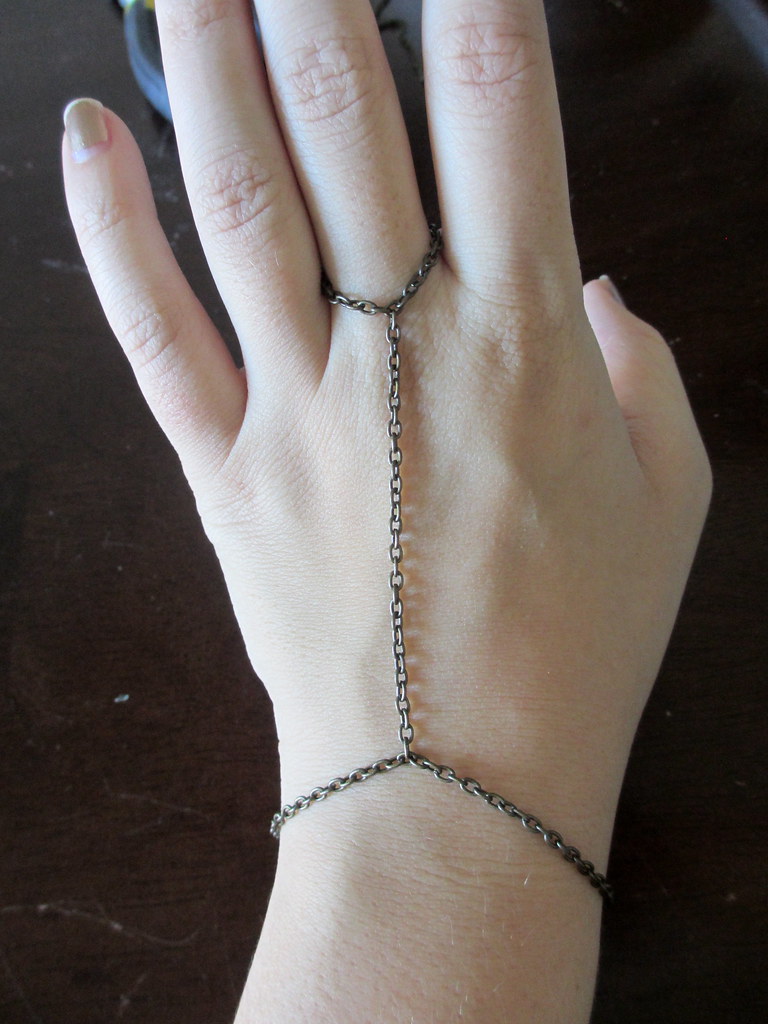
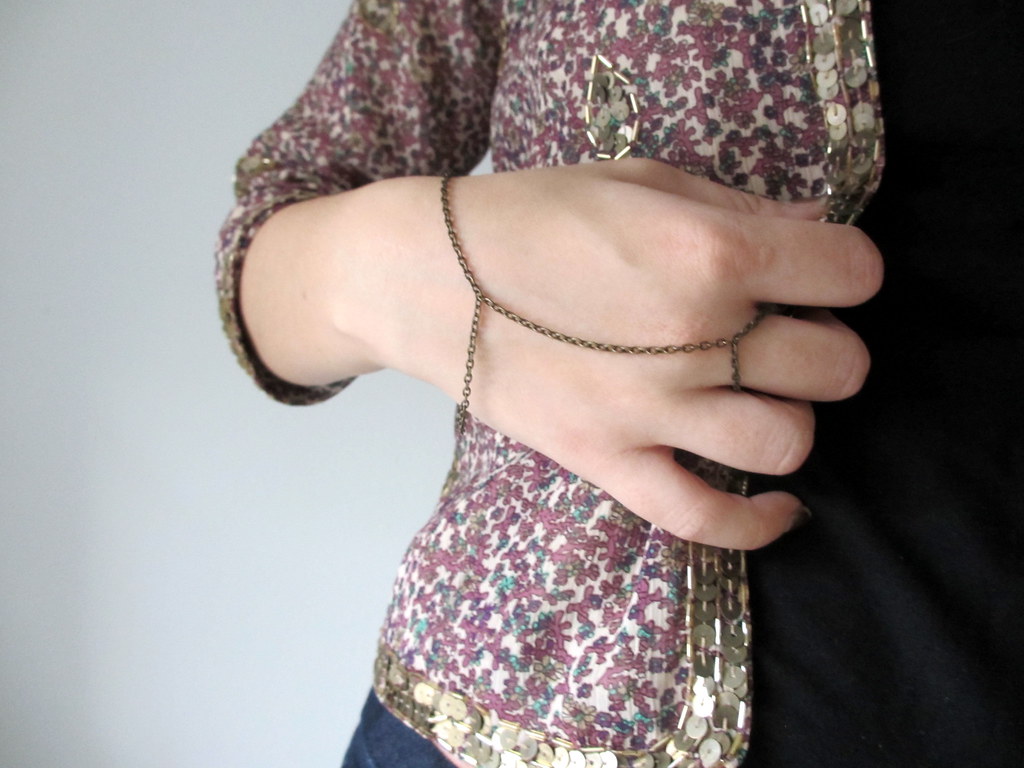
DIY: Hand Harness, Two Ways

Here comes the first of the five DIY's I'm doing for my Ten Days challenge! It's also ultra-easy if you need a quick present (or two or three) for the holidays still!

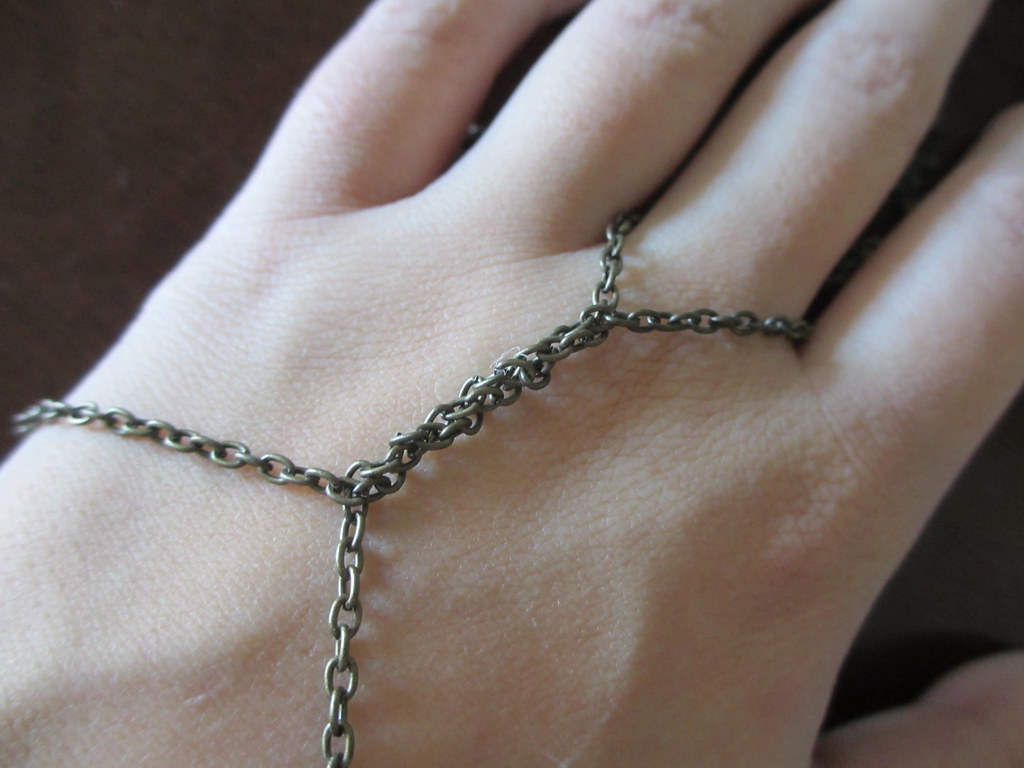
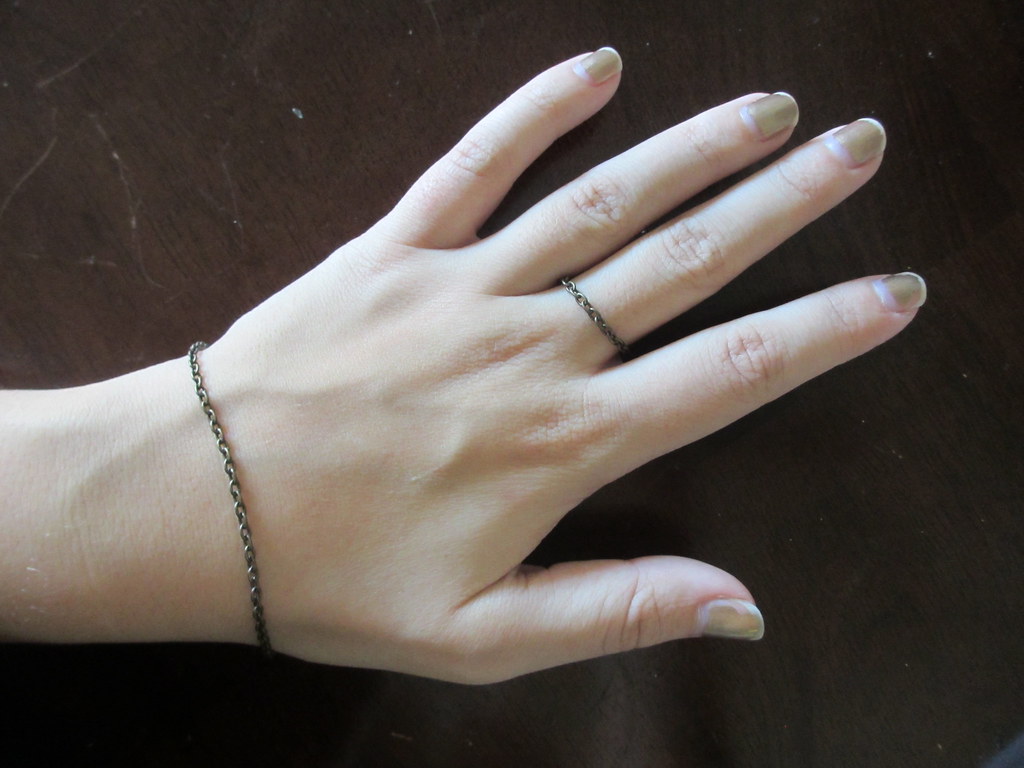
Yes, I know these things are generally called "slave bracelets". Call me too politically correct, just somehow seems a little weird and a little wrong to call them that..... Especially cause they're so dang pretty, and perfectly appeal to my earthy flowy hippie side! In any case, here's two super easy ways to create a umm..... bracelet connected to a ring.


What you need:
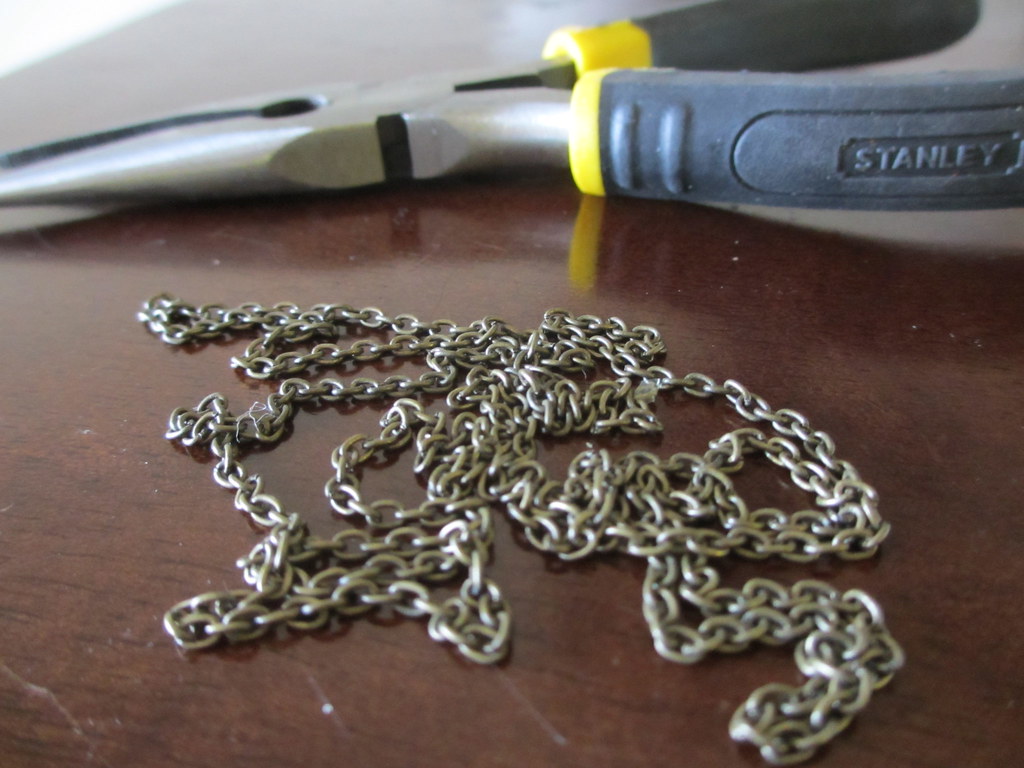
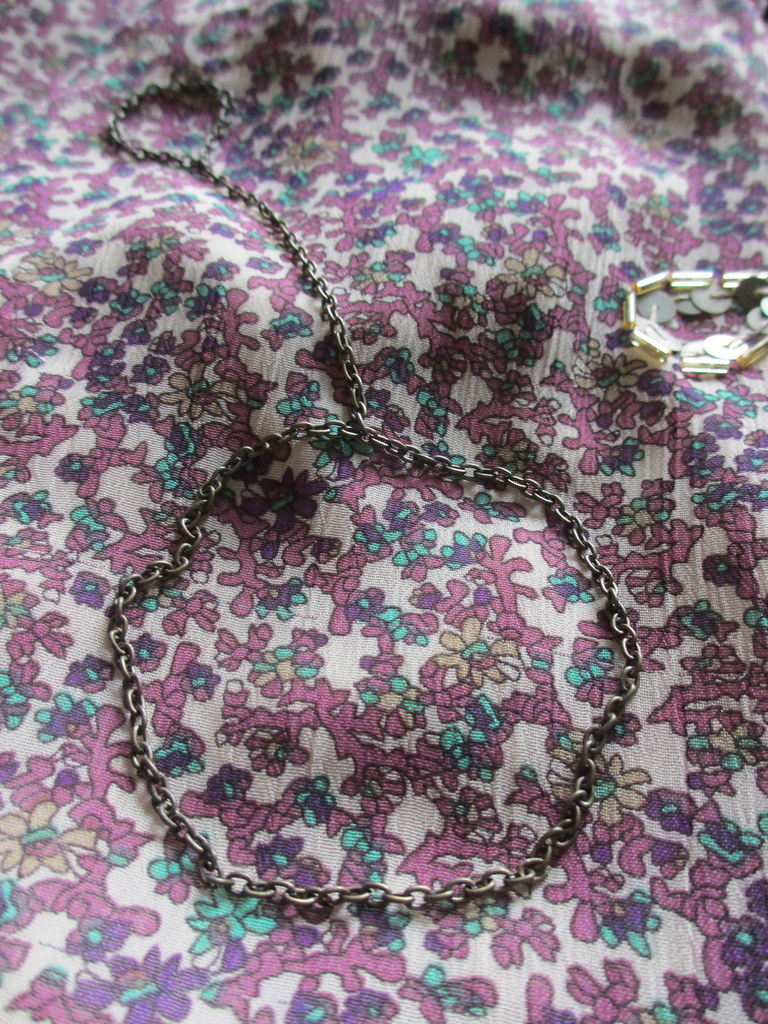
Fine chain
Jump rings (if your chain is too fine to just separate the links)
Jewelry pliers

What you do (part 1):
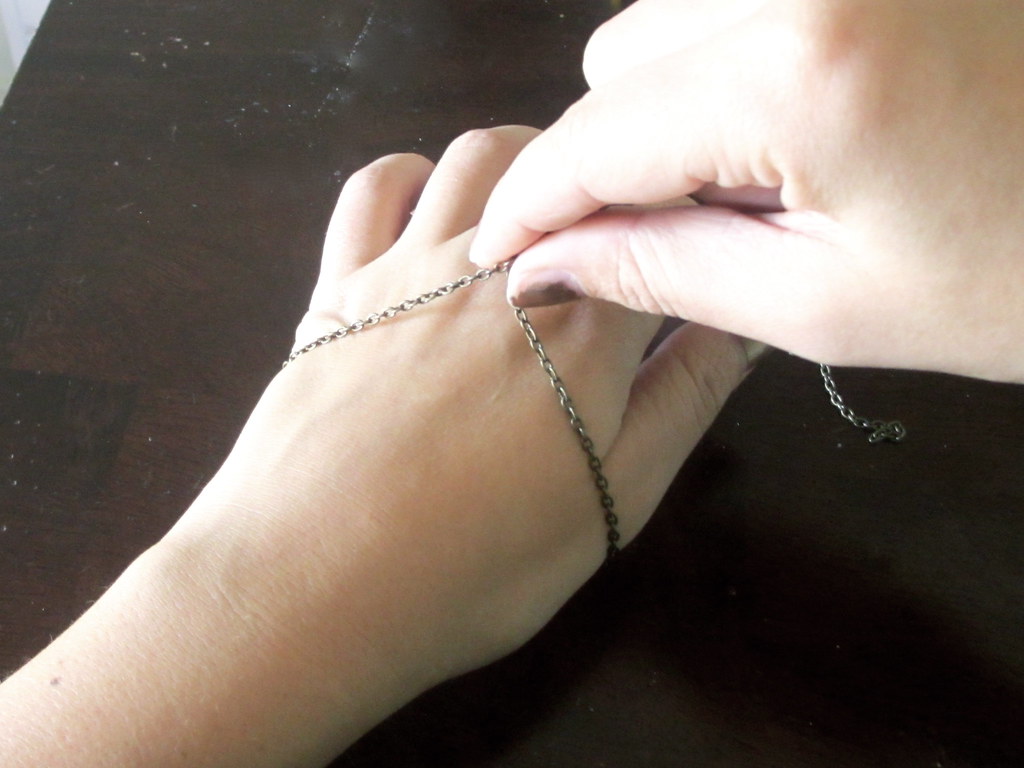
1) Measure a length of chain that you can easily slide onto your wrist. Make sure to leave several inches of chain on either end.

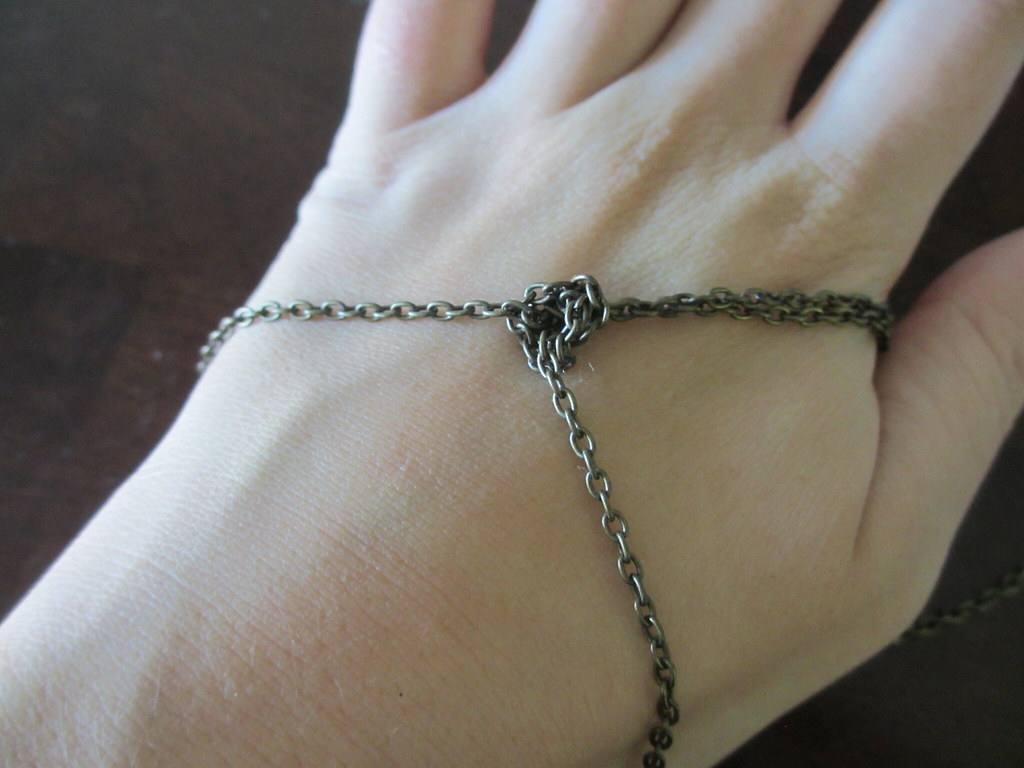
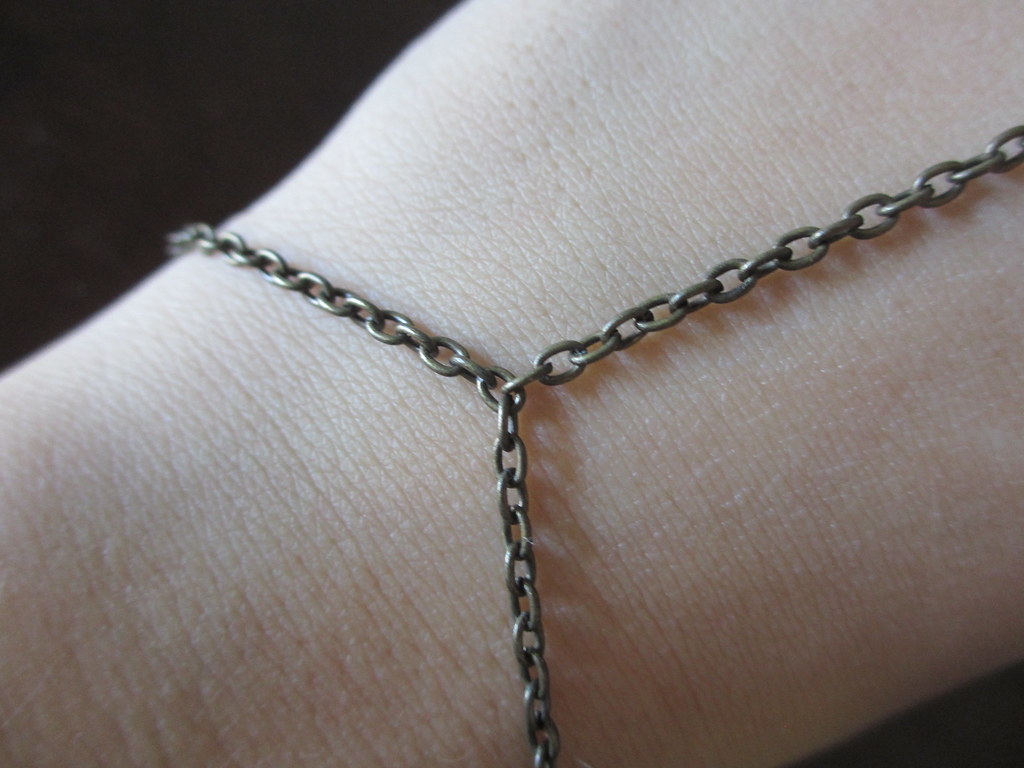
2) Create a knot in the chain.

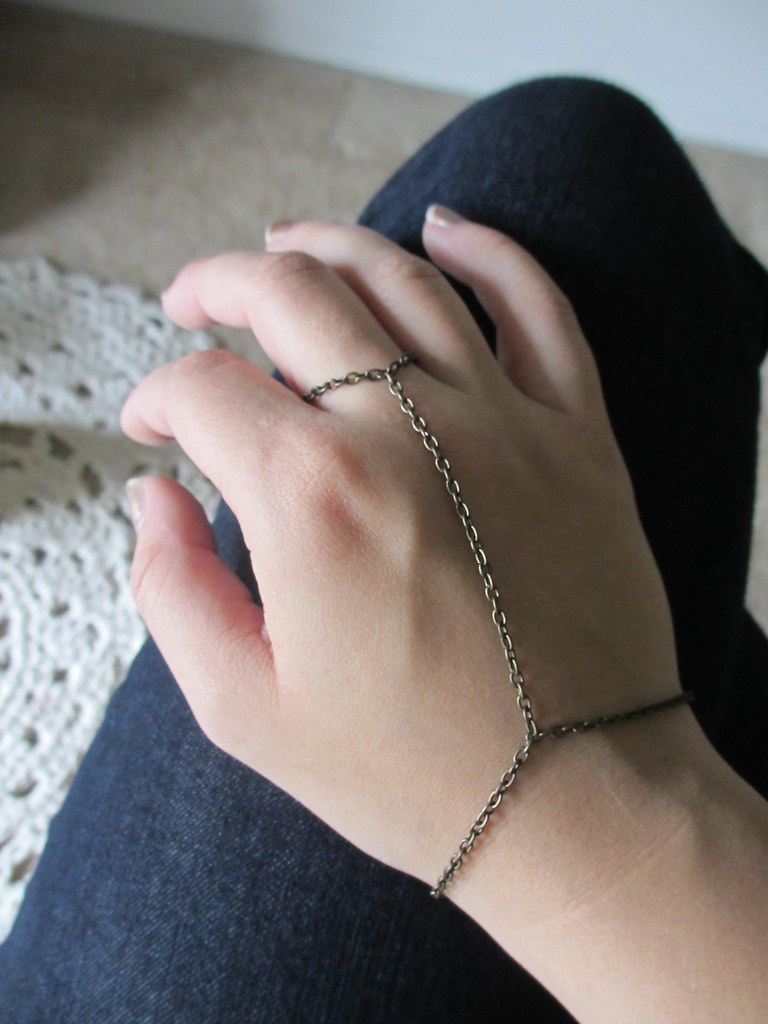
3) Connect the leftover ends of chain behind your middle finger. Keep a bit of slack so you can flex your wrist, but not so much that the whole thing will fall off.

4) You can either finish here, leaving you free to undo the knot and style the chain in other ways (I twisted the chain in the below photo), or you can add a bit of glue to the knot to keep it in place.


What you do (part 2):
1) Create a circle of chain that you can slide onto your wrist. You can add a lobster claw clasp to this version if you'd like, but I like the simplicity of just having the chain.

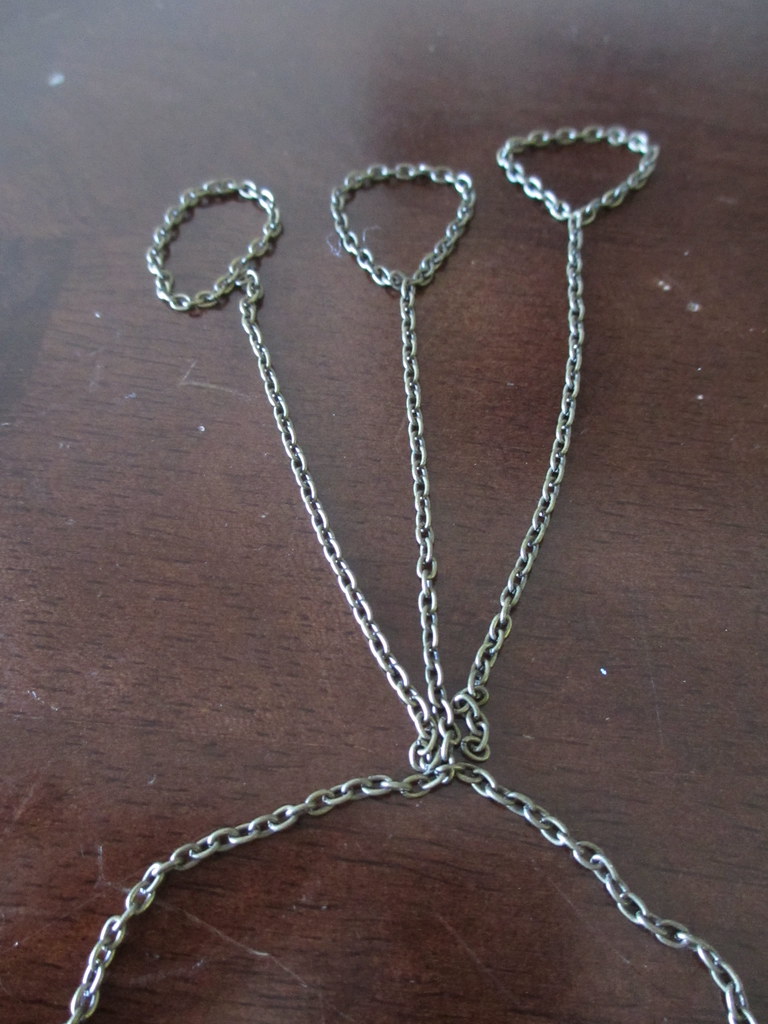
2) Create another circle of chain that you can slide onto your middle finger (or two or three fingers if you want a more dramatic look).

3) Connect the ring circle(s) with another chain to the bracelet, again leaving some slack so you can flex your wrist easily.


And this step is where you can get creative - you don't just have to have one ring, one bracelet, one chain! Play around with how many rings and how you want it all connected: braid some chains together, spread them out, attach one ring with a bunch of chains... I didn't have enough chain, but I thought a "feathered" look like this would be pretty.

4) Done!


Friday, December 7, 2012

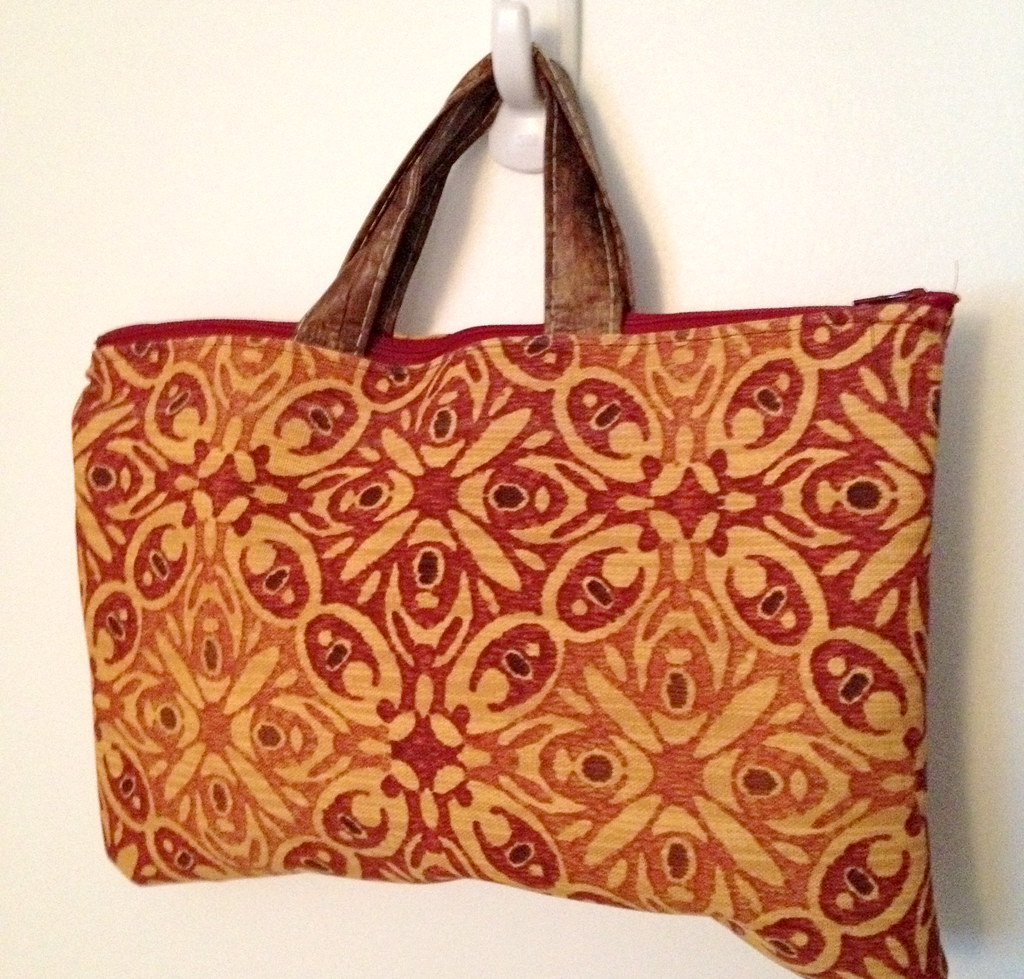
DIY: Toiletries Bag (Alternatively, A Simple Lined Clutch)


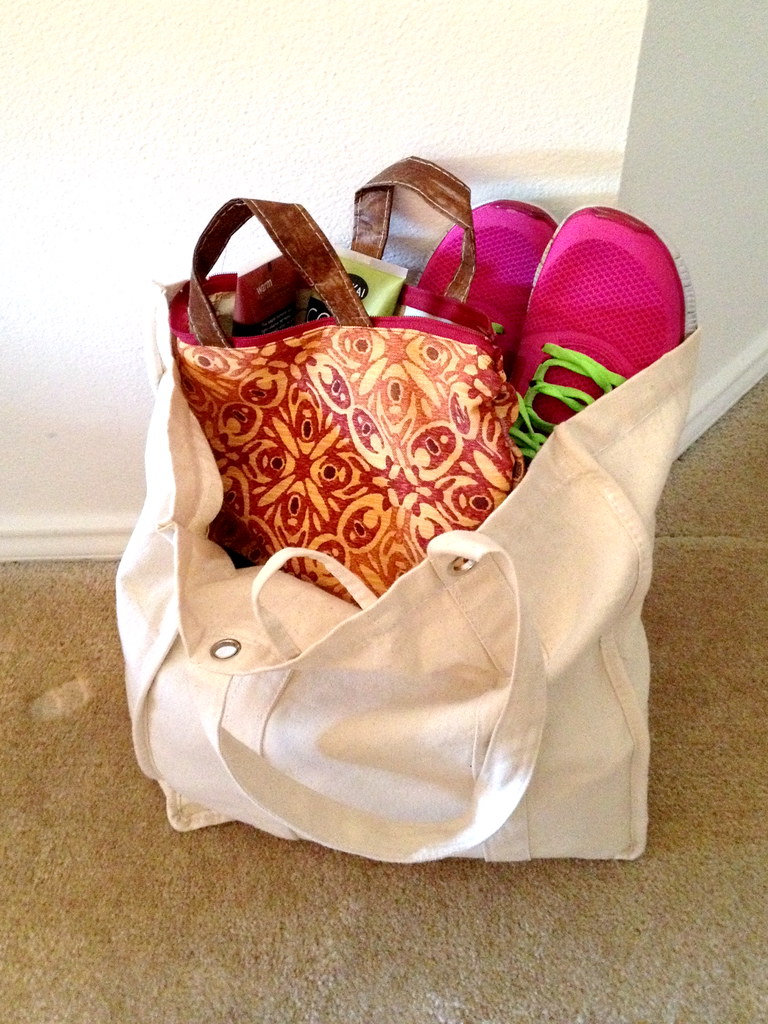
The biggest pain for me about going to the gym is all of the baggage I have to carry around with me (day clothes, work clothes, make up, hair dryer, lotions, etc), plus the damp toiletries I have to tote around in an unsightly plastic grocery store bag. This usually equates to me staggering out of the house in the morning with two or three psuedo-gym bags, plus my normal purse. Not. Fun.

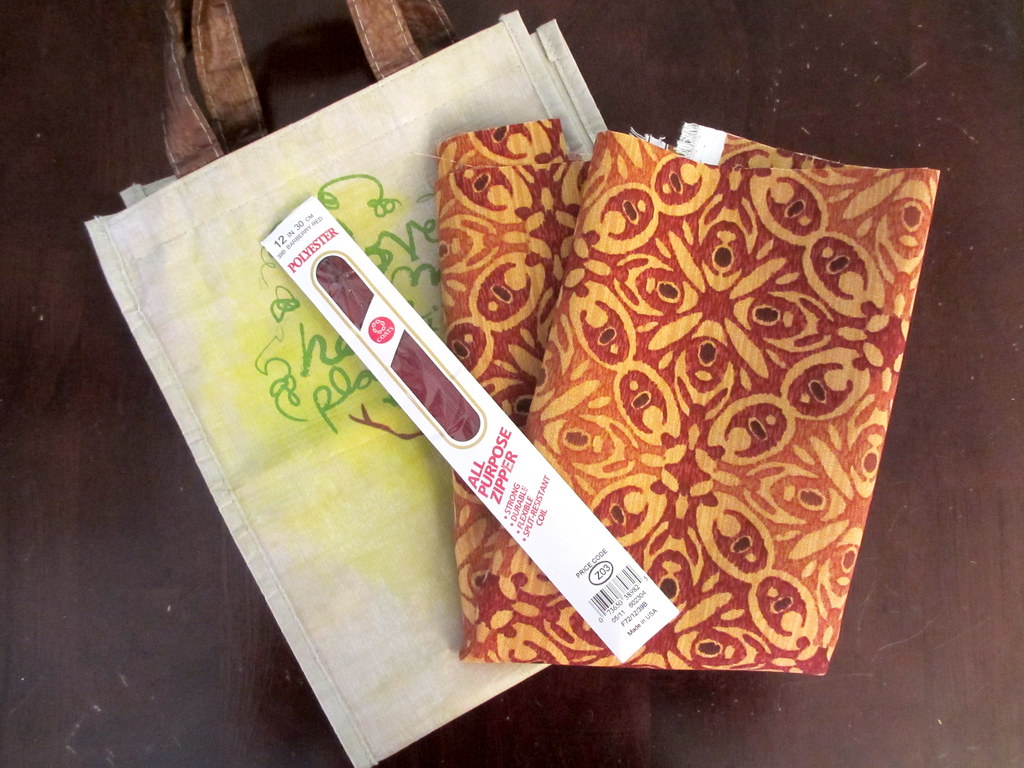
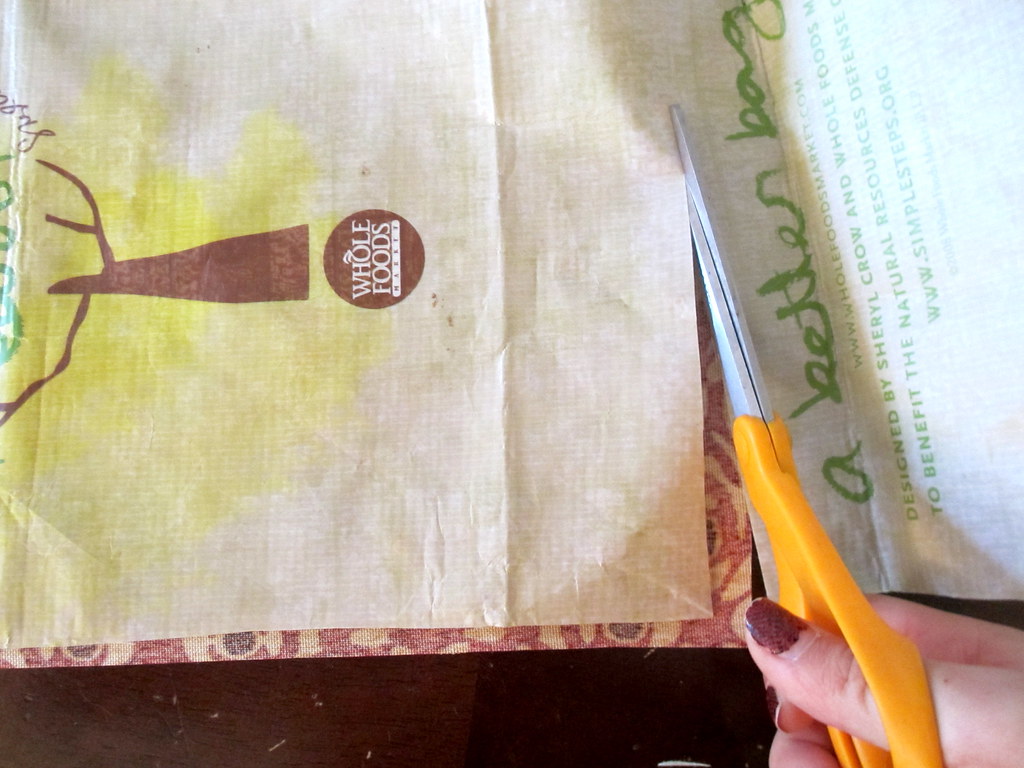
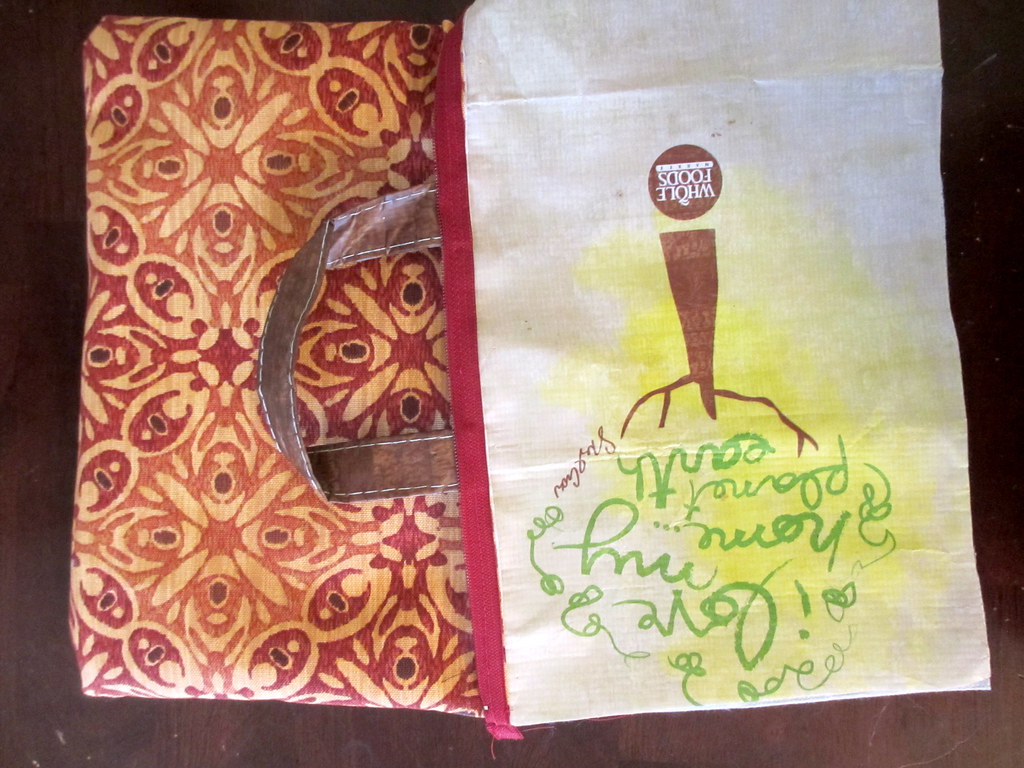
The first step into solving this was getting a proper toiletries bag. Enter a ridiculously tiny Whole Foods reusable (and notably, waterproof) bag that I never ever use due to its size. Are you thinking what I'm thinking? DIY project made (mostly) with stuff you have lying around the house anyways, yay!

NOTE: you can totally use this method to create a cute lined clutch! Just pick different fabrics, remove or change the handles, and voila!

What you need:
A plastic/waterproof reusable grocery bag
Some outdoor fabric - it repels water and resists mildew etc!
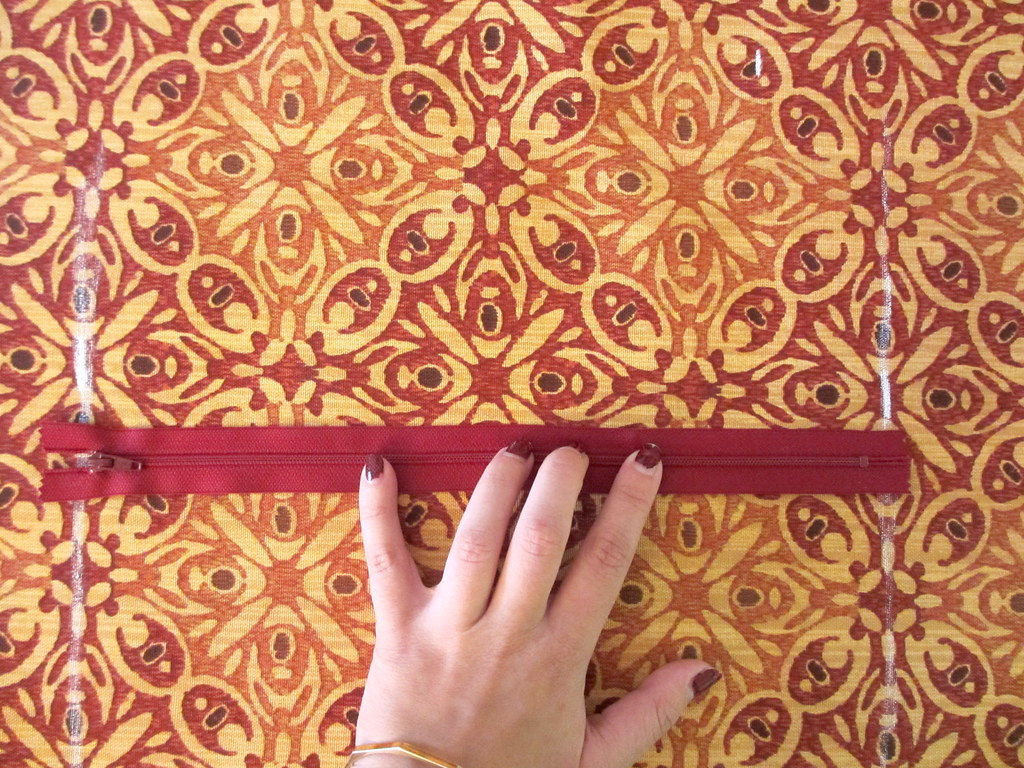
A zipper (I used a 12" one)
Scissors
Sewing Machine

What you do:
1) Cut two rectangles of fabric that are slightly wider than the zip part of the zipper, and however long is convenient to fit your shampoo bottles in.

2) Cut two rectangles from your plastic reusable bag that are slightly smaller than the ones you cut from your fabric. Cut off the handles of the bag and save.
The outside of my bag was a plastic waterproof material, so I'll be calling that side the "right" side.

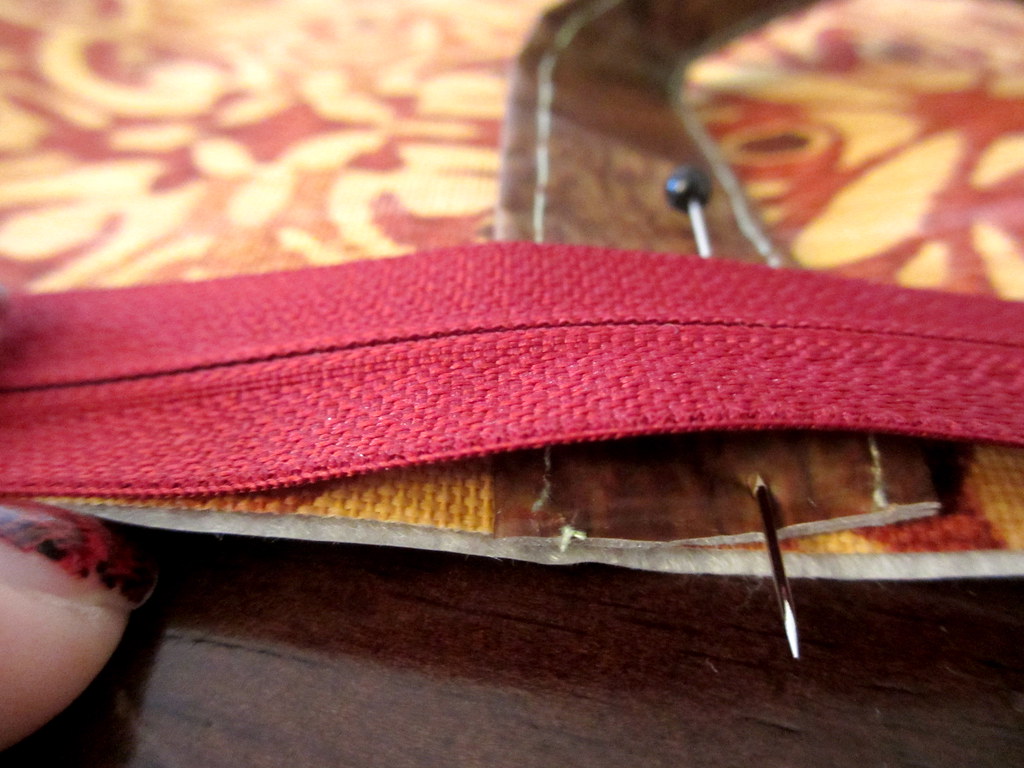
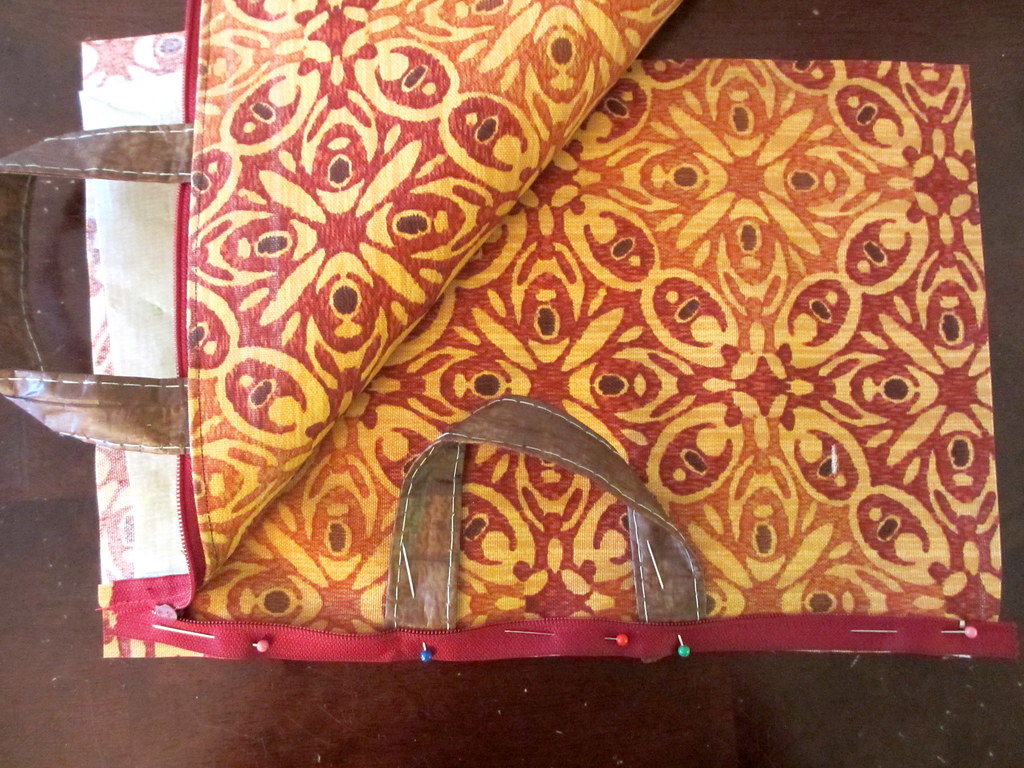
3) Line up and pin down your zipper (right side DOWN) on top of one handle, one of the fabric rectangles (right side UP), and one plastic bag rectangle (right side DOWN). Sew down, and topstitch if desired.
Make sure the edges are in line like this - the top photo is just for order reference!

4) Repeat this on the other side, making sure your zipper is still face down and your layers of fabric are in the right order and direction.

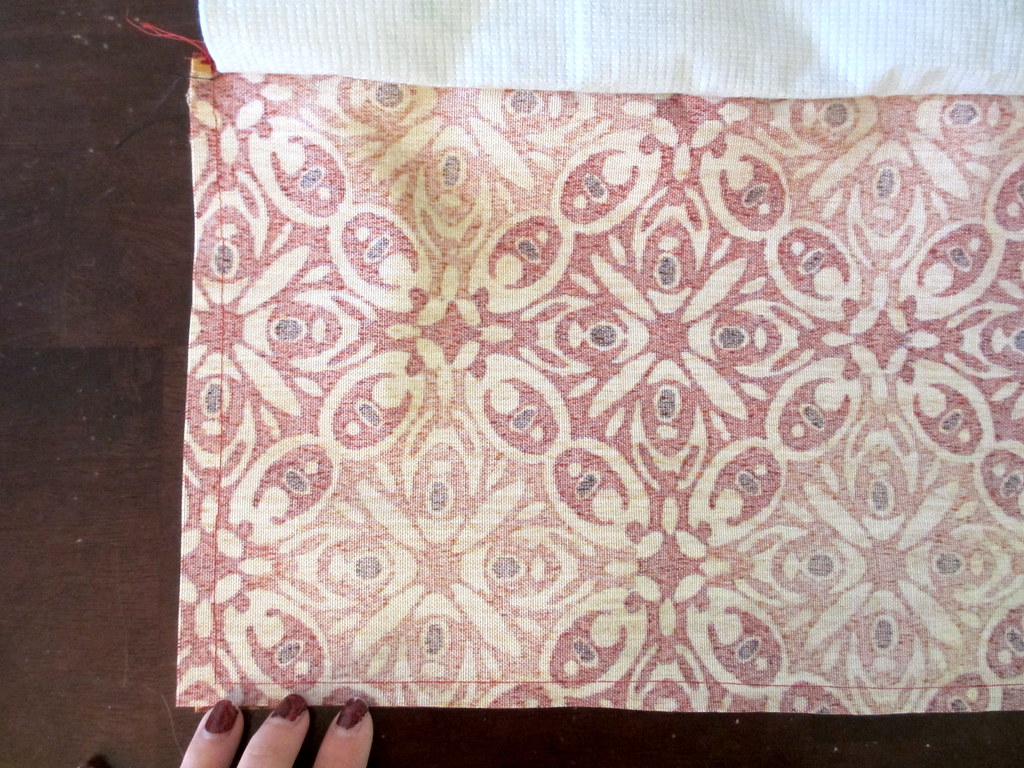
5) Move both sides of the liner out of the way, and sew all the way around the edges of the outer fabric.

6) Turn the bag inside out so the liner sticks out, then sew all the way around the edges of the liner.

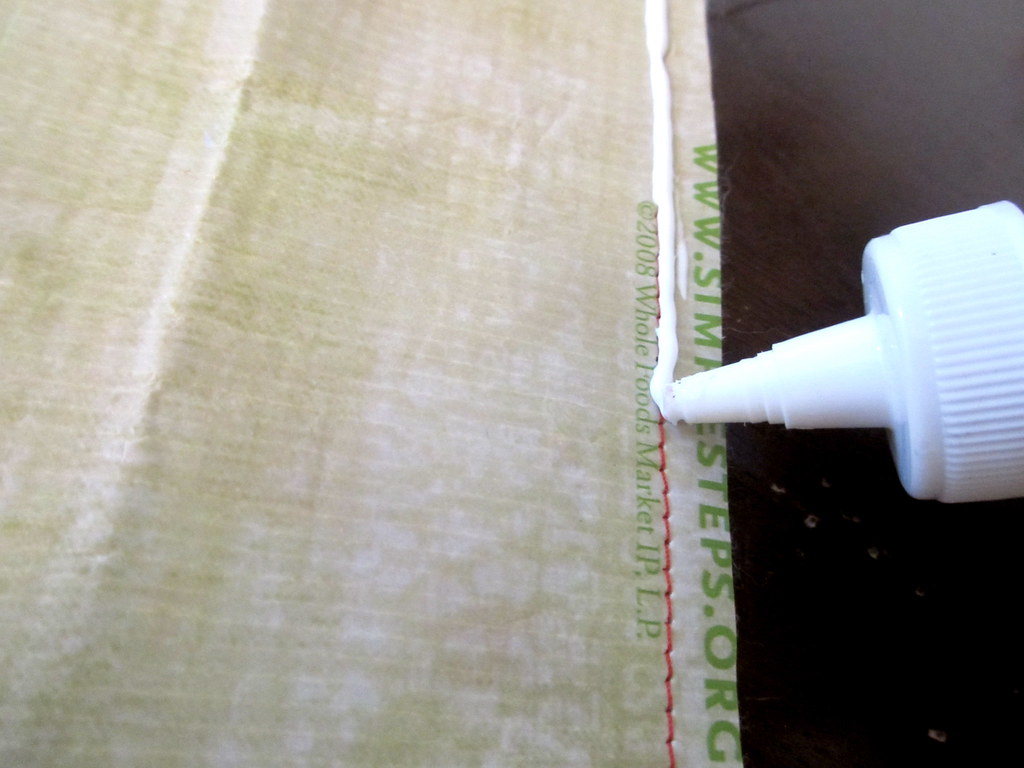
7) To make the bag more water-resistant, I added a couple layers of glue over the stitches in the lining, but this is optional.

8) Push the liner inside the bag, situate everything so its nice and flat, and tote that sucker to the gym!