Showing posts with label how to. Show all posts

Monday, February 18, 2013

Beauty Tips: Lipstick

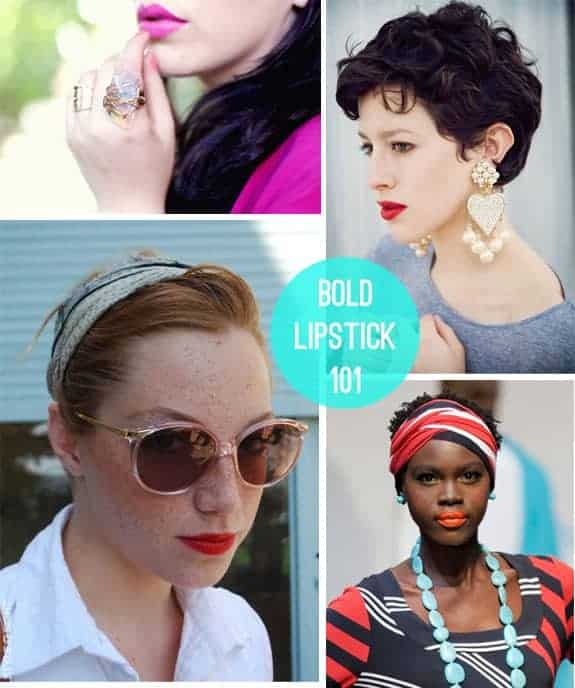
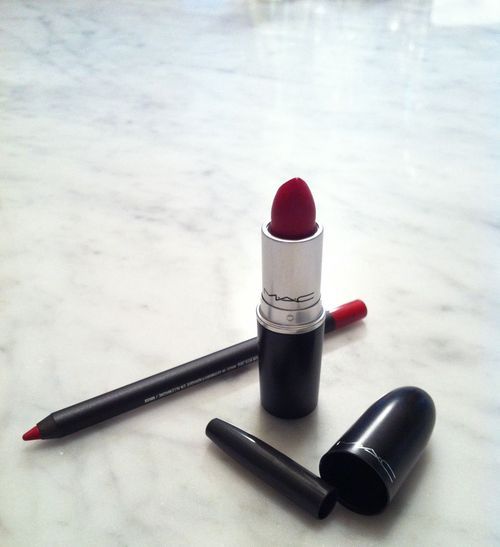
I am NOT a lipstick kind of girl. It makes me so sad because lipstick looks so unbelievably fabulous on other girls/women, but it looks like a cruel joke on me. Which sucks especially bad in the month of love and red and hearts and sparkles... So my beauty goal this spring is to conquer (or at least not cower in fear from) lipstick!

From my research thus far, here's a few of my favorite lip DIYs and tutorials:

A guide to lipstick shades from Liz at Cotton & Curls

How to prep your lips for the perfect lipstick from Stephanie at Henry Happened

Another Henry Happened favorite, this time a great list of lipstick tutorials and colors

An awesome red lips tutorial video

And of course, I have to give a shout-out to one of my old college friends, who just started a beauty Tumblr. She is not one to shy away from drama (she is an actress after all), so her lipstick choices are always spot-on.

Tuesday, January 22, 2013

How To: Create A Reading Nook

One thing I absolutely want to continue doing in my new apartment is separating my spaces. My bedroom in my last place was a no-technology zone, minus my iPhone for its alarm capabilities. I relaxed and watched movies on my couch and did work/ate at my table, and never the other way around. This helped me both sleep and concentrate better as my body knew that bed meant bedtime and not stressing out over applications.

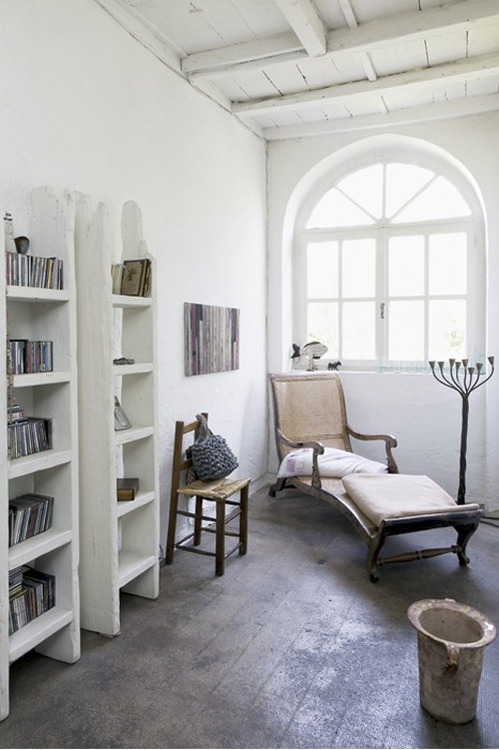
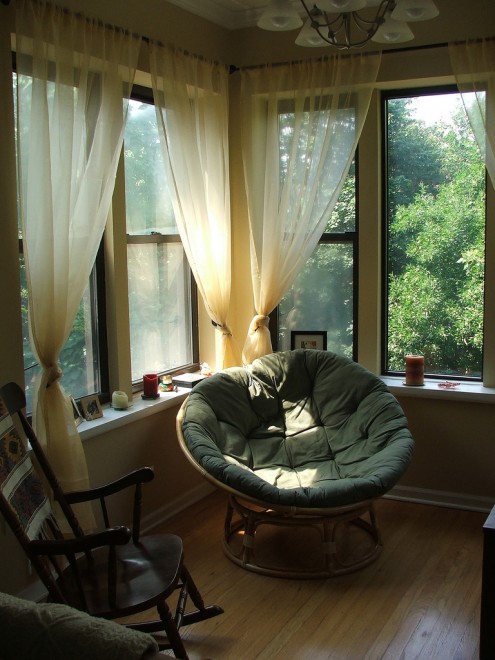
And since my new space is MUCH larger than my place in Nashville, I will even get to create a separate reading nook!! I'm so pumped. Here's what I'm thinking about while planning for a proper reading nook:

>>Very importantly, a comfortable but supportive chair or lounge or corner. You want to be relaxed but not fall asleep, at least immediately. Post-reading naps are actually pretty wonderful though.
>>Potentially even more importantly than a good chair, a good light source. I'd recommend putting your nook near a window so you'll get natural light during the day, but also having a lamp nearby for good nighttime reading.
>>A side table to rest any tea, coffee, wine, cookies, cereal, etc you may want to consume.
>>A bookcase or other place to put your current books or ones on your to-read list (a shelf under your side table works!)
>>Keep it simple. Definitely surround yourself with pretty objects and decor that makes you happy but allow yourself to just enjoy being with a book!


Images via: A Little Shelf of Heaven, ApartmentTherapy, Tumblr (uncredited), ApartmentTherapy, Home Designing, UnexpectedTendencies, Beach House

Sunday, September 30, 2012

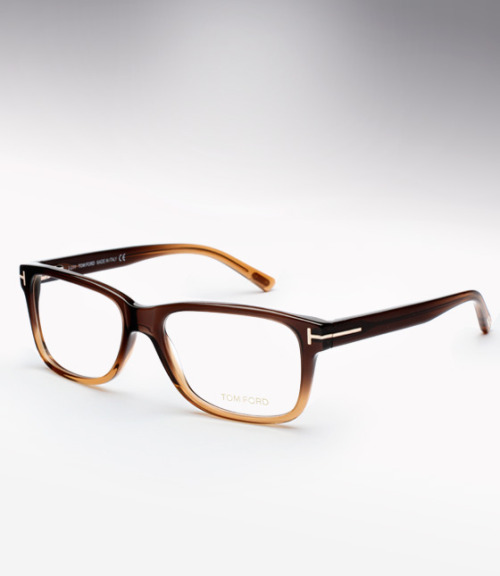
How To: Accessorize Using Eyewear

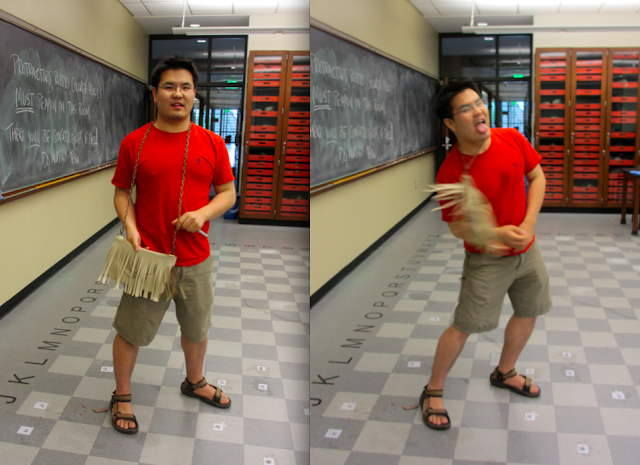
I've vowed to make this blog more personal, so here we go. Second and third most embarrassing photos of me ever, and the only photos I have of me wearing glasses:

Bad haircut/hairdo, gum in my mouth, horrible ill-fitting shirt, and holding scissors since I'm in the middle of cutting my friend's hair. Awesome.

Confession: I've had glasses since I was in 4th grade and contacts since I was in 8th, giving me almost 14 years experience with eyewear. And yet I've always hated wearing my glasses since I felt like it was something that separated me from the world, visually. There were my eyes, then this (thick and ugly and nerdy) piece of plastic, then everything else. But somehow it dawned on me today that eyewear can actually be an accessory to your style. (cue mind blown gif) Especially since glasses are SO in vogue right now, and add some cozy to your fall wardrobe. Here's how:

>>>Add some quirk to your look, or emphasize the quirk you already have. Those bejewelled glasses emphasize her haircut and push the outfit just over the edge of awesome. And I mean, how sassy are those kids?? I've heard from reliable sources that See is a great store for vintage and quirky rims.

>>>Use glasses to create or exaggerate the make up look you want. Emphasize your cat-eye eyeliner with half-rim glasses or even cat-eye glasses. Emphasize your smoky eye with dark full-rim glasses. The lines mirror and enhance each other, giving your look even more pop.

>>>Exaggerate a minimalist look by adding clear frames (she's not wearing eye make up, but that's immediately where your eyes are drawn to this photograph!). Clear or even rimless glasses can give you a very professional look.


>>>Exaggerate a not-so-minimalist look (i.e. go big or go home). Exaggerate red lipstick with bright red glasses and big waves! Holding a baby leopard also helps.

>>>Be a lady! Delicate glasses can totally pull together a prim and proper look, without crossing into little girl territory. (I really love the Kate Spade collection for this look)
Note the use of cat-eye eyeliner with cat-eye glasses!

>>>Be a man! Dudes in glasses and suits are hot, period. Ladies, don't be afraid to cross into the "mens" section of eyewear, break those gender norms! I was actually about two minutes away (and three hundred dollars short) of buying some "guys" glasses today. The aforementioned Warby Parker has a beautiful collection.

Myopics unite!

P.S. yes, the first most embarrassing photo of me will be up on here soon, as well as a much better photo of me in my much new and improved glasses.

Wednesday, May 16, 2012

How to DIY: Copy, Paste, Sew

Want an easy first DIY sewing project but don't know where to start? Copy an old knit shirt or skirt!

What you need:
Tank top, shirt, skirt etc that fits you well and is simply made (doesn't require buttons or zippers to get into)
Knit fabric (stretchy)
Sewing machine

What you do:
1) Double over the fabric so that the "right sides" (i.e. the pretty/front side) together, so that the wrong side is up.

2) Lay out your tank top on the fabric. Measure and mark a one inch border around the whole thing.  You may have slightly different front and back necklines, so just mark the fabric differently.
Remember this bow tank top? I made it using this same method!

3) Cut out along those lines.

4) Sew up the side seams and across the shoulders, then hem the neckline and sleeves.

5) Whammo, bammo, you've got yourself a new custom fit tank top!

 6) Cue model Ben. He's a geology major - can you tell?

 My favorite picture of the entire shoot. So ANTM.

This other tank was struggle bus to get on, so instead we took photos of my newly DIY'ed purse.


Friday, March 30, 2012

How To: Survive the Last Three Weeks of Thesis Writing

In three weeks today, my thesis will be due. But don't worry, I've made preparations.

1) Gather your supplies. Caffeine, chocolate, clementines, instant oatmeal, peanut butter packs, fluffy socks, warm sweaters, noise canceling headphones. Whatever you need to stay awake, happy, and motivated in order to push through this last long haul.


2) Prepare your battle room. In other words, clean up your workspace. Make it comfy, make it clean, make it open, make it well-lighted. You'll be spending much of your time here. It also might be easier to work outside your dorm room (in the case of college students), where you can get tempted by your oh-so-comfy bed. Changing scenery helps productivity.


3) Draw up a plan of attack. Set aside a time each day to force yourself to write - this means everyday, whether or not you "feel like it". Set daily goals and mini-deadlines for yourself. I get a thrill crossing off items on my to-do list so I find that a bunch of smaller deadlines helps me stay on track. But figure out what works best for you.


4) Cut off communication. Turn off your wifi, turn off your cell phone, put a big "ANGRY THESIS STUDENT INSIDE" sign on your door, and turn on some Beethoven. But really, put down the phone, stop texting, exit Pinterest, no more Words With Friends, and you really need to stop stalking his Facebook wall. This is Words With My Thesis time.


5) Have a back up plan. Back your thesis up on a harddrive. Stay flexible when things don't go according to plan. Think of ways to creatively use what you have in order to make it work.


6) Move out. Daily. With huge projects, it's really easy to get stuck in "sitting inside all day slaving away at thesis work" mode,  which can quickly turn into "I haven't seen the sun in three days and am only 80% sure today is Tuesday." Get outside, do at least a half hour of rigorous exercise everyday. Make sure you're still showering and brushing your teeth. Wash your face. Change your clothes occasionally and use deodorant always.


7) Operation Sanity Preservation is a go.

(These guidelines also apply for other types of large projects, exams, papers, etc. Hope this helps!)

Wednesday, March 7, 2012

How to DIY with Thrift Store Finds

I've been getting a lot of comments recently about how people think they "couldn't possibly" do what I'm doing, which I think is just silly. So in honor of my contest, I'm showing you why DIY'ing is so much easier than you'd think!

Your first steps into DIY'ing can be simple alterations. Go to your thrift store of choice and find something that you really like but doesn't fit well. Note: making something bigger or looser is usually more difficult than taking something in, so stick to oversized things at first. I went last weekend and absolutely hit the jackpot, so here's four really easy fix-it-ups I did with what I found.

1) Up first we have a purple, leather, high-waisted skirt. BOOM. The trick with thrift store shopping is to keep your mind open!
The color is super purple, I don't know why it shows up so dark in the rest of the photos...

The skirt was a bit long so it hit awkwardly just at my knees. The waist and hips fit really well though so I knew this would be an easy fix, especially since it's leather and won't fray if I don't re-hem it. That's right, a no-sew project!!


Sorry for the awkward close-up of my leg...


As with most alterations, I started by trying the skirt on and marking where I wanted it shorter, thinner, smaller, etc. For this skirt, I only wanted to take up the hem, so I folded the bottom up to help me visualize the end result, marked, then cut along that line. Be sure to factor in a hem if your skirt is made of a material that will fray. If in doubt, always cut less instead of more. You can always cut more off - you can't cut fabric back on. And viola! A new skirt!


2) Up next, we have a white and blue striped shirt with lace along the collar:


I didn't bother taking a before photo, but basically the sleeves were massive and I wanted the body a little more fitted. So I tried it on, pinned how much I wanted to be taken in and where, (being careful not to pin myself), and sewed along the pin lines. Easy peasy.

 Super cute details!


3) Now here's where you guys get to laugh at me. Next, I have another, almost identical blue and white striped shirt, with an exactly identical alteration... Took the sleeves and body in a bit, and called it a day.

This one was long-sleeved and has pretty flowers embroidered on the collar and cuffs! Totally different!


4) And lastly, my first ever midi skirt/dress! This length usually looks terrible on me as I'm not 6 feet tall, but I really liked this one. Here's the before:

Originally looking like something a 1950's kindergarten teacher would wear...

And the after:

Wanna know the best part? This is another no-sew alteration! To make it wearable, all I did was turn it around! The dress fit perfectly (just looked really old-fartsy) so I took a page out of NewDressADay's book (LOVE HER) and am just going to wear the back as the front, unbuttoning a few buttons to make it a flattering v-neck instead of a super awkward high neck!

So I hope that this inspires you to try your own hand at altering! I have another 3 DIY's planned in the next couple weeks, so don't change the channel!

And don't forget to enter my giveaway by 9pm tonight!!