Showing posts with label ring. Show all posts

Thursday, March 28, 2013

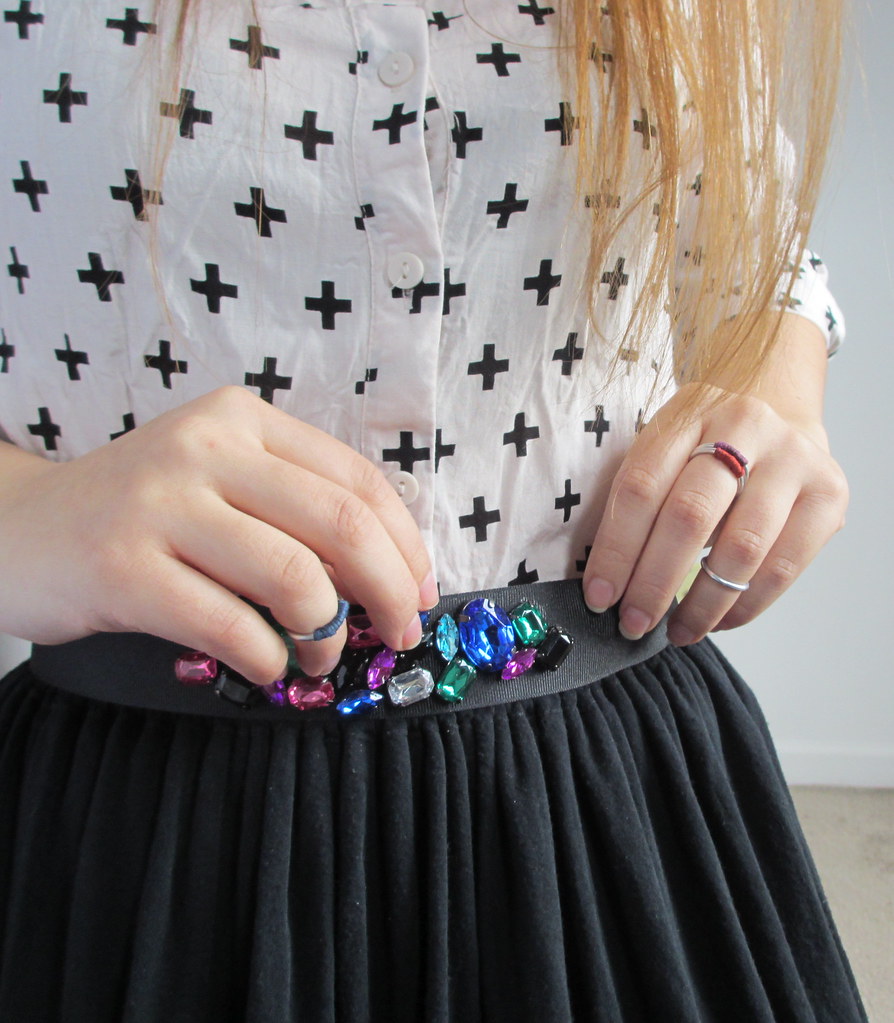
DIY Gem Belt Outfit

Hey, look, what's that??

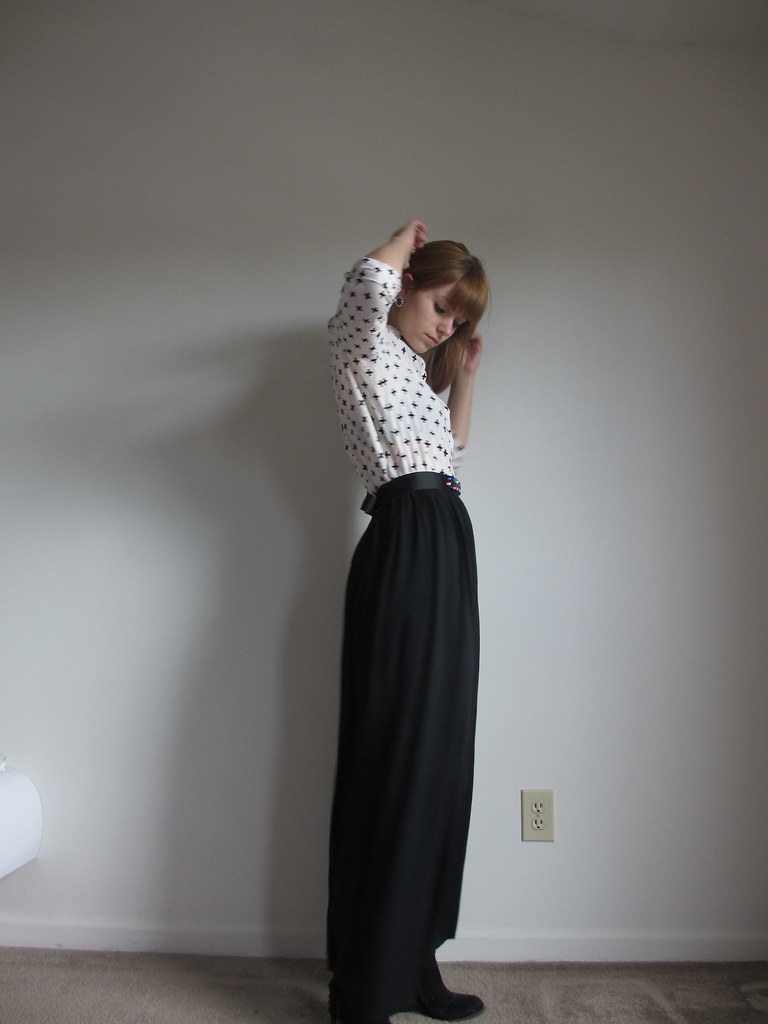
Oh my goodness, it's my face! You haven't really seen that much around here lately huh... So here you go, a full blown outfit post, featuring the belt I made yesterday and a couple other DIYs - can you spot them?? Hint:
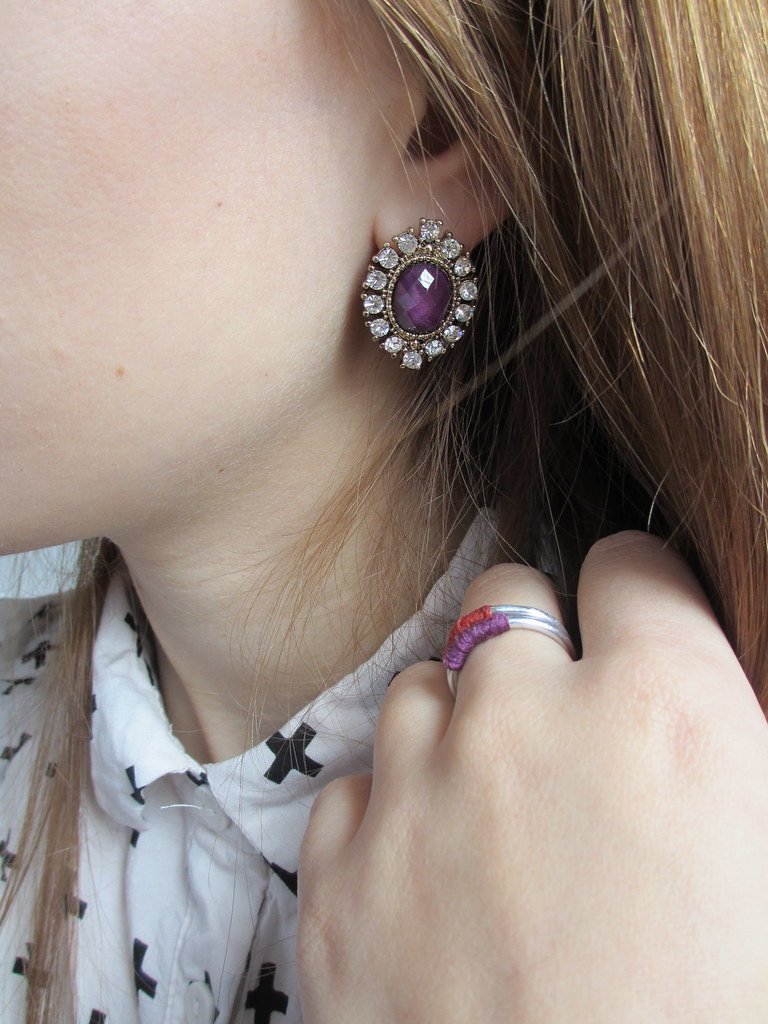
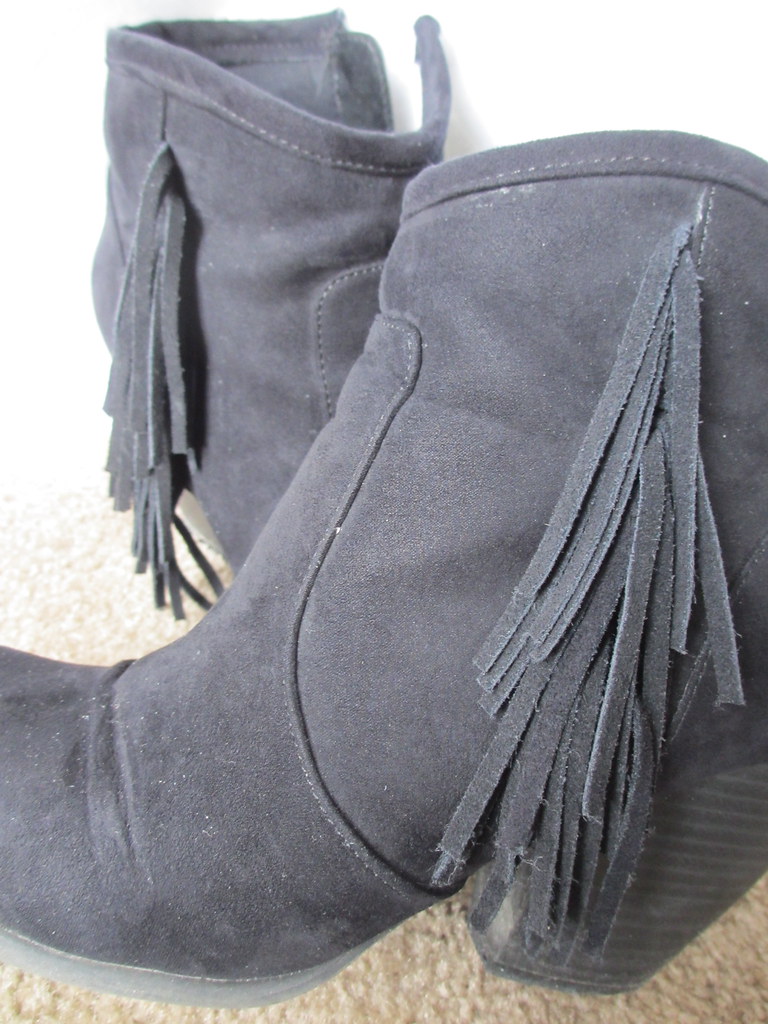
Outfit details: {Shirt: H&M} {Maxi skirt, rings, and belt: DIY} {Shoes and earrings: Target}

Aaand this is when I started feeling really silly twirling around taking photos of myself...

Bonus! I rediscovered this dress that I wore to my senior formal night (I adore that lace detailing) and thought it might be super cute with this belt too! What do you think?

Tuesday, November 27, 2012

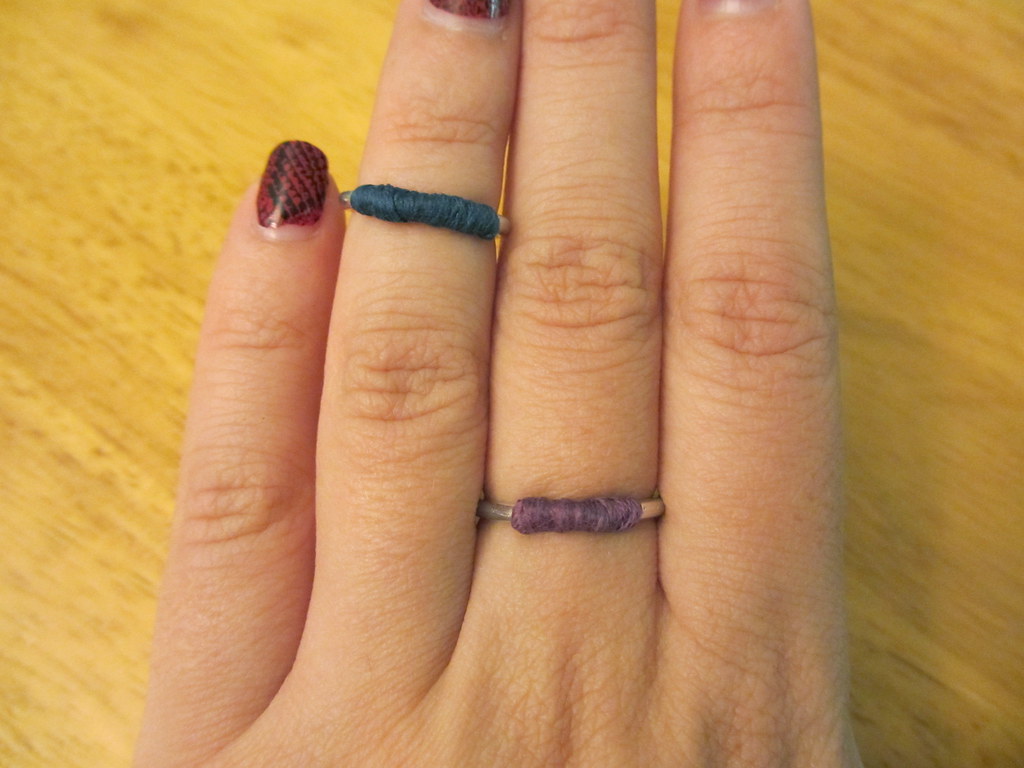
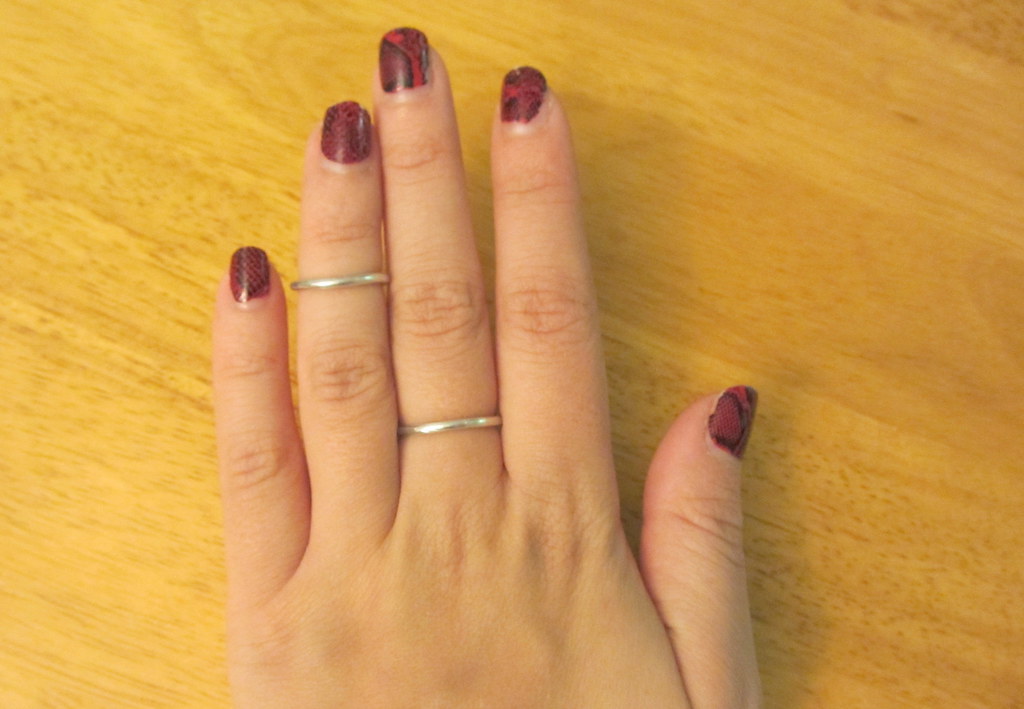
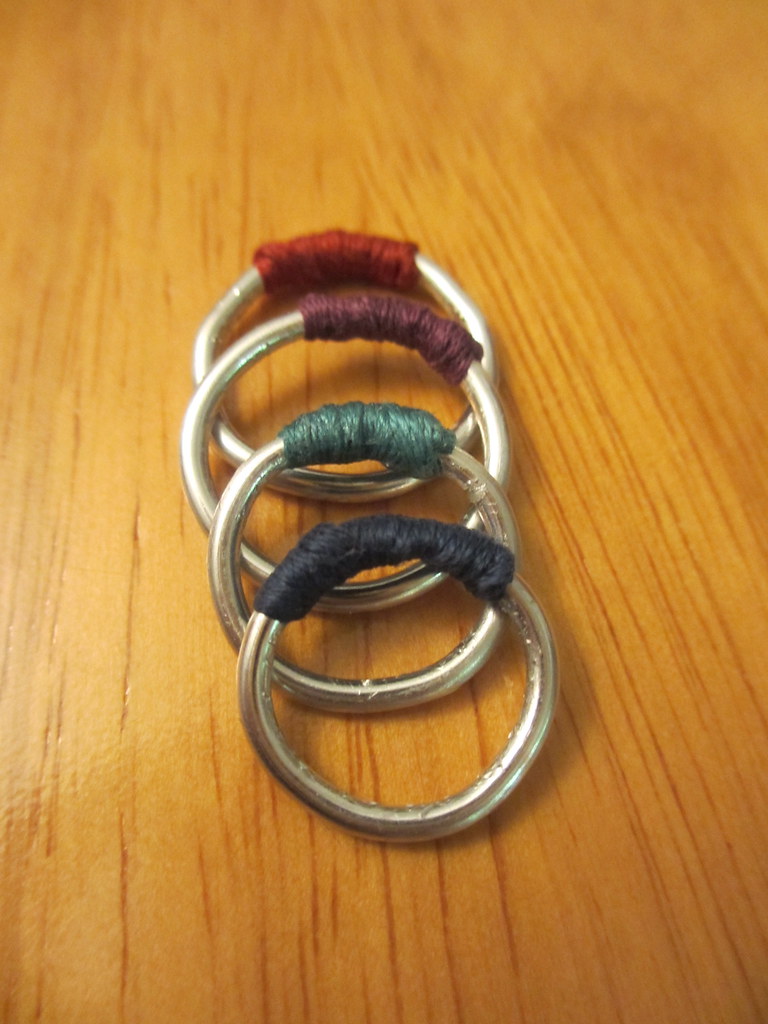
DIY: Colorful Upper Finger Rings

If there were an award for ugliest hands, I would totally win. My extreme appendages are generally stubby (earning me the nickname "She Who Walks On Squares" in high school - but that's another story for another day), and my fingers are no exception. They're also much more wrinkly than my 23 years of age would imply. Yay.

However, I can't help but love rings (see here and here...). I wear them probably three times as much as any other kind of jewelry. And when fiddling around with wire the other day, I thought of this DIY. Enjoy!

What you need:
Wire
Embroidery floss or thread
Glue (something like E600)
Round-nosed pliers

What you do:
1) Gently bend wire into a circle that looks roughly like it would fit around your first knuckle. Try on and adjust as necessary. (There are ways to do this much more scientifically and precisely, but guestimation worked just fine for me!) Cut any extra wire away.


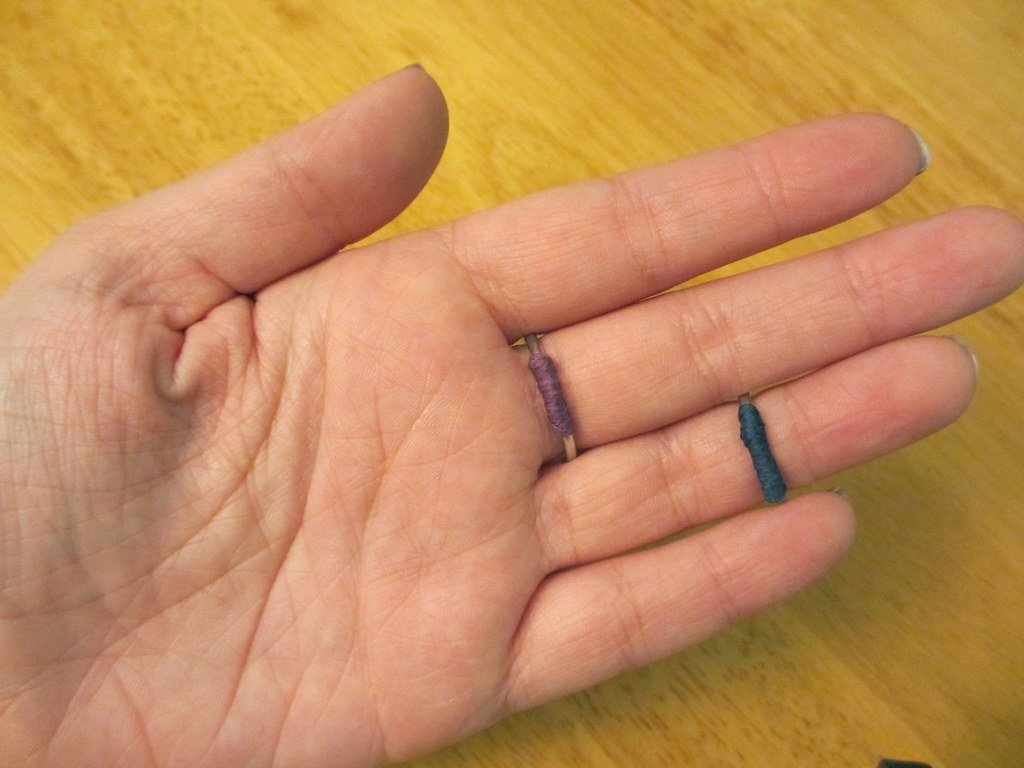
2) Tie a piece of embroidery floss onto the ring and wrap around where the wire ends meet, gluing as you go. I chose to only wrap a small bit, but it might be cool to wrap the whole ring!
I like wearing them with the embroidery floss on the inside for a super sneaky pop of color :)

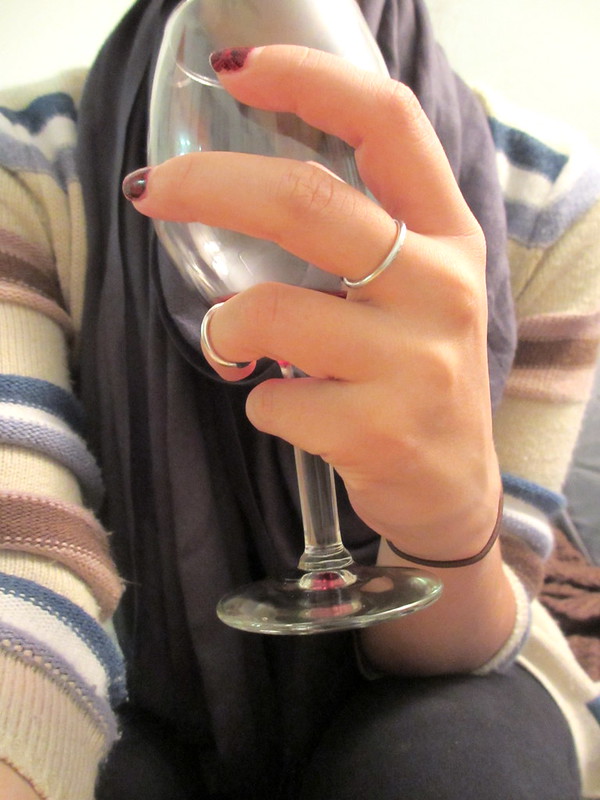
3) Model with hands only a mother could love. Drink wine to make yourself feel better.


Tuesday, June 19, 2012

DIY: Rock Rings

With florals and maxi skirts and flower wreaths and 70's style platforms ruling the fashion of the week, what's a girl to do about accessories? You could of course go the flower on flower on flower route, or you could DIY yourself up some slightly more solid, but equally hippie-chic rings like I did the other night.

What you need:
Some ring blanks
Some rocks/gems with at least one flat surface
Some super strong glue (like SuperGlue)

What you do:
1) Decide which way you want the stone to face on the ring.

2) Dollop a generous (but not overflowing) amount of glue onto the stone. Gently push ring blank into the glue and set to dry. This might be slightly trickier if your stone isn't flat on both sides - i.e. you might have to hold them together for a couple minutes while the glue dries.


If you have a super long stone like I did, you could even try making a multi-finger ring.


3) Wait until fully dry. Rock out! (badumtsssss)

(sorry for the weird/not great quality final product photos - my camera charger has vanished, so I took them on my iPhone...)

Monday, February 20, 2012

And When She's Productive...

...she's very very productive! Woke up this morning, cleaned my room, read an article, wrote a response, and still had time to do two quick DIY's before class!

First, I decided to finally use the leftover cotton rope (actually cording I think) from my doily rug to make the plant hanger I posted about here. Turns out I didn't have quite enough rope to make a proper one, but hey it works!

Note the lack of tassel/tail at the very bottom...

As per my Valentine's day tradition, I bought myself flowers last week (decided to go with potted petunias this year), which worked perfectly to hang.

My pack-rat tendencies also finally paid off when I realized I could use the ring from an old Vera Bradley clutch that I've had stashed away forever for the top ring in this project. Win!

And secondly, I've been dying to make this dainty ring since I saw the how-to on this incredible blog. And I found some blue wire (that I have zero recollection of purchasing) this morning while rummaging for my cotton rope. The wire isn't quite as large a gauge as it should be, but I really like how light it turned out - I usually fidget with any rings I wear, but this one is so light that I don't even notice it.

I also ended up lightly sanding the wire so that some of the copper underneath shows through.

Instagram!! Because my hands are super non-photogenic.