This whole
sequins and sweaters thing I talked about a couple weeks ago is becoming more true than I dare to even say.
So instead, please direct your attention to
this uh-mazing photo (again by the Sartorialist - I'm obsessed, okay??) of a woman (I'll bake cookies to whoever can tell me who it is) wearing a blinged out beanie. Let me repeat that. BLINGED. OUT. BEANIE. I mean, lookit her hat! And her arm party, and the neon chunky statement necklace and the layering and ugh. I want it all. Especially that hat. Cue my most loyal life partner in crime modeling my latest DIY.
World, this is Sumo my teddy bear of the last 15 years. Sumo, this is internet fame.
What you need:
A beanie
Lots of rhinestones
Glue and/or sewing thread and needle
What you do:
1) Try on your hat and fold up the beanie "brim" however far your want. I chose this awesome F21 one with a neon interior. ¡Viva la neon!
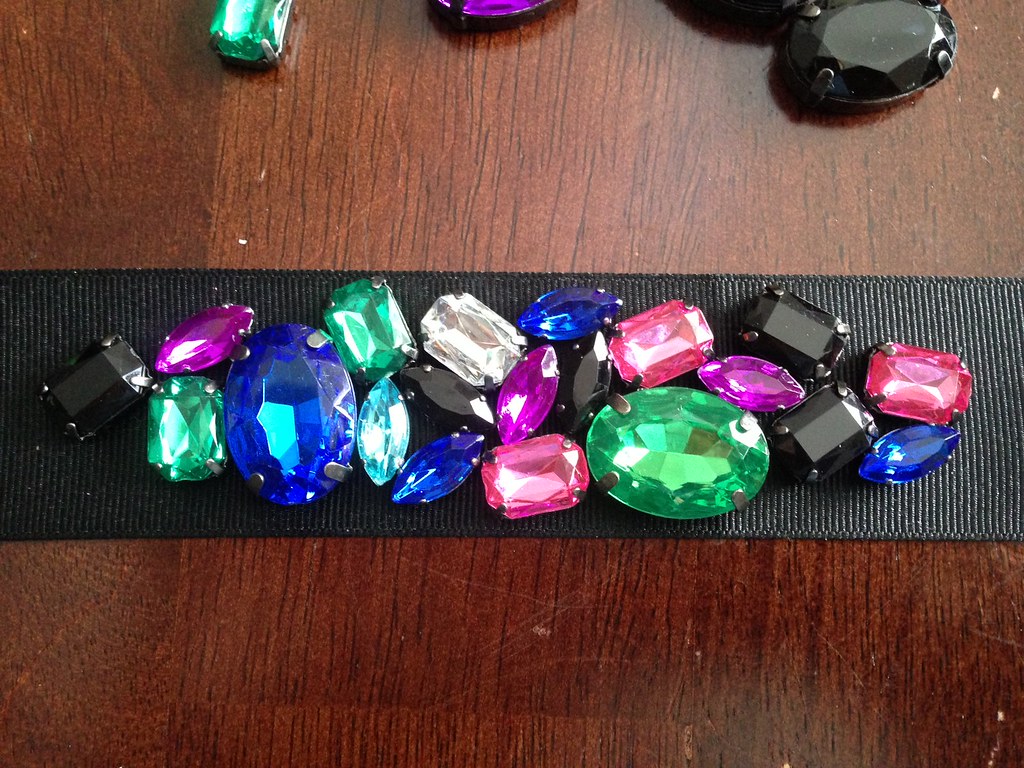
2) Organize the rhinestones by color since you're kind of a freak for stuff like that.
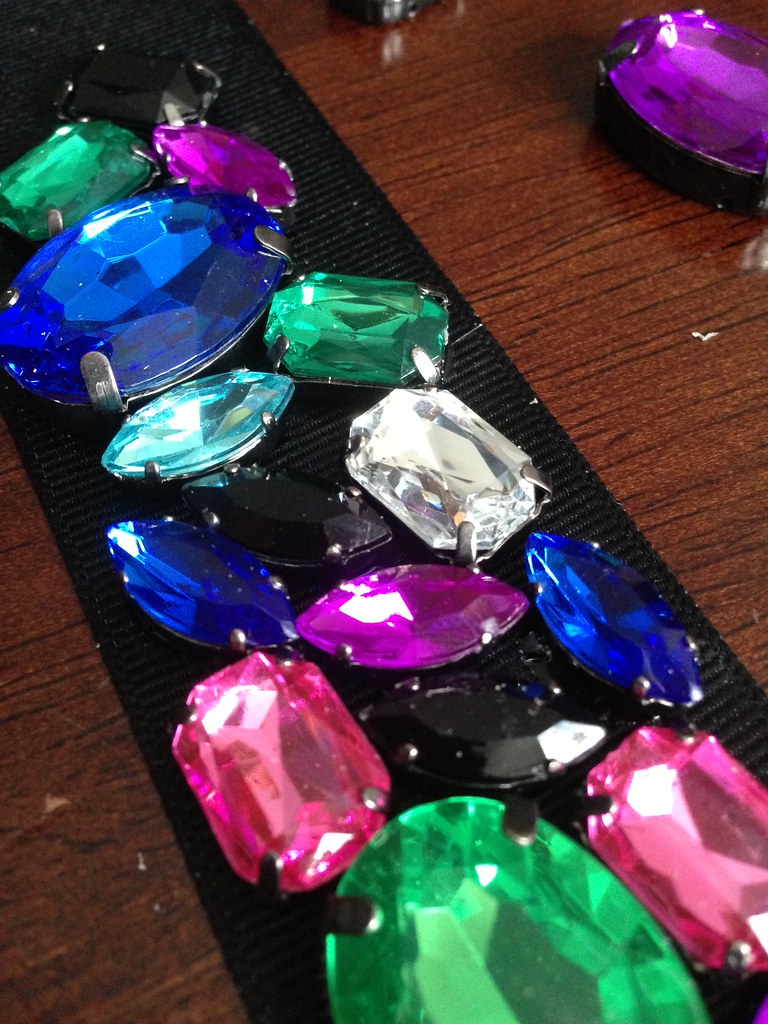
3) Play around with how you'd like the rhinestones to look on your beanie.
4) Carefully glue down each piece, stretching the hat a bit. I'm probably going to go back and also stitch everything down since I don't want to be dropping rhinestones all over the place.
5) Voila! I will hopefully also be posting an alternate method of creating this look sometime soon, so stay tuned. Like always.
This is me being blogger-posed sad that this is the only human-model photo I've taken of this hat, and it's nowhere near as cute as a teddy bear. In other news, I'm now accepting applications for a photographer who can do more than count to ten and flash an orange light in my face.


