I've always felt a weird aversion to theme-y DIYs. They always look so cute in pictures, but so horribly cheesy in my living room. So I tend to avoid them like the plague.
Buuuuut with all of these sparkly things leftover from projects past, I couldn't help myself. Especially since it would make for such a horrible pun about catching the man of my dreams for Valentine's... But I'll try to restrain myself....
What you need:
Embroidery thread or yarn
Rhinestones and beads
Embroidery hoop
Glue
Scissors
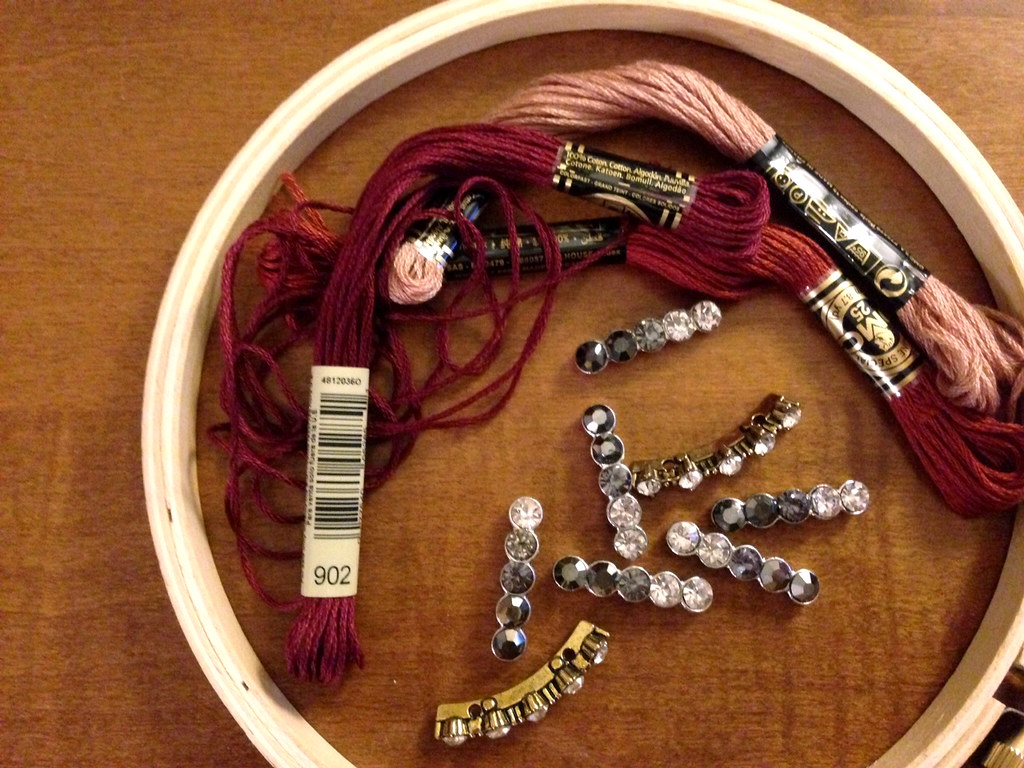
What you do:
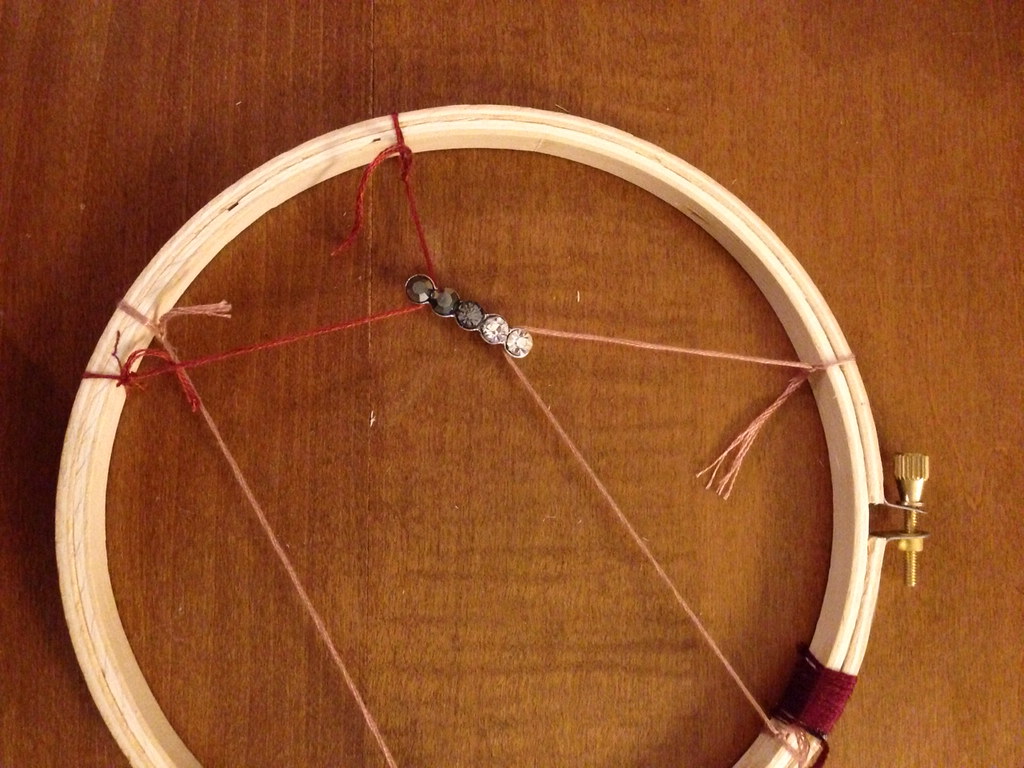
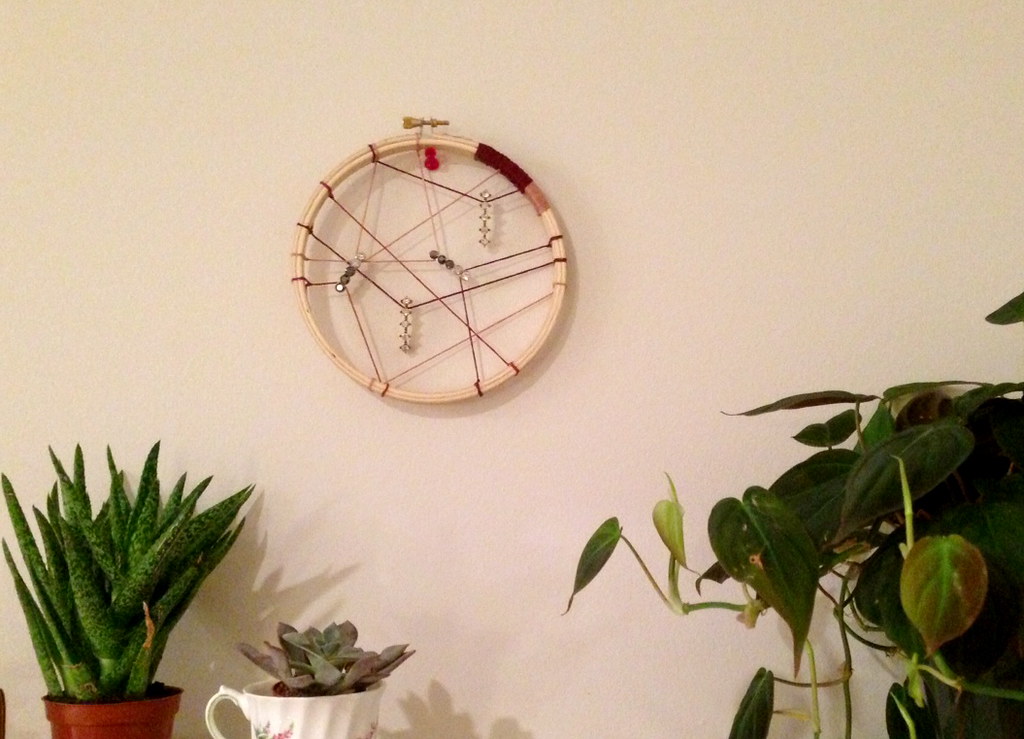
1) Tie thread around the edges of the embroidery hoop at random.
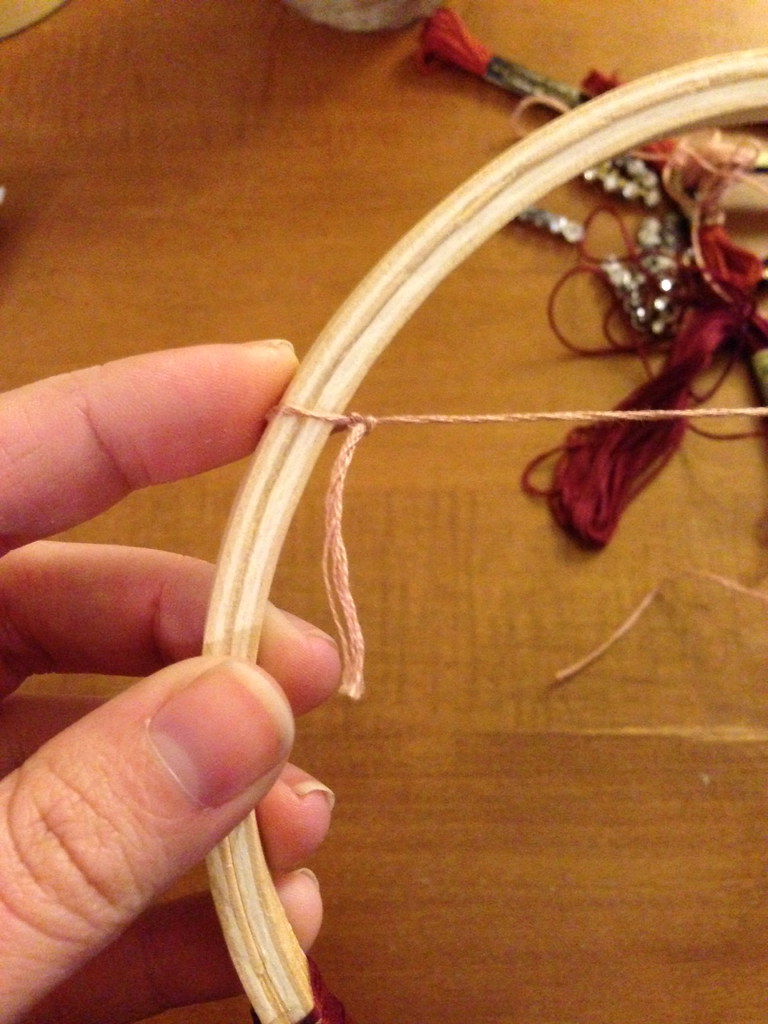
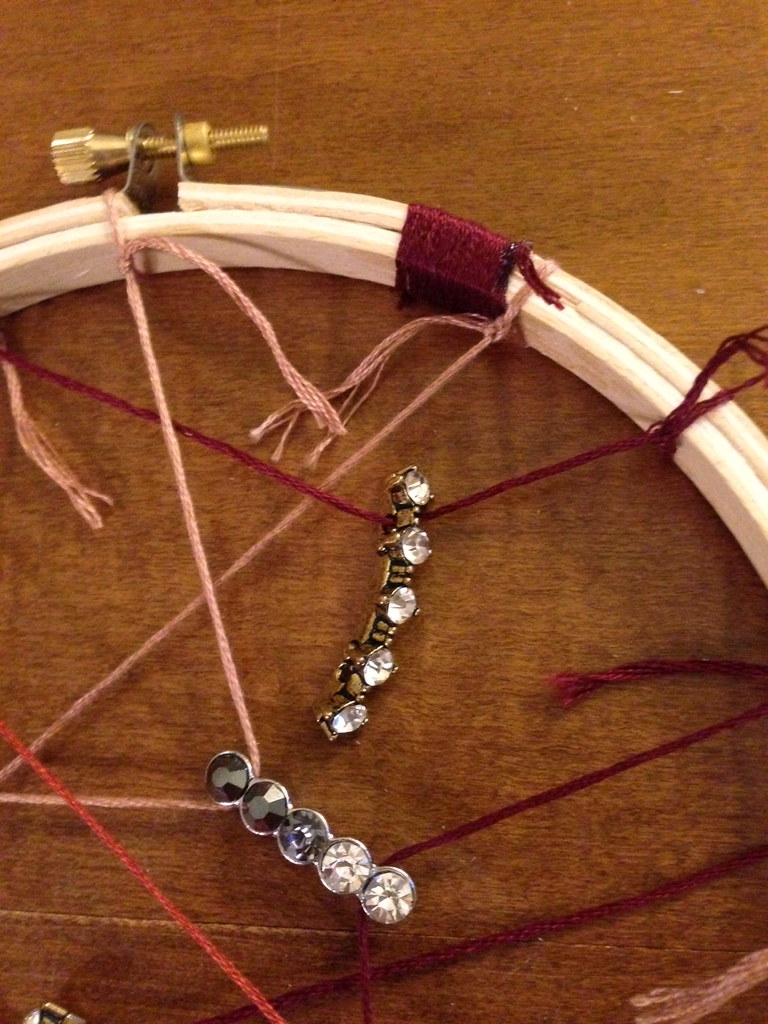
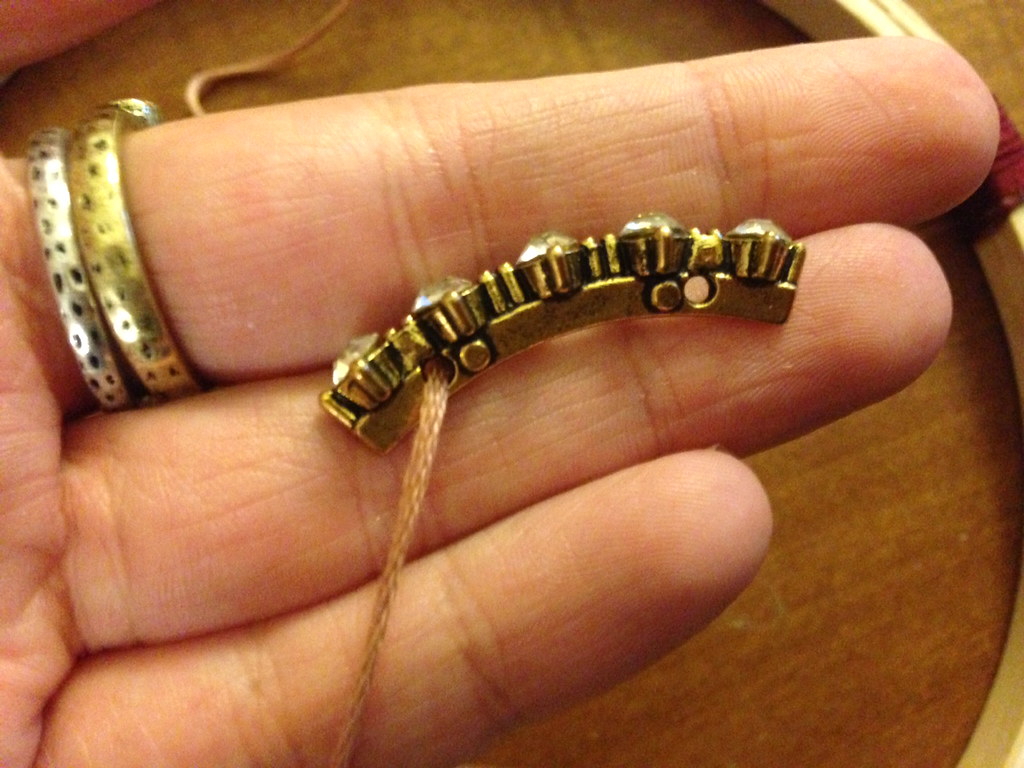
2) String some beads or rhinestones along some of the threads. I had rhinestones that had two holes, so I used two threads to suspend a couple, and then let a couple hang down. You could also tie knots on either side of the bead to keep them in place.
3) Wrap some thread around the embroidery hoop if desired.
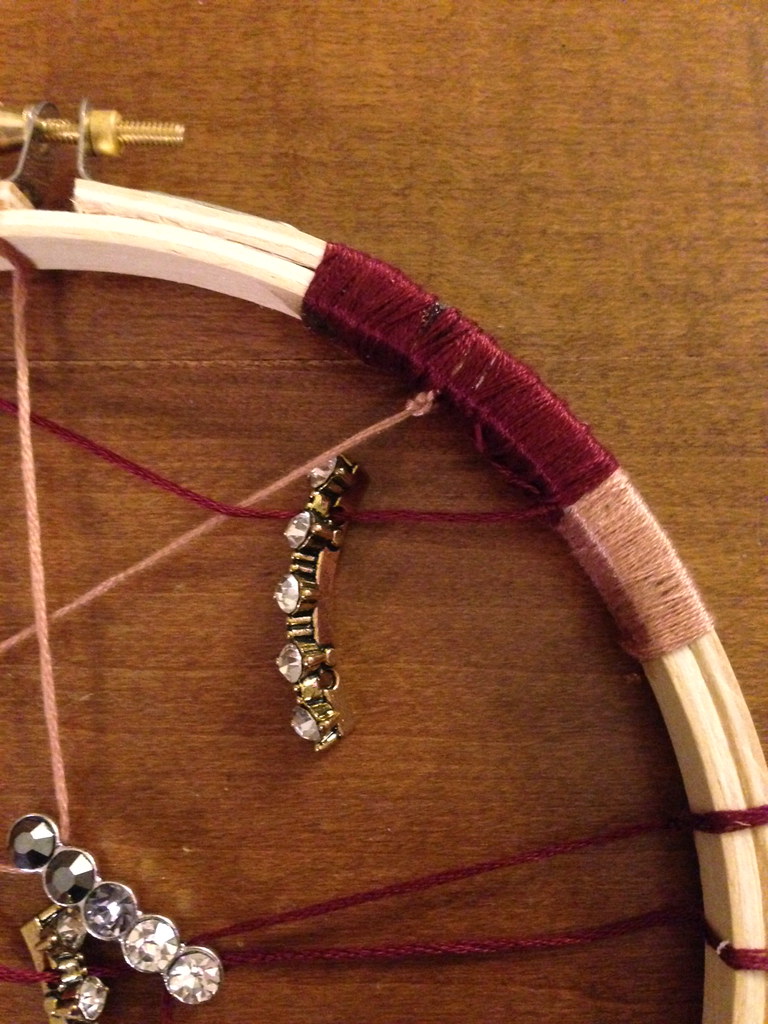
4) Glue all the loose ends to the back of the hoop.
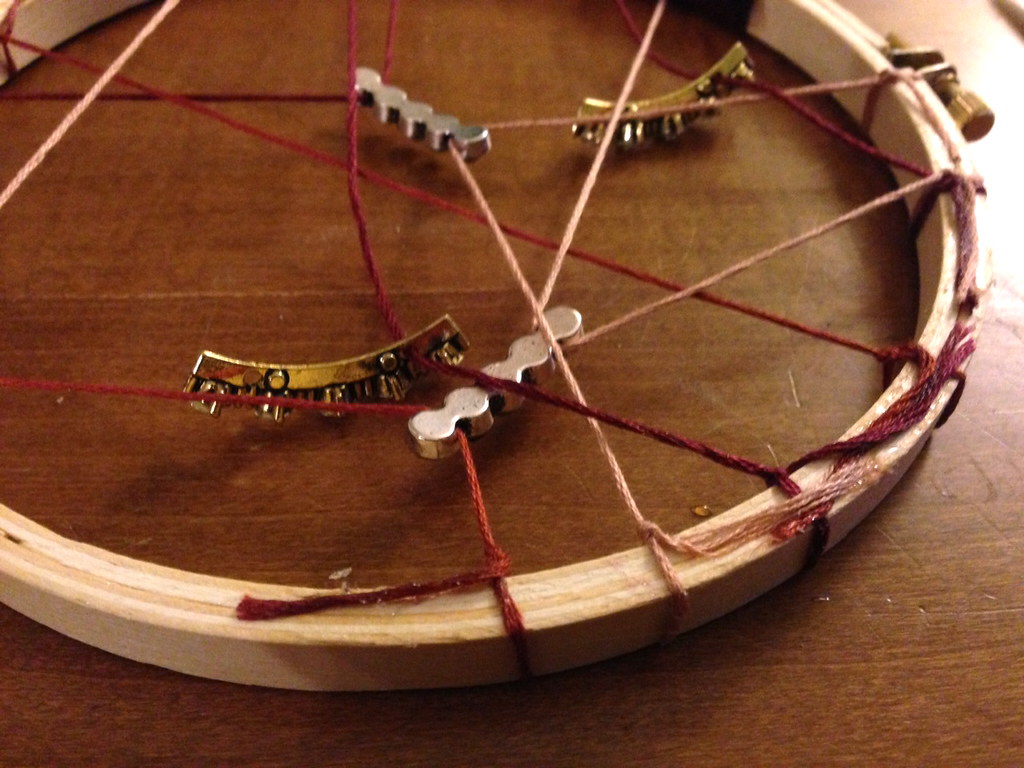
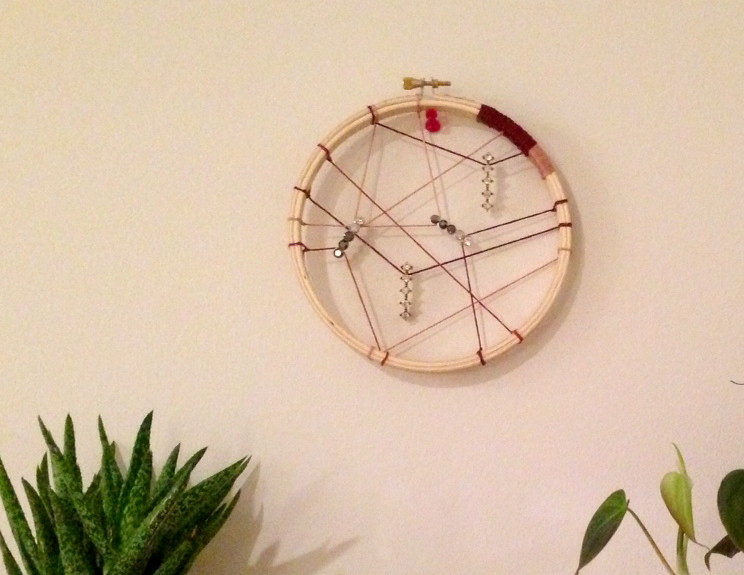
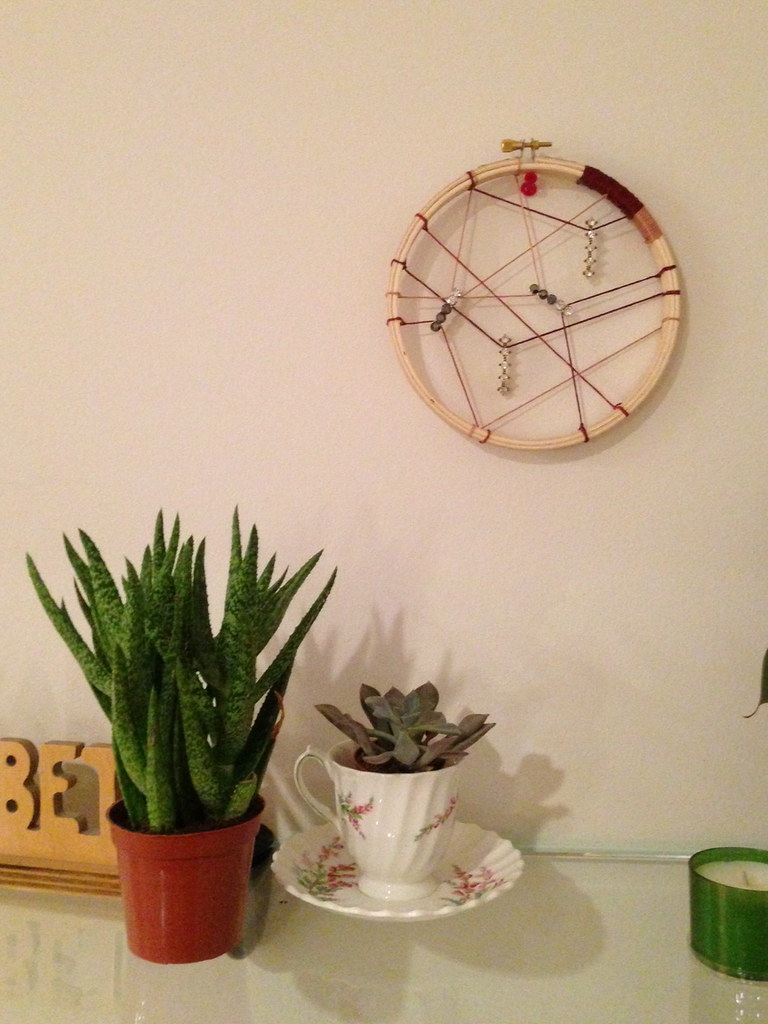
5) Hang up! Hint: Oh look, a preview of an upcoming apartment decor post :)
Wednesday, February 13, 2013
Wednesday, February 6, 2013
DIY Home Inspiration: Wall Decals
My apartment has 20 foot ceilings in the living room, so I've been looking for a giant piece of art to put above my mantle to fill all that space. Unfortunately, art pieces that big are slightly outside my budget. Okay, so what about wall decals?
I've always thought wall decals were a little tacky. Most are flowers, butterflies, or "inspirational quotes" with the words "live, laugh, love" somehow incorporated. Booooooring.
And then came Blik. I'm going to thrift a giant cheap frame, take everything out of it, hang the frame above my mantle, slap one of these (surprisingly affordable) beauties inside it, and I've got myself a statement piece of art.
Or how about using these bad boys as a headboard or mirror frame? So. In. Love.
For all the old school video game geeks out there (woohoo!) they also have huuuuge Super Mario Bros, Pacman, Asteroids, and Space Invader wall decals. Still don't see anything you'd like? That's alright, cause you can just DESIGN YOUR OWN.
I've always thought wall decals were a little tacky. Most are flowers, butterflies, or "inspirational quotes" with the words "live, laugh, love" somehow incorporated. Booooooring.
And then came Blik. I'm going to thrift a giant cheap frame, take everything out of it, hang the frame above my mantle, slap one of these (surprisingly affordable) beauties inside it, and I've got myself a statement piece of art.
For all the old school video game geeks out there (woohoo!) they also have huuuuge Super Mario Bros, Pacman, Asteroids, and Space Invader wall decals. Still don't see anything you'd like? That's alright, cause you can just DESIGN YOUR OWN.
Tuesday, February 5, 2013
DIY: Matchstick Bottle
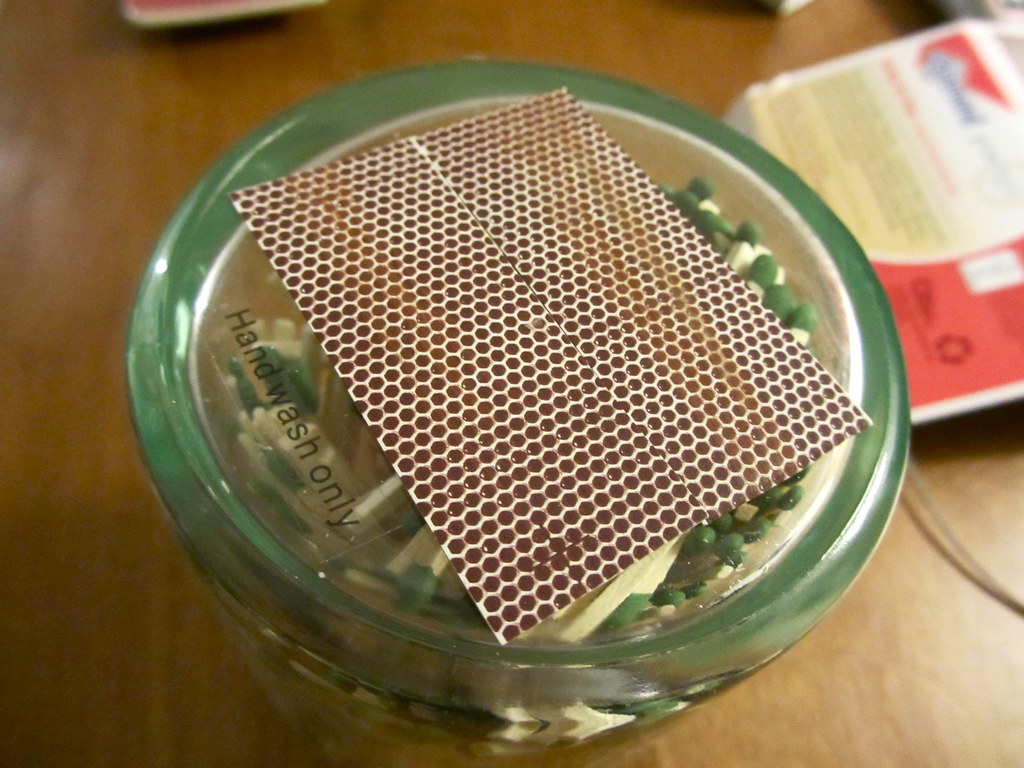
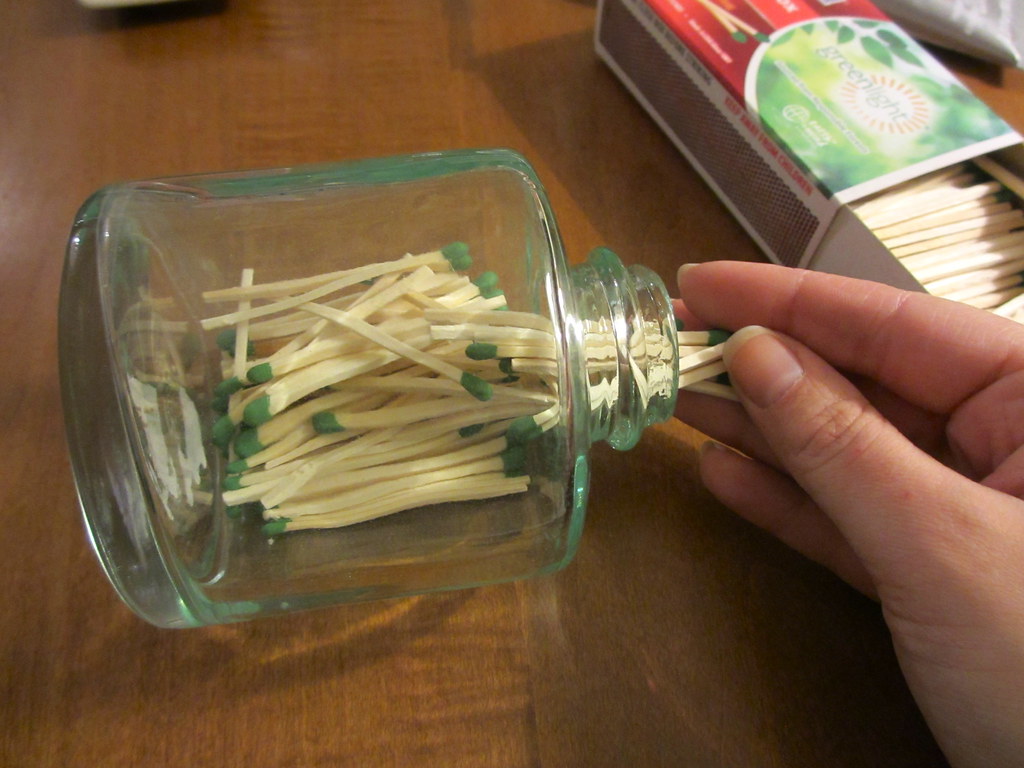
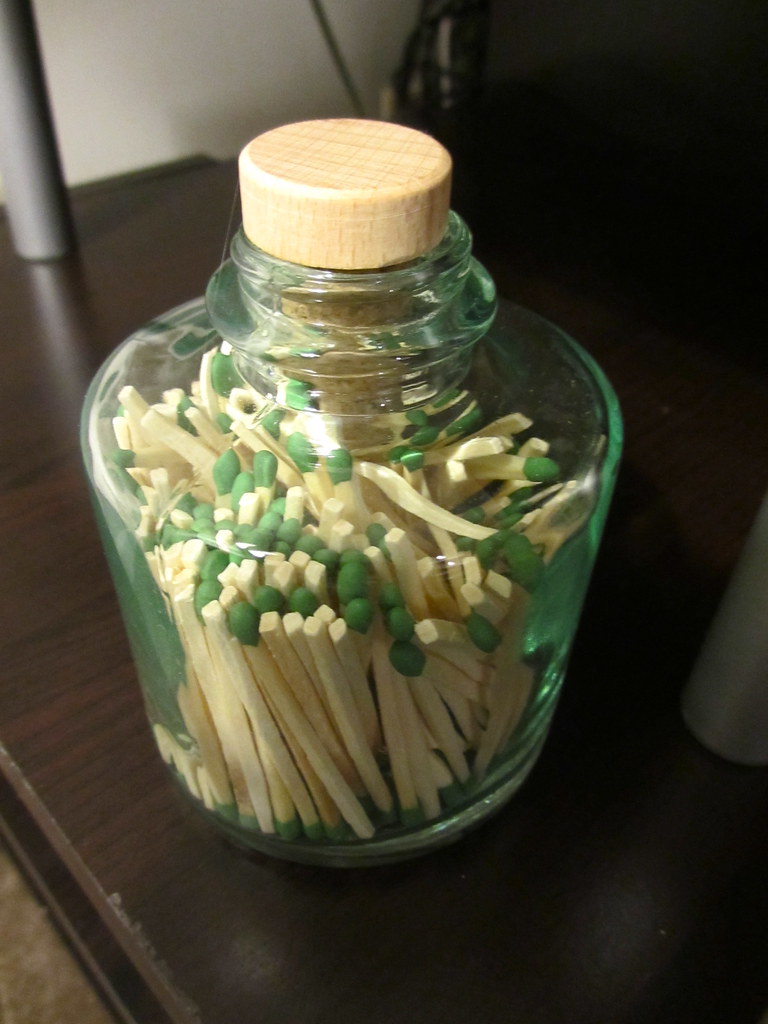
You know those times when the name you come up with for something is not nearly as awesome as the thing itself is? Yeah, this is another one of those times. I've been going through matches like crazy recently since I moved into my new fireplaced apartment, and their box isn't exactly display-worthy. So I made a matchstick bottle with a built-in strike surface.
What you need:
Matches and their box
Scissors
Glue
Any ol' bottle (I actually used a soap dispenser I found for cheap at Target)
A cap or cork of some sort
What you do:
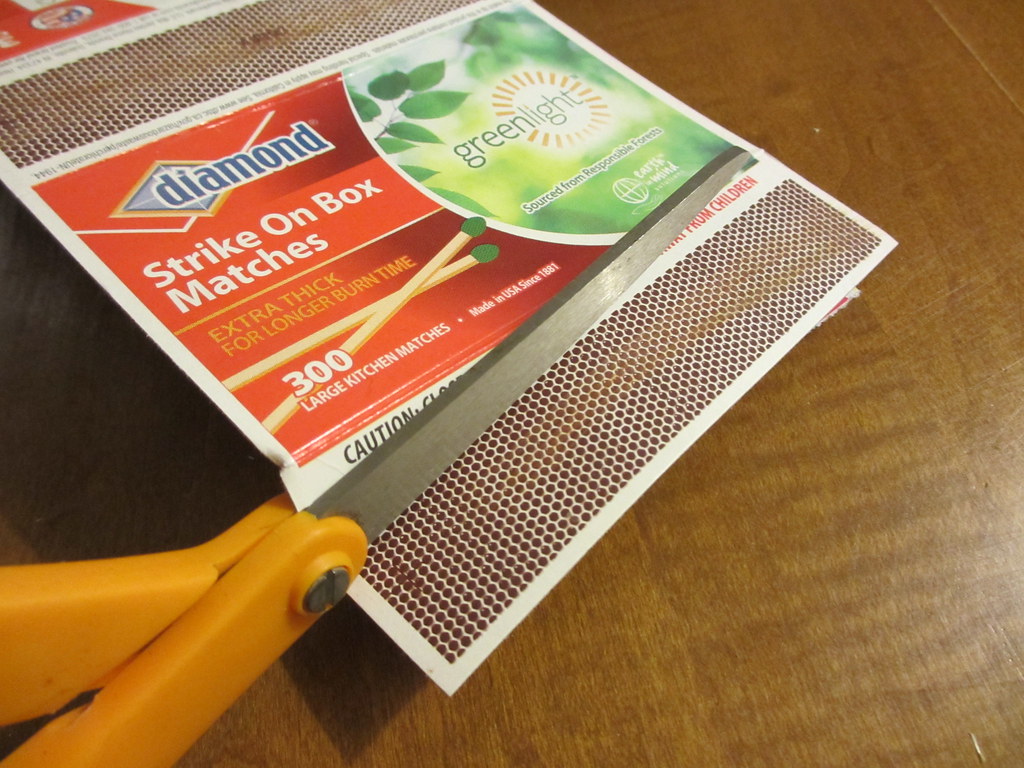
1) Cut the striking bit off the matchbox.
2) Glue it onto the bottom of the bottle, being careful not to get glue on the actual striking surface.
3) Once dry, fill the bottle with matches.
4) Top it off with the cork and you're good to go! I can't wait to DIY a mantle above my fireplace so this guy will have a real home (currently living on my new-to-me entertainment center). It's in the works!
What you need:
Matches and their box
Scissors
Glue
Any ol' bottle (I actually used a soap dispenser I found for cheap at Target)
A cap or cork of some sort
What you do:
1) Cut the striking bit off the matchbox.
2) Glue it onto the bottom of the bottle, being careful not to get glue on the actual striking surface.
3) Once dry, fill the bottle with matches.
4) Top it off with the cork and you're good to go! I can't wait to DIY a mantle above my fireplace so this guy will have a real home (currently living on my new-to-me entertainment center). It's in the works!
Subscribe to:
Posts (Atom)