Showing posts with label gem. Show all posts

Wednesday, March 27, 2013

DIY: Easy Gem Belt

It's been a long time since I've done any DIYs that aren't home decor related. So I figured I'd ease myself back into the swing of fashion DIYs with this unbelievably easy belt tutorial.


And for those of you wondering why I've fallen off the face of the Earth, don't worry. You'll get to see my face tomorrow! Stay tuned, but for now:

What you need:
Wide grosgrain ribbon
Gems
Glue (like E600) or needle/thread

What you do:
1) Measure a piece of ribbon that will fit around your waist with enough extra on either side that you can easily tie it (about a foot should be plenty).

2) Burn the edges to prevent it from unraveling.
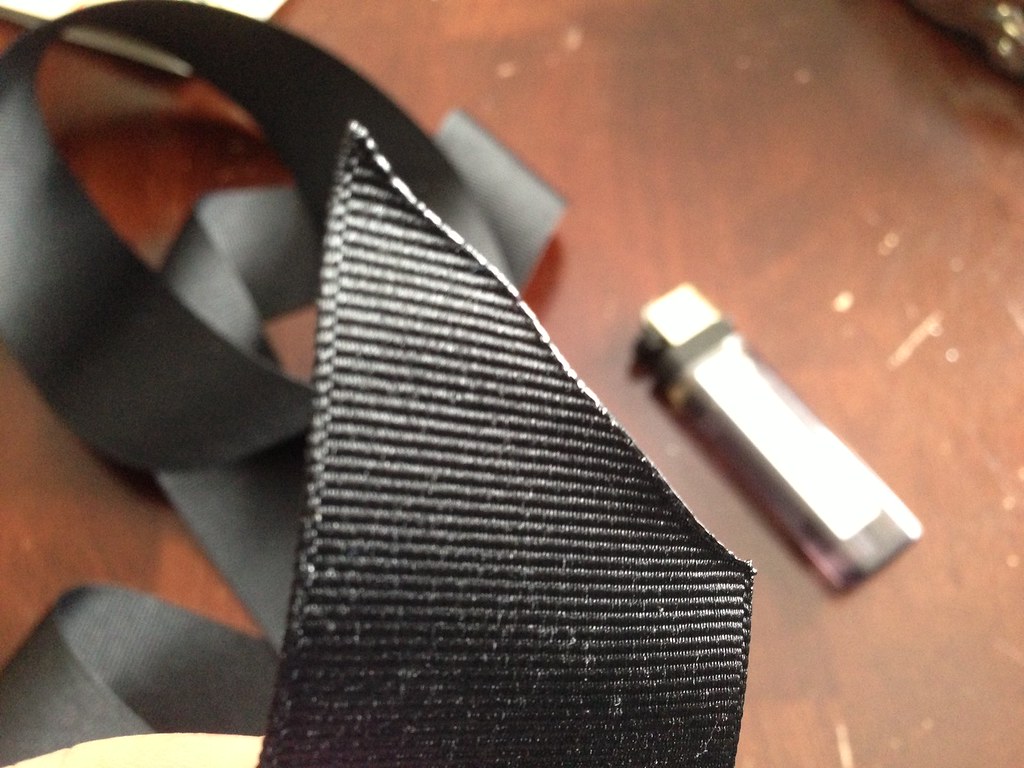
3) Take the gems and place them out on the center of the ribbon. I did this pretty randomly, and just kinda pushed them around until they looked pretty!
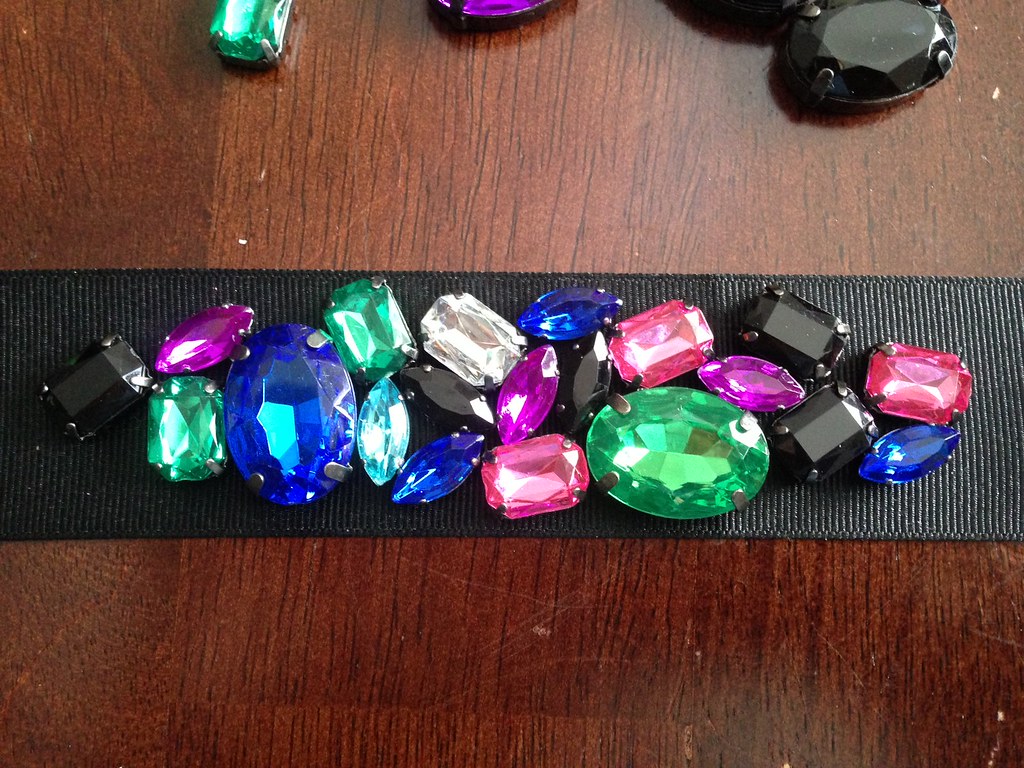
4) Dip the back of each gem in glue and press back down in place. Once the glue dries, you can quickly stitch each gem into place for extra security.
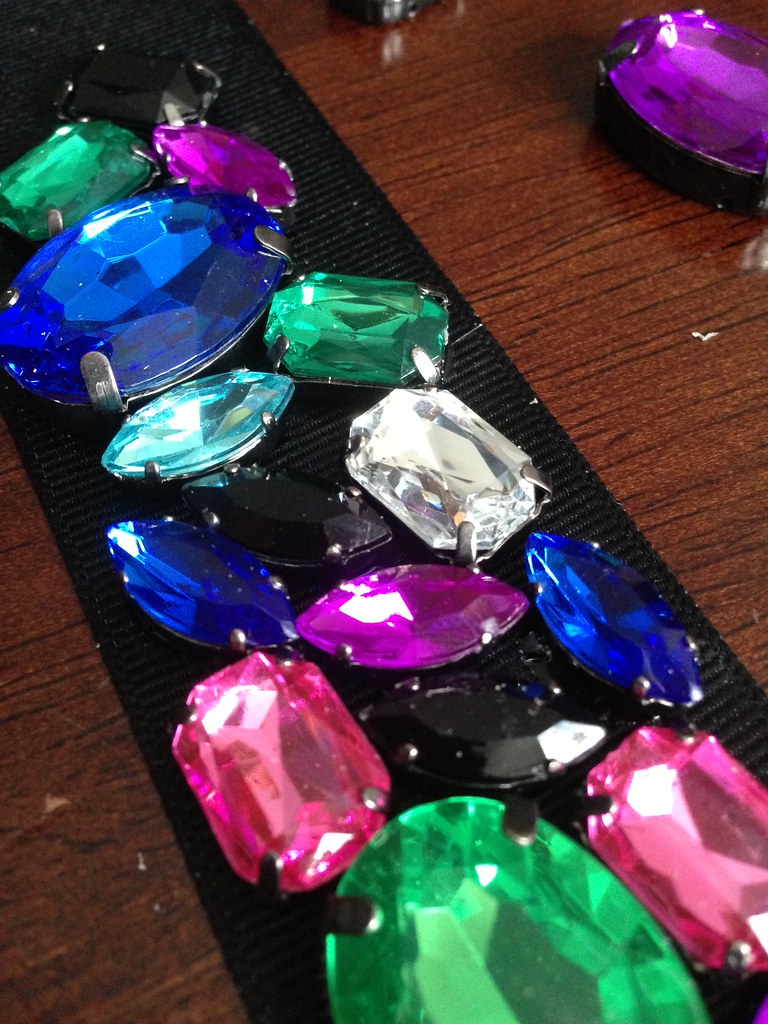
5) Tie in a pretty bow! (Speaking of which, did you know that you're probably tying your shoes -and other bows- wrong?)

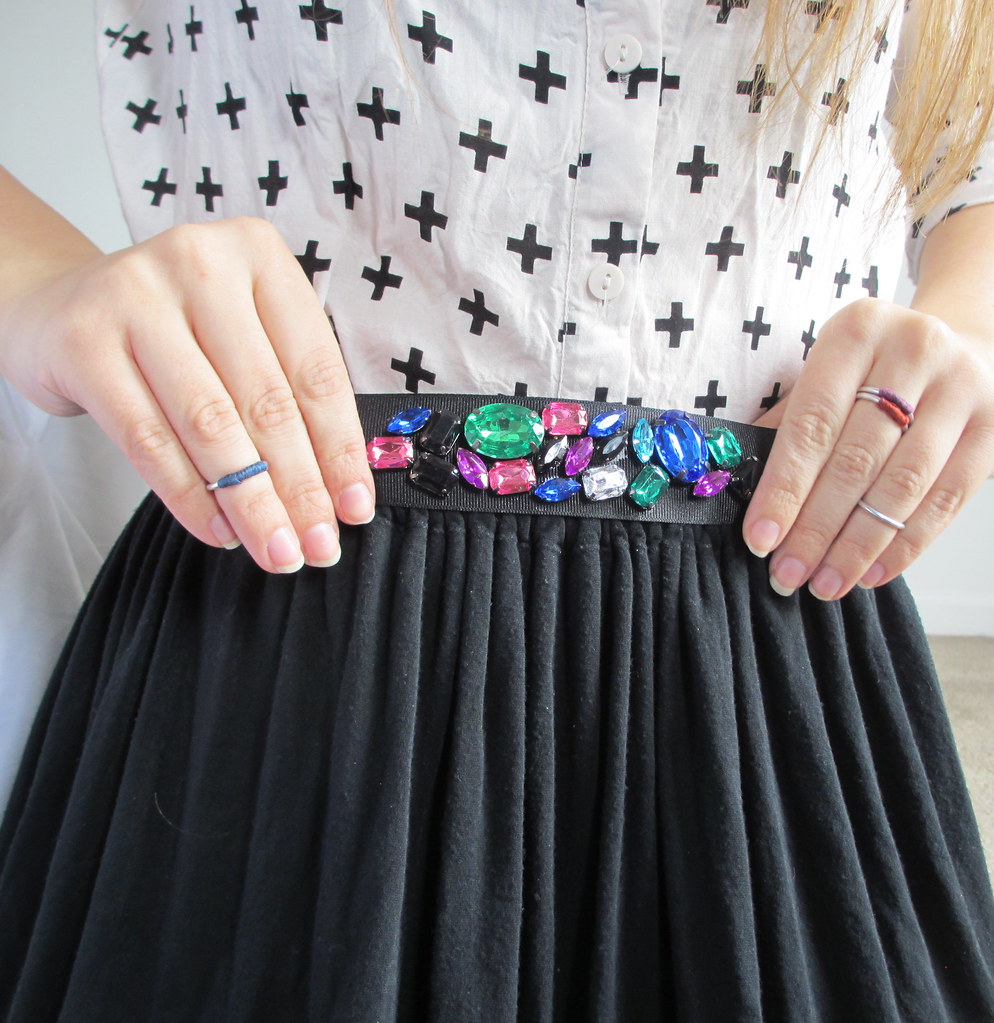
I can't even tell you how much I love this belt. You'll get to see the whole outfit tomorrow!

Tuesday, June 19, 2012

DIY: Rock Rings

With florals and maxi skirts and flower wreaths and 70's style platforms ruling the fashion of the week, what's a girl to do about accessories? You could of course go the flower on flower on flower route, or you could DIY yourself up some slightly more solid, but equally hippie-chic rings like I did the other night.

What you need:
Some ring blanks
Some rocks/gems with at least one flat surface
Some super strong glue (like SuperGlue)

What you do:
1) Decide which way you want the stone to face on the ring.

2) Dollop a generous (but not overflowing) amount of glue onto the stone. Gently push ring blank into the glue and set to dry. This might be slightly trickier if your stone isn't flat on both sides - i.e. you might have to hold them together for a couple minutes while the glue dries.


If you have a super long stone like I did, you could even try making a multi-finger ring.


3) Wait until fully dry. Rock out! (badumtsssss)

(sorry for the weird/not great quality final product photos - my camera charger has vanished, so I took them on my iPhone...)