And sewing stuff and thrift shopping and making dumb sh*t that I only rarely use but makes me happy anyways and having time to do all that stuff. Ugh. Being an adult looked so awesome in the movies.
In any event, I went to Sicily for a family reunion a couple weeks back. I almost "accidentally" missed my flight home...
Saturday, August 24, 2013
Monday, May 6, 2013
Oh Right, I Have A Blog
Dear (oddly loyal) readers,
Here's the deal.
I can't really explain why I haven't written a post in a month.
True, it has been a bit of an uninspired month for me. True, I feel like I'm hitting a wall with this blog, and have been struggling to find time to fit it into my life up here. True, I'm now working one full time job and one part time job, helping relocate my sister, training for a triathalon (surprise!), and trying to maintain some semblance of a social life - all while trying to figure out what I want to do (next) with my life and organizing/decorating my apartment.
But it's also true that I've still continued to make stuff. I tore apart my coffee table a couple weeks ago, added new legs to the top, and spray painted it bright blue. The bottom half is now an adorable bench in my bedroom. I have new sewing projects, new decor, new organizational methods and tips, new hair tricks, and even some new recipes that I would love to share.
And yet I haven't posted.
And for some reason, I feel guilty. I feel like I'm letting my friends and (again, oddly loyal) readers down, and to an extent, letting myself down for not keeping up with this "commitment". I keep feeling like a real blogger wouldn't do this, a "successful" blogger wouldn't do this... Is that weird?
In any case, I'm not really sure what to do from here. Should I stop blogging? Should I re-commit myself (again) to this (lost?) cause? Would it really matter either way?
I blog because I like making stuff and showing people the stuff I've made. It's really that simple. And I think posts like this are somewhat self-important and selfish in a way, but really, I just hate the radio silence.
Thanks for indulging me,
<3
Liz
Tuesday, April 2, 2013
DIY Home Inspiration: 6 Easy Ways To Update Your Kitchen
First off, here's where I should be announcing who gets a $10 gift certificate from me for winning my riddle challenge. However, no one's even attempted soooooo here's a hint: 26.
Secondly, have I mentioned yet how much I love love love these LEAF videos? The ladies behind them are just genius. And their latest video is a home run for someone (like me) who can't exactly renovate their entire kitchen.
Secondly, have I mentioned yet how much I love love love these LEAF videos? The ladies behind them are just genius. And their latest video is a home run for someone (like me) who can't exactly renovate their entire kitchen.
Friday, March 29, 2013
Riddle (And Photo!) Of The Month
Happy Friday my lovelies! It's been a crazy long week, and an even crazier, even longer month. I missed last month's riddle (forgive me?) so this month I'm raising the stakes two ways, just cause that's how I roll.
First, in addition to monthly riddles, you're now also getting monthly photos by yours truly, mostly cause I'm a visual person and it's hard for me to imagine many posts without pretty pictures to look at. They'll range from film photos I took in high school and college (like the one below) to digital snapshots I've taken on my various travels.
And secondly, a real prize! Winner of this week's riddle gets a $10 gift card to an Etsy shop of their choice (though you're always welcome to ask me to make you something)! Yay for supporting small business owners!
March Riddle
Send me away, my kin returns
Unless some harm to him befell.
If you should find my smallest part,
You'll find my name as well.
Green tomatoes in their dried out skins - taken with an ancient film Nikon camera, developed and printed by me
Thursday, March 28, 2013
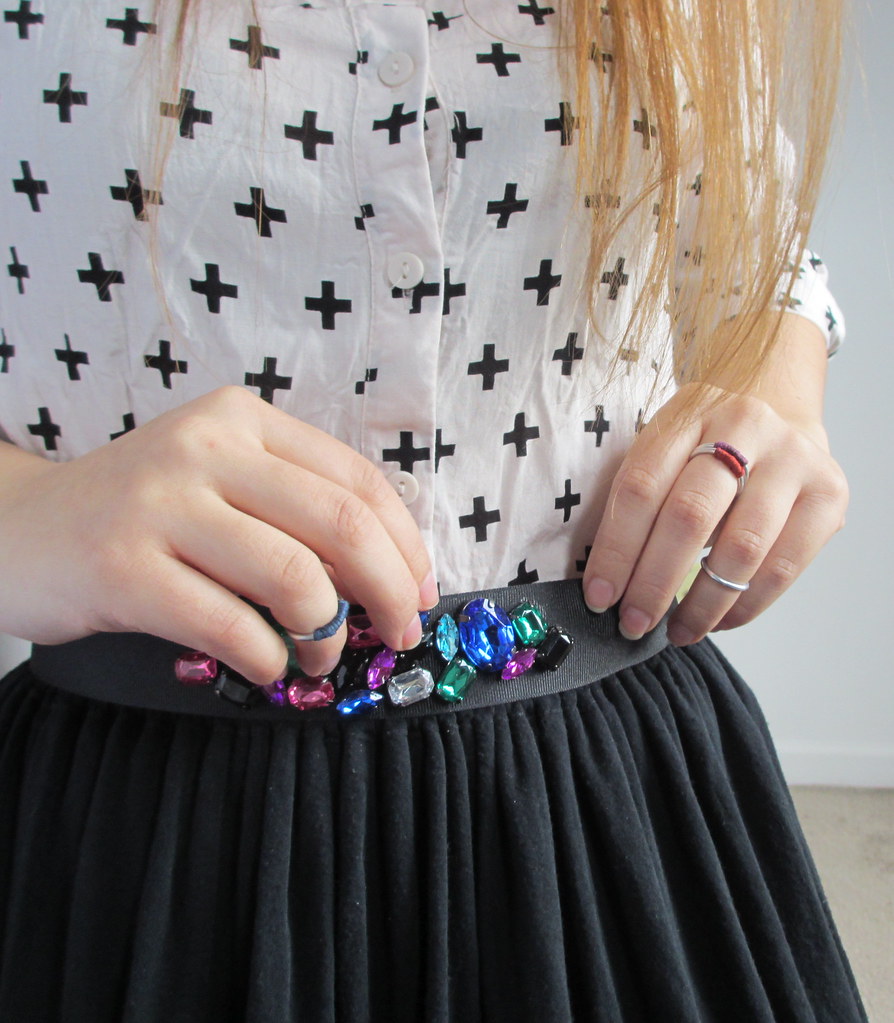
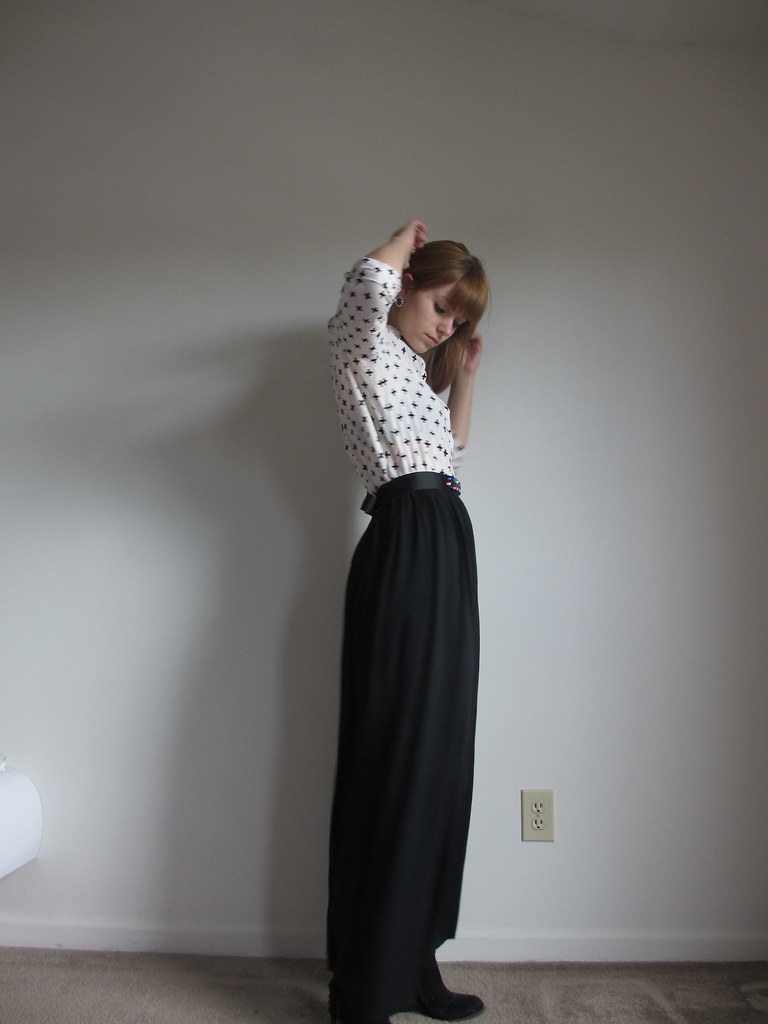
DIY Gem Belt Outfit
Hey, look, what's that??
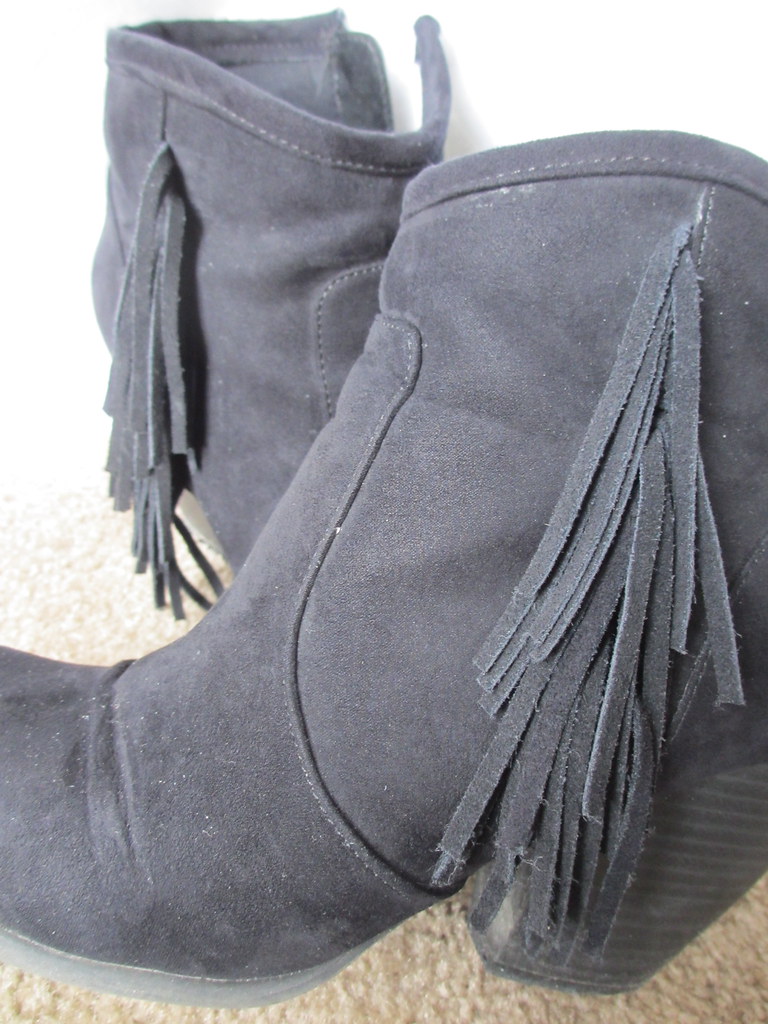
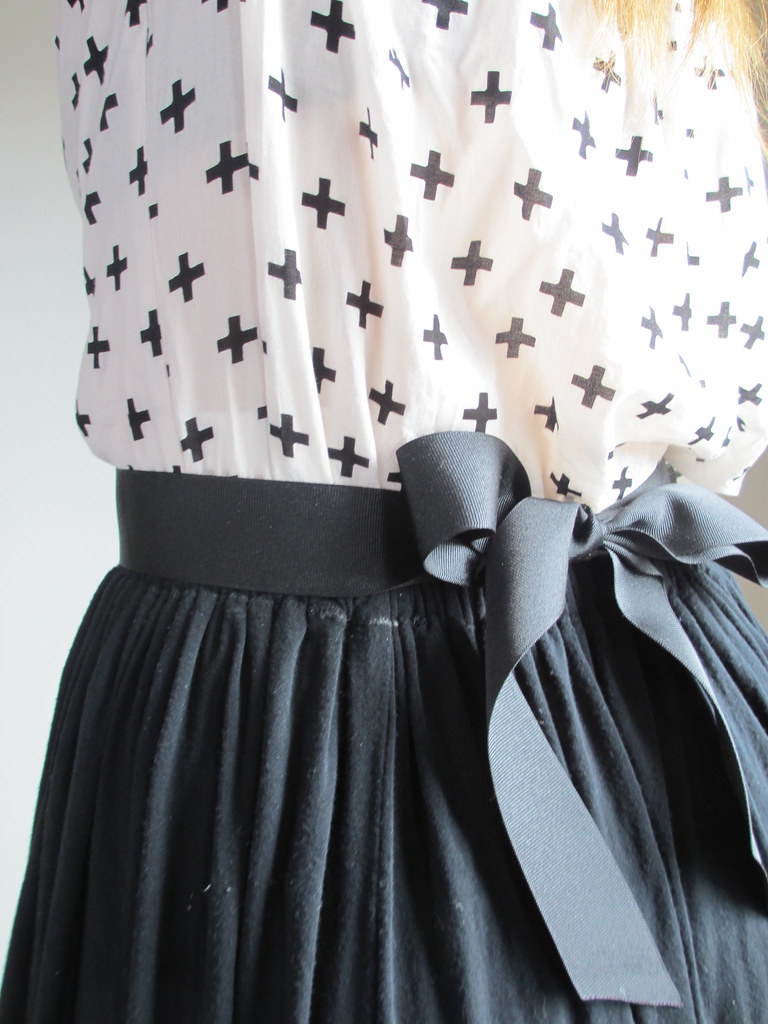
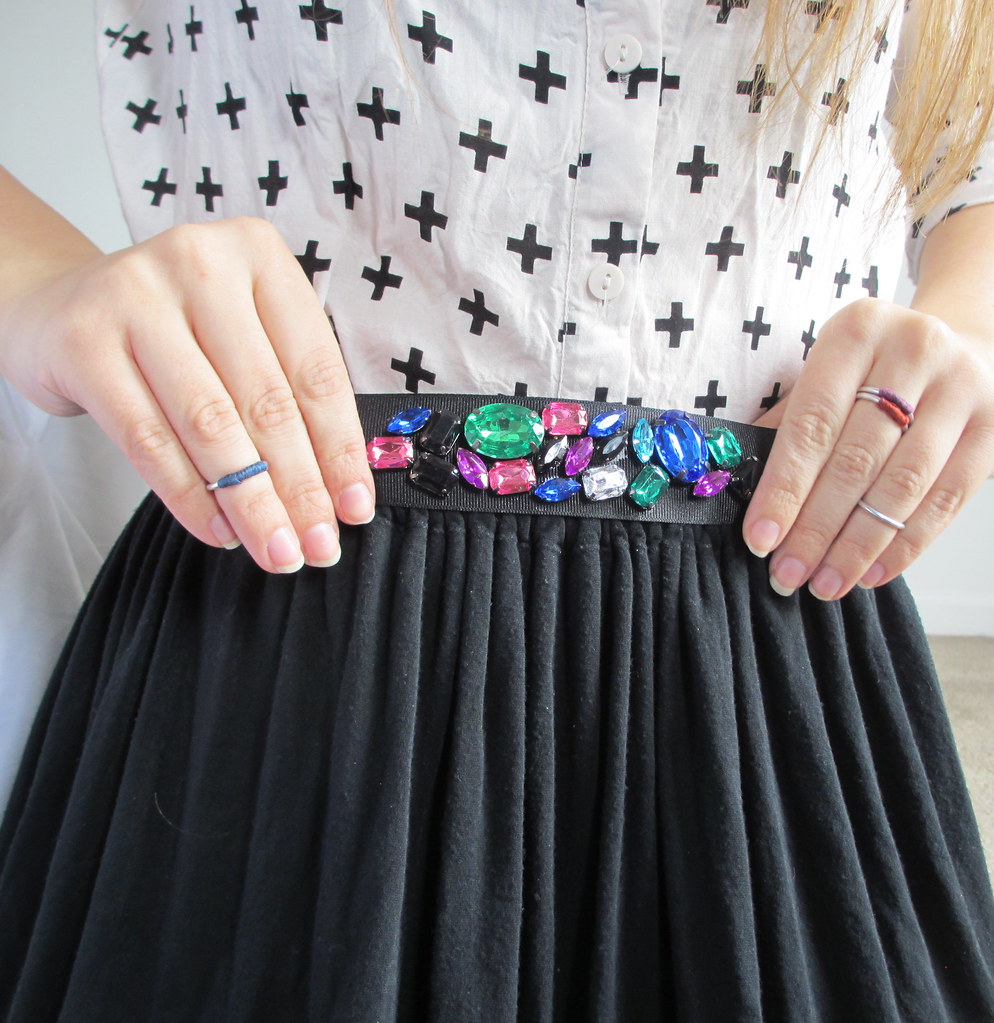
Oh my goodness, it's my face! You haven't really seen that much around here lately huh... So here you go, a full blown outfit post, featuring the belt I made yesterday and a couple other DIYs - can you spot them?? Hint:
Aaand this is when I started feeling really silly twirling around taking photos of myself...
Bonus! I rediscovered this dress that I wore to my senior formal night (I adore that lace detailing) and thought it might be super cute with this belt too! What do you think?
Wednesday, March 27, 2013
DIY: Easy Gem Belt
It's been a long time since I've done any DIYs that aren't home decor related. So I figured I'd ease myself back into the swing of fashion DIYs with this unbelievably easy belt tutorial.
And for those of you wondering why I've fallen off the face of the Earth, don't worry. You'll get to see my face tomorrow! Stay tuned, but for now:
What you need:
Wide grosgrain ribbon
Gems
Glue (like E600) or needle/thread
What you do:
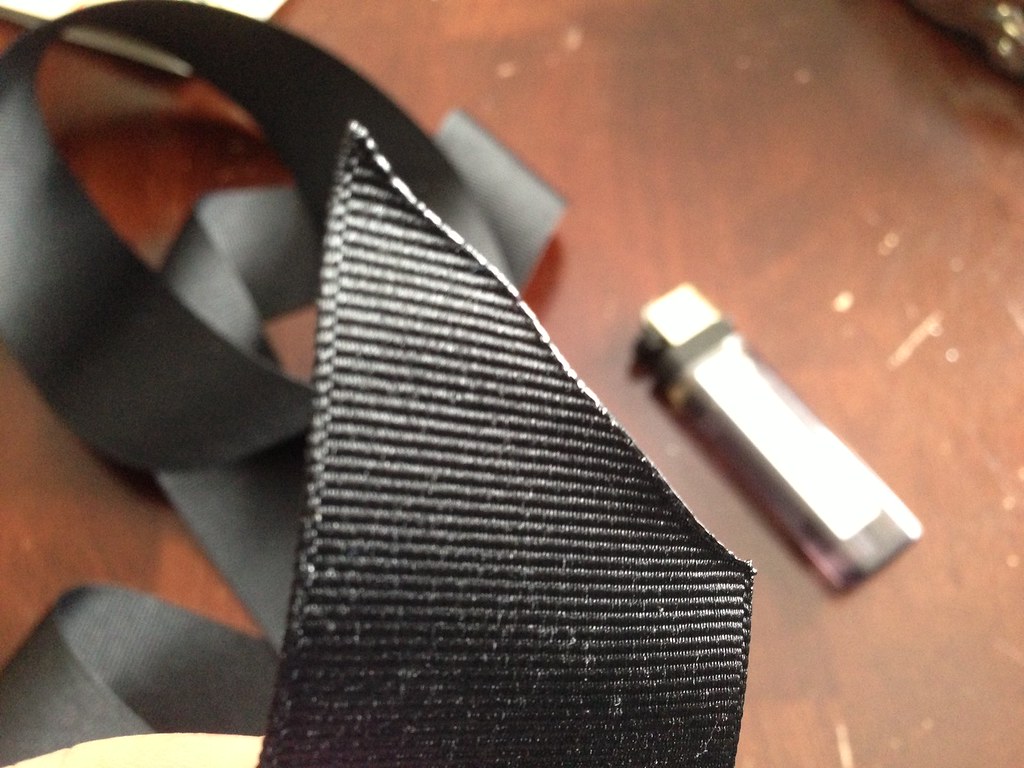
1) Measure a piece of ribbon that will fit around your waist with enough extra on either side that you can easily tie it (about a foot should be plenty).
2) Burn the edges to prevent it from unraveling.
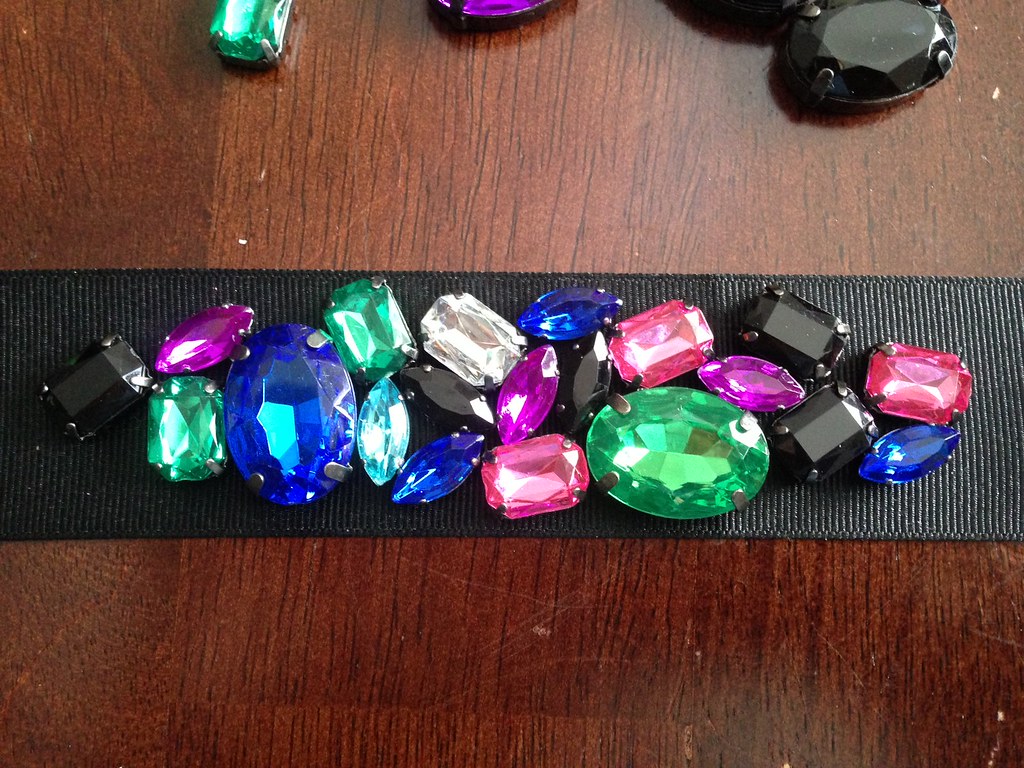
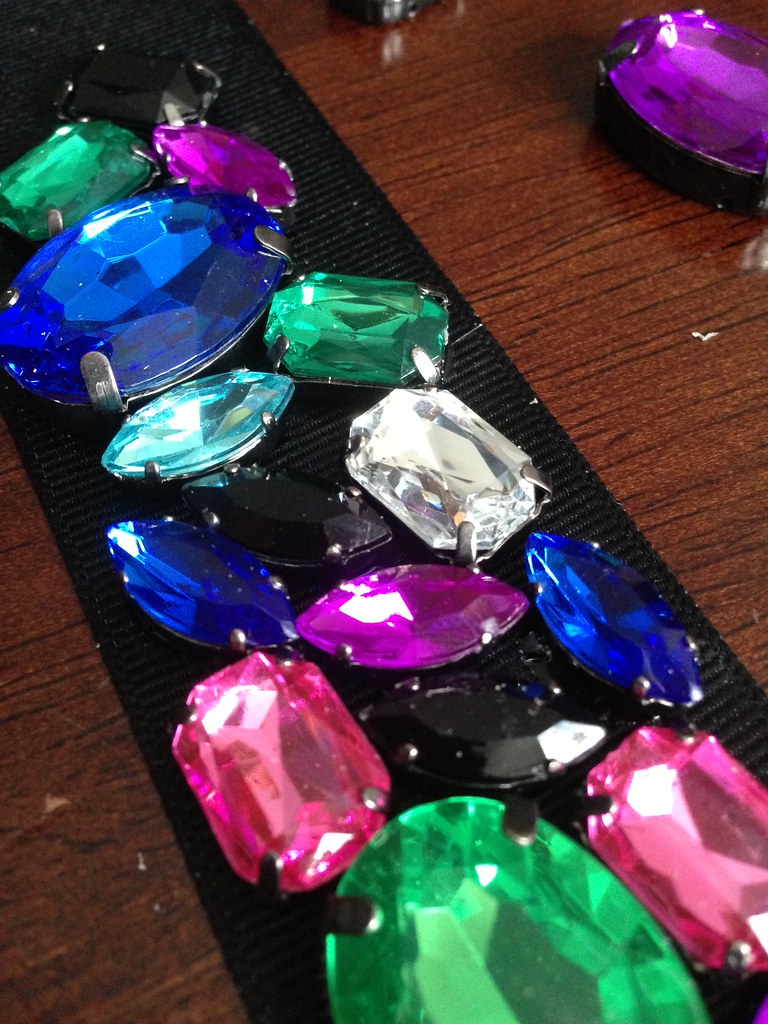
3) Take the gems and place them out on the center of the ribbon. I did this pretty randomly, and just kinda pushed them around until they looked pretty!
4) Dip the back of each gem in glue and press back down in place. Once the glue dries, you can quickly stitch each gem into place for extra security.
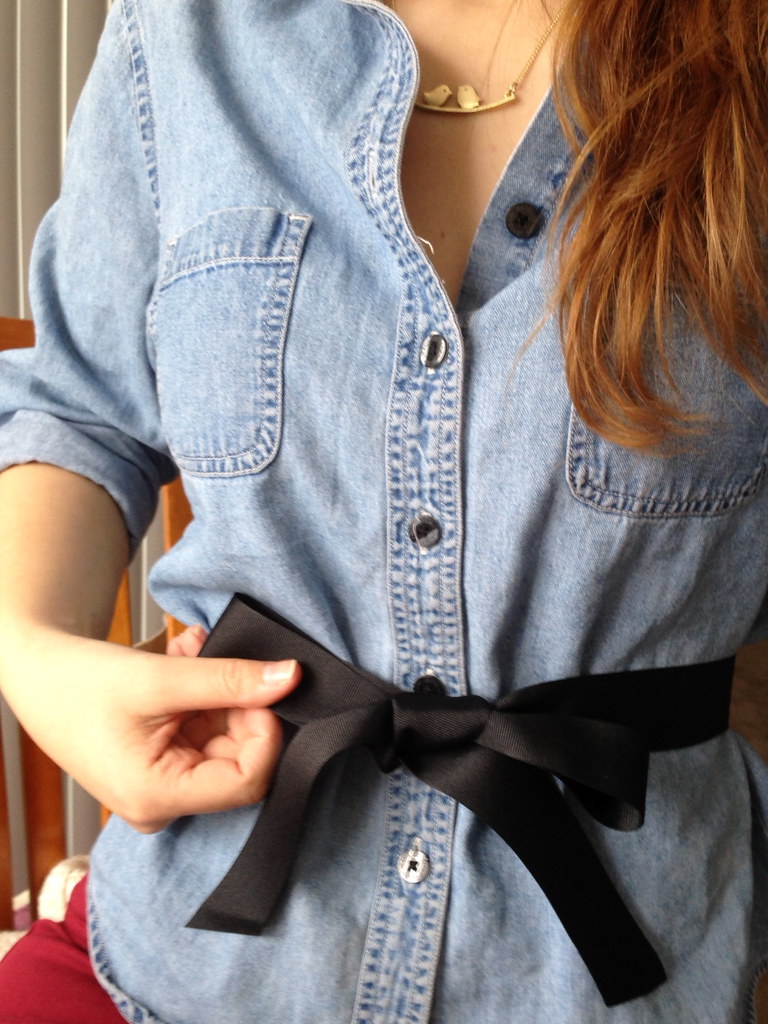
5) Tie in a pretty bow! (Speaking of which, did you know that you're probably tying your shoes -and other bows- wrong?)
I can't even tell you how much I love this belt. You'll get to see the whole outfit tomorrow!
Monday, March 25, 2013
Mini Monday: My First 5k!
Surprise! Those of you who follow my Instagram (@wornthreadbare) already know this, but I ran a 5k this past weekend! Yes it was snowing, yes I was one of the only non-OSU Div 1 athletes running, yes I had to pee, and yes I wish I'd run outside in the cold at least once before yesterday. But it was worth it!
The race was founded in memory of a 25 year old girl who was non-smoker her whole life, yet died of lung cancer a few years ago. My family has a whole bunch of ties to lung cancer organizations for a variety of reasons, so although I ended up with an embarrassingly bad time result, I at least felt good that I finished and helped out a great cause!
CRAZY FACE
Wednesday, March 20, 2013
DIY Home: Colorblock Framed Mirror
One, happy Spring!!
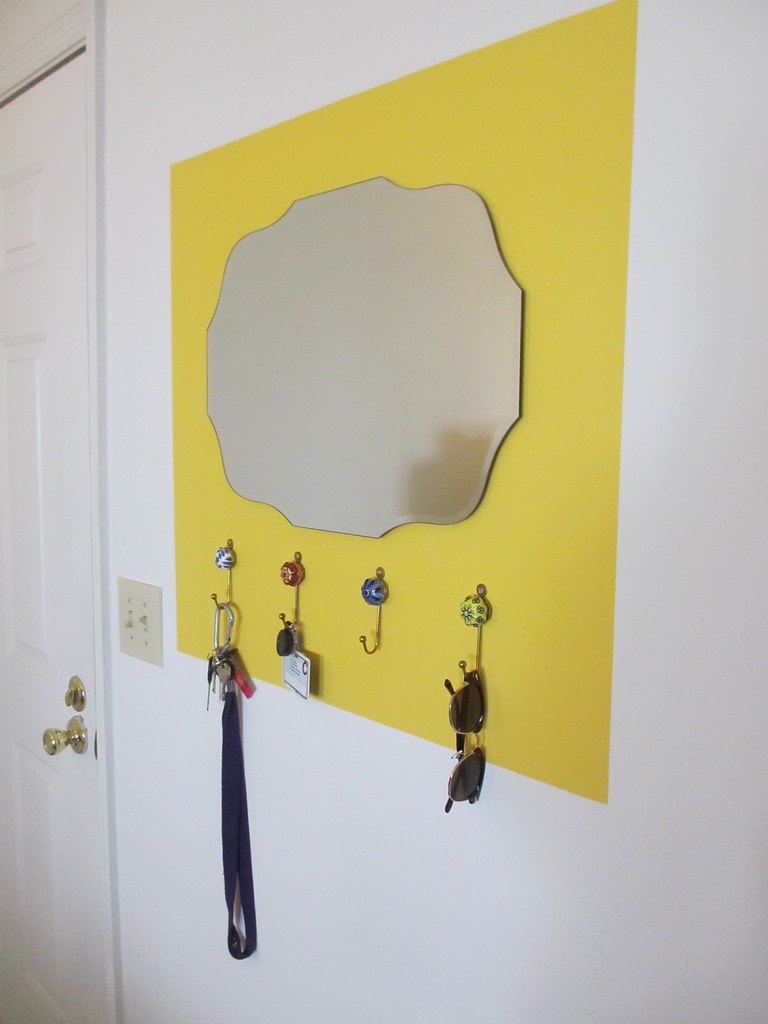
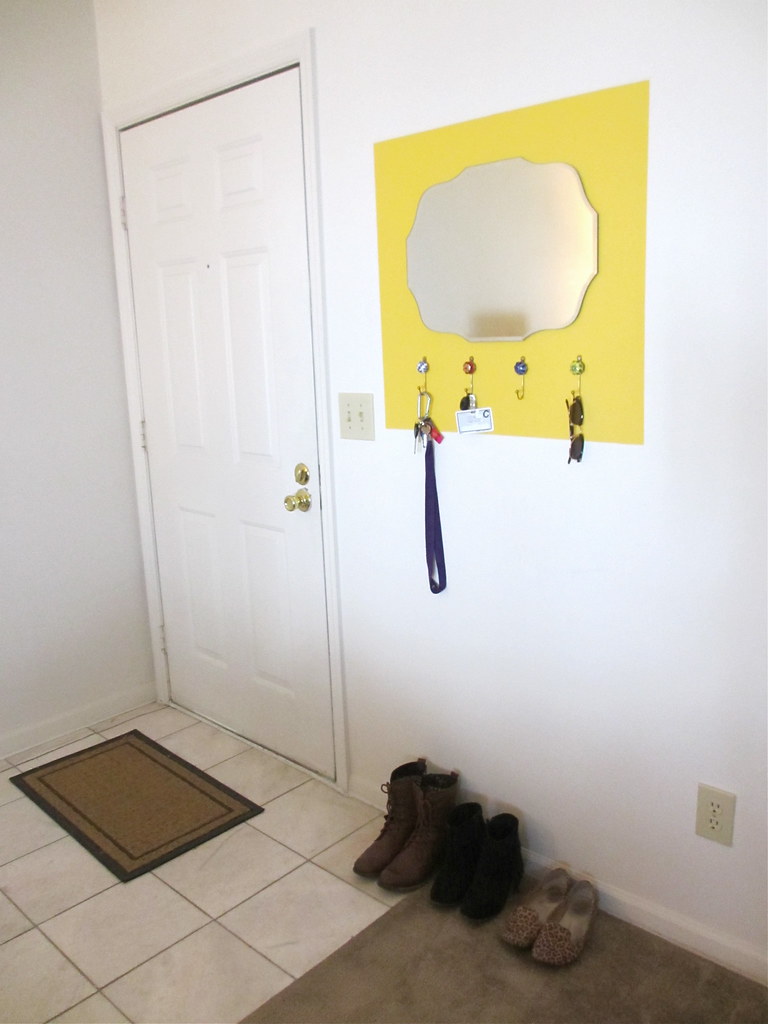
Two, know what one of the best things about having your own place is? Being able to paint a square of wall this pretty bright yellow, and no one can say anything about it!
What you need:
A mirror
Painter's tape
Bright paint (those 8oz paint samples are perfect for this)
Paintbrush
Drop cloth (newspapers works just fine)
Screwdriver/screws
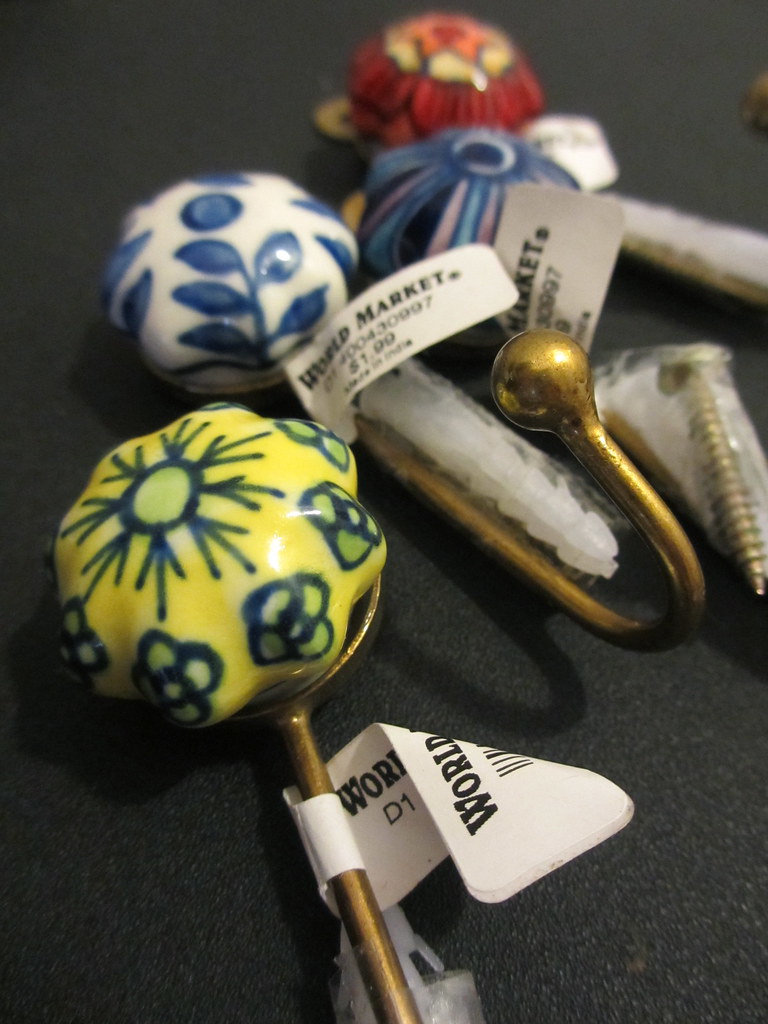
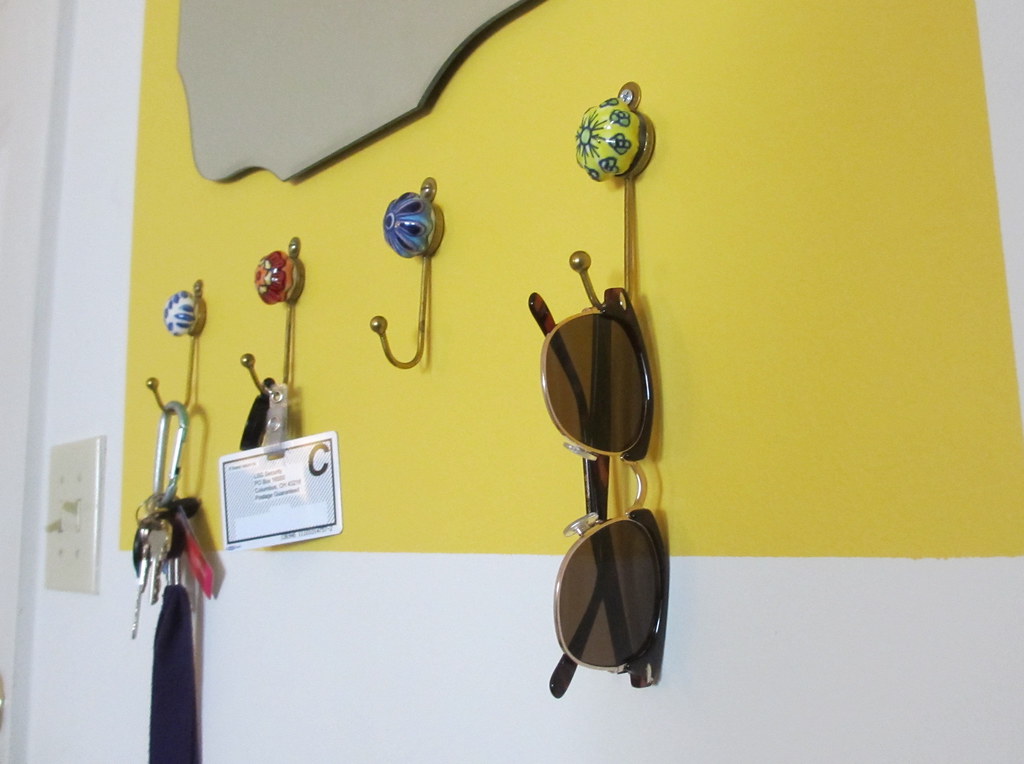
Hooks or drawer knobs (I got mine at World Market)
What you do:
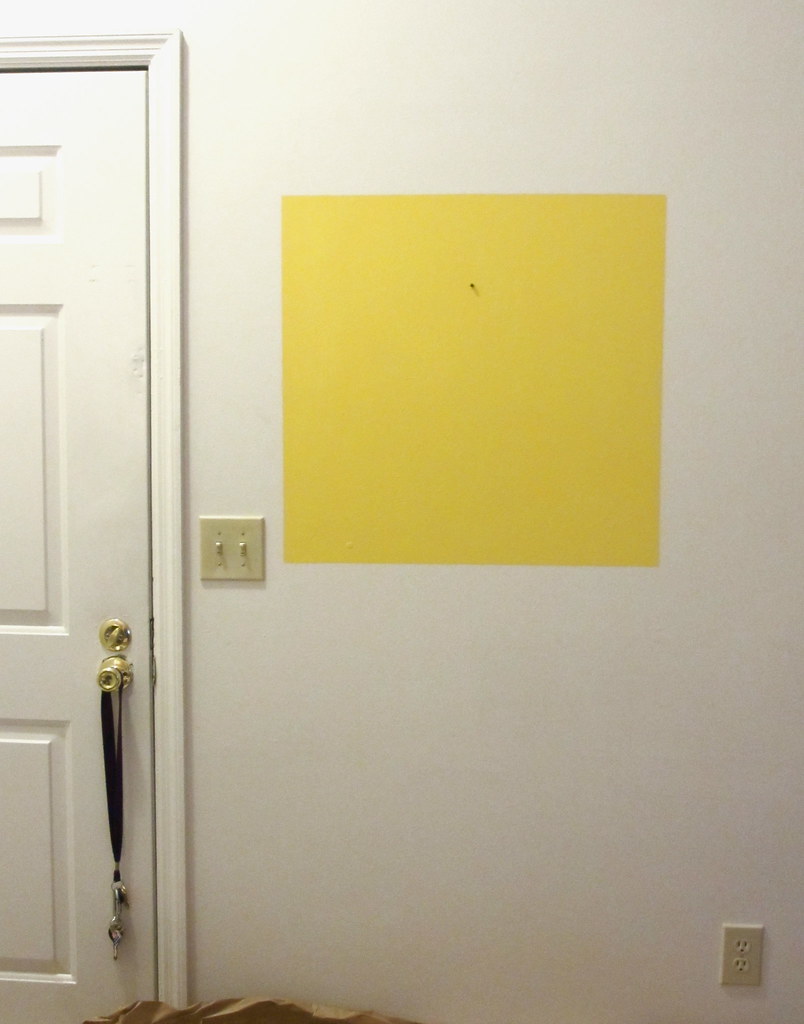
1) Start off with an area that is in desperate need of color. Even a pretty mirror doesn't make this area less boring...
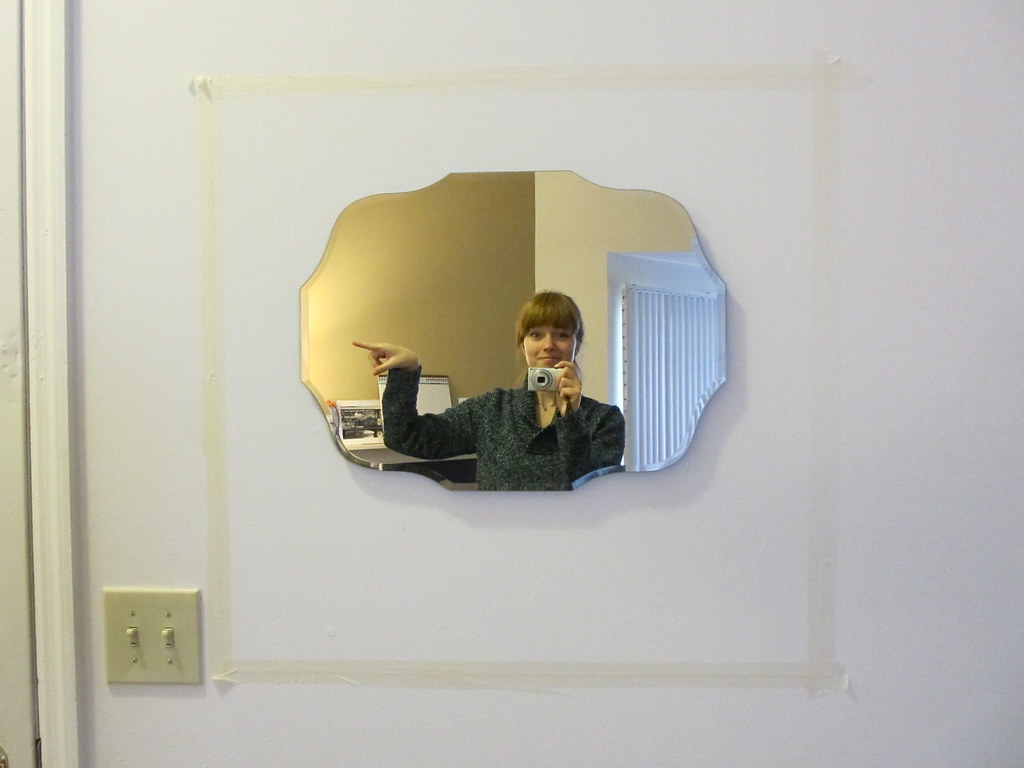
2) Hang your mirror and tape off an area around it, making sure you're leaving extra room at the bottom for hooks and that you're square (though a circle or triangle frame could also be super cool!). Sorry for the dumb face and masking tape. I was really excited, and it was all I had...
3) Take down your mirror (but leave in the screw!) and carefully paint in that box. My paint said to do at least two coats, waiting an hour or two between. I kind of liked the post modernism of just a huge yellow square on my wall...
4) Hang your mirror back up. Mark where you want your hooks to go, and screw them in.
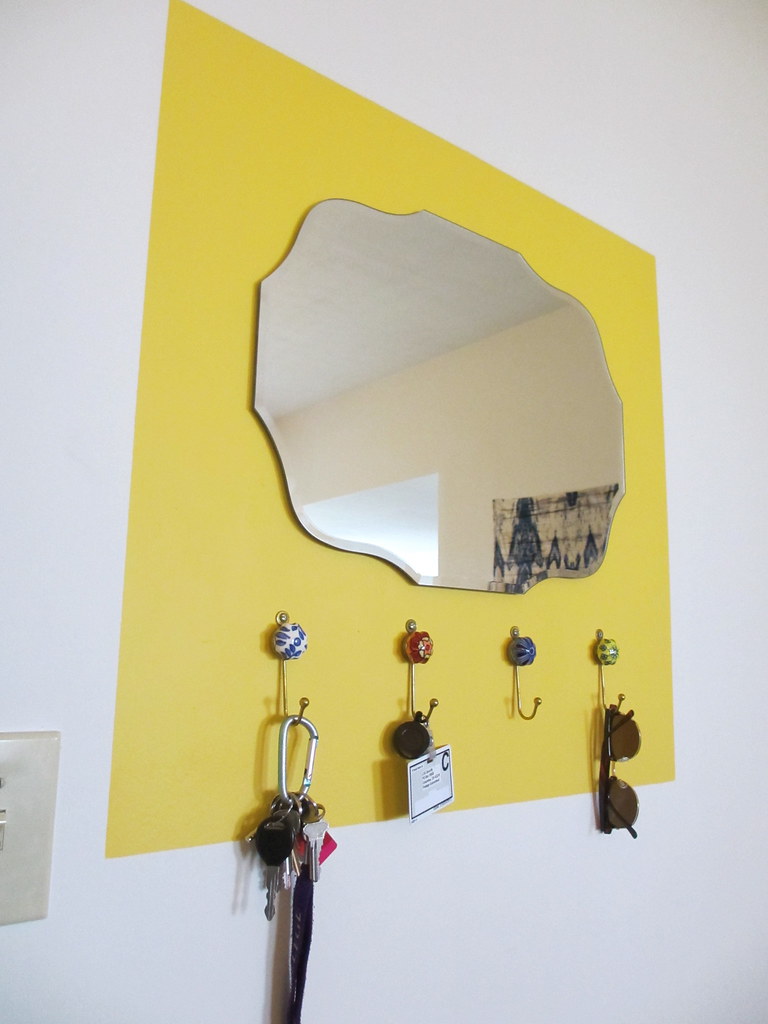
5) Done! Seriously brightens up this dark corner in my apartment.
I kind of think it needs something else though. I'm tempted to paint the border of the mirror in another bright color, or add a chalk paint trim... what do you think??
Two, know what one of the best things about having your own place is? Being able to paint a square of wall this pretty bright yellow, and no one can say anything about it!
What you need:
A mirror
Painter's tape
Bright paint (those 8oz paint samples are perfect for this)
Paintbrush
Drop cloth (newspapers works just fine)
Screwdriver/screws
Hooks or drawer knobs (I got mine at World Market)
What you do:
1) Start off with an area that is in desperate need of color. Even a pretty mirror doesn't make this area less boring...
2) Hang your mirror and tape off an area around it, making sure you're leaving extra room at the bottom for hooks and that you're square (though a circle or triangle frame could also be super cool!). Sorry for the dumb face and masking tape. I was really excited, and it was all I had...
Oh, and ever wonder what camera I use? No? Well, this little point-and-shoot is it.
5) Done! Seriously brightens up this dark corner in my apartment.
I kind of think it needs something else though. I'm tempted to paint the border of the mirror in another bright color, or add a chalk paint trim... what do you think??
Thursday, March 7, 2013
DIY: Cork Flower Pot Dish
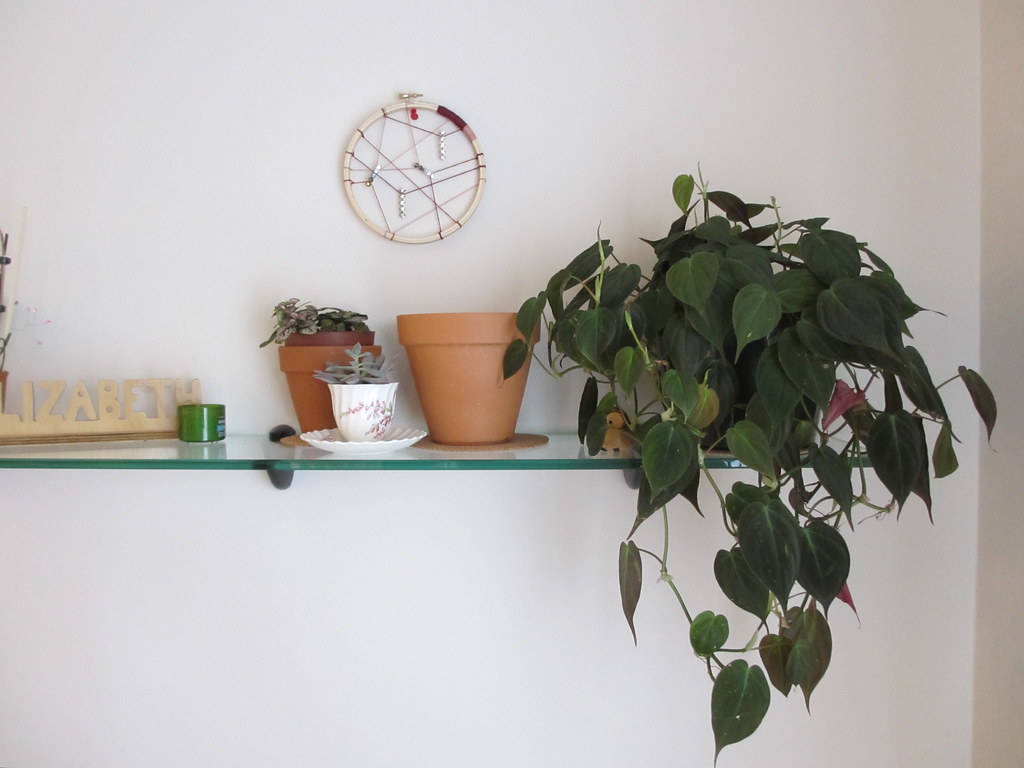
Let's talk plants. I put up this beautiful glass shelf a couple weeks ago in my dining nook to hold all my plants, but hated the thought of hiding it under a bunch of ugly flower pots and dishes. Enter my solution!
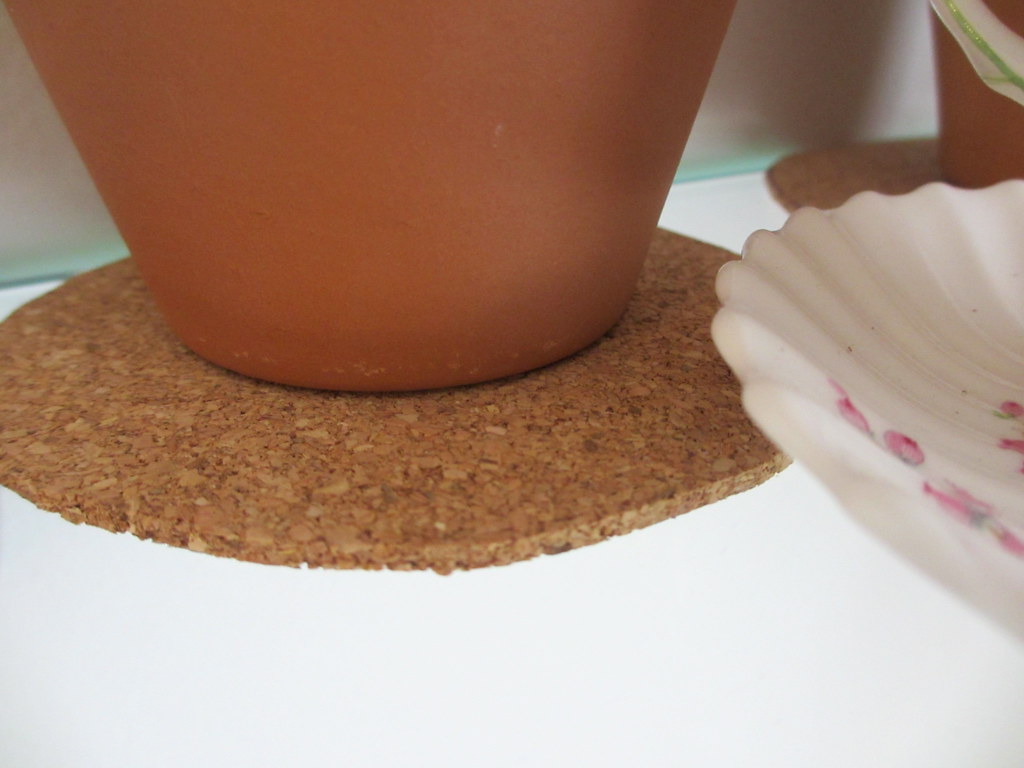
Cork! It fits with my neutral/white/pops of color thing I've got going on in my kitchen and living area, and is low-profile enough to not take away from all my pretty plants! The cork naturally absorbs water that might leak out from the soil, saving your shelf. However, I definitely recommend watering your plants in the sink and letting them drain there for a few minutes.
I took a roll of cork (you can get it at pretty much any crafts store), traced and cut out circles, and that was it! I made a few sizes, so you can see some...
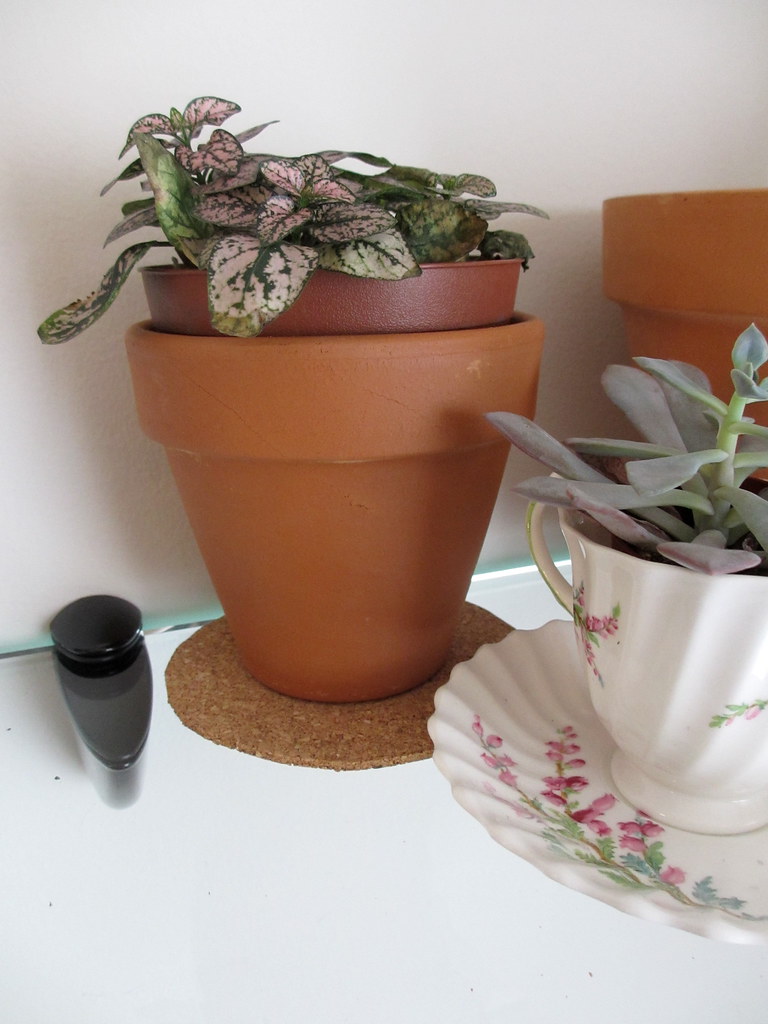
...and others are pretty hidden! I couldn't help but hide this little adorable little owl along with it..
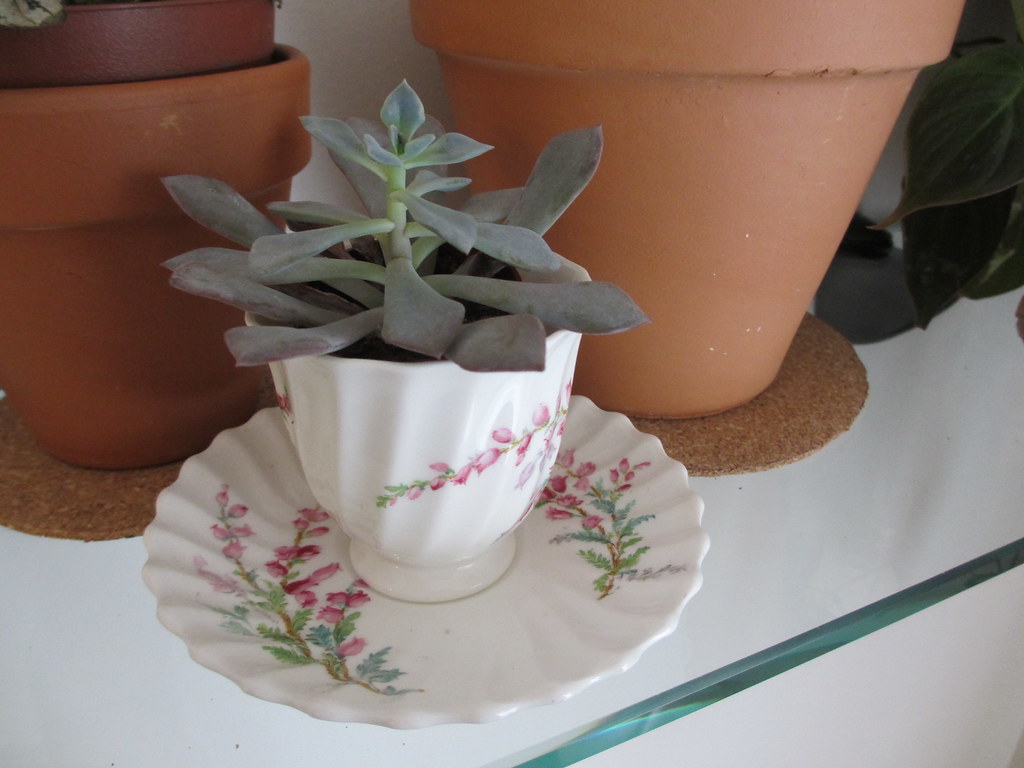
Another good flowerpot dish? A teacup and saucer! I just plopped this little guy and his pot inside this teacup and that's it!
Monday, March 4, 2013
Mini Monday: Clementines
Mi-ni Mo-nday (noun): occasional small tips or tricks (or just cute tiny things) to help make the first day after the weekend a little better.
Don't know what to do with the clementine peels after you've eaten the delicious fruit inside? Kitchen smelling a little funky? Just turn on your garbage disposal, run a little water, and throw 'em on down! The oils in the rind get ground up and makes your whole kitchen smell so wonderful. (Or you could compost them!)
Don't know what to do with the clementine peels after you've eaten the delicious fruit inside? Kitchen smelling a little funky? Just turn on your garbage disposal, run a little water, and throw 'em on down! The oils in the rind get ground up and makes your whole kitchen smell so wonderful. (Or you could compost them!)
And how cute is this bowl?? I love T.J. Maxx clearance.
Friday, February 22, 2013
DIY Home: Fireplace Mantle Shelf
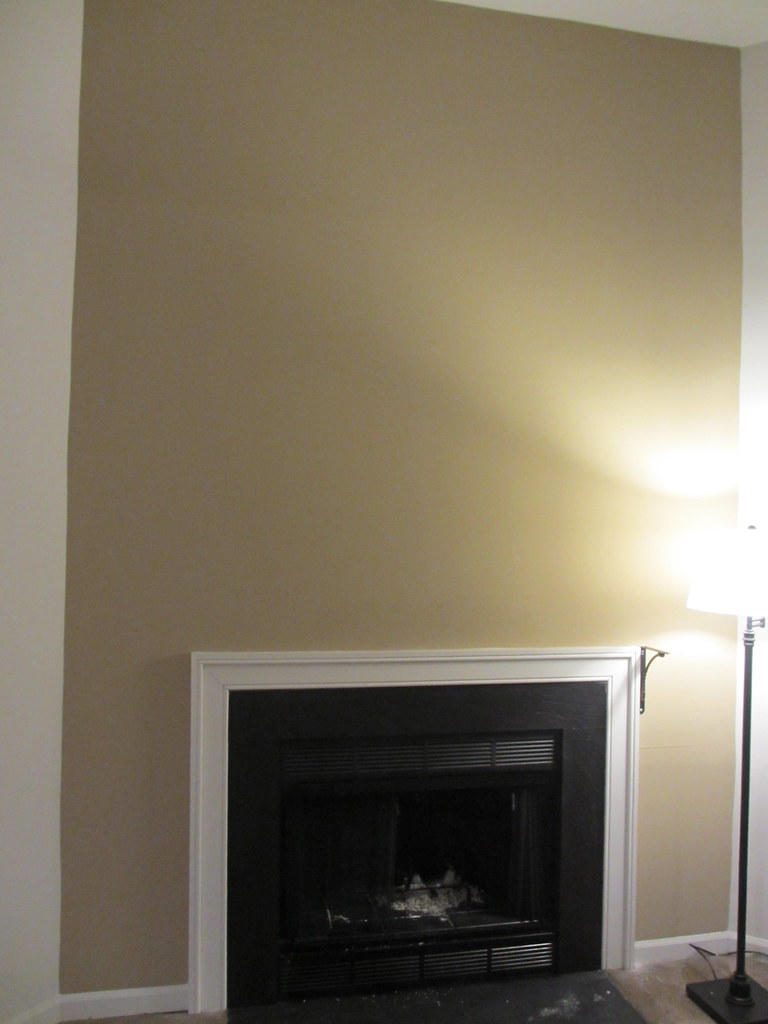
Have I mentioned yet that I love my new apartment and its fireplace? I didn't, however, love the fact that there wasn't a mantle shelf above it. Girl's gotta have a place to put all her fancy art (well, once I get some...)!
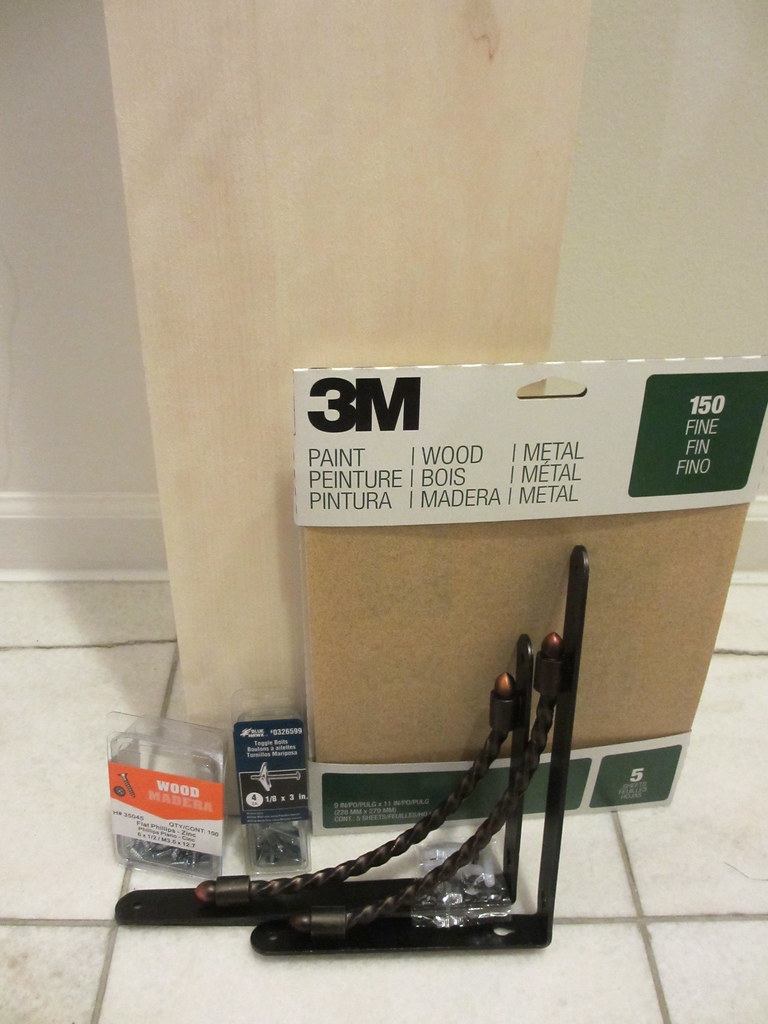
What you need:
Wood board
Shelf brackets
Screws
Studfinder (if no studs, get screws specifically for drywall installation)
Sandpaper
Stain and/or varnish
What you do:
1) Measure your fireplace width, then add a few inches on either side. I only added 5, so that it would end right over the brackets on either end, and not extend beyond the edges.
2) Determine how deep you want your shelf to be. Keep in mind that if your fireplace is relatively small like mine, you don't want a huge shelf to totally overwhelm it.
3) Pick out the type of wood you want, and get it cut down to size (yay Home Depot!). I chose Aspen since I liked how light it was and I knew I wouldn't be applying a stain.
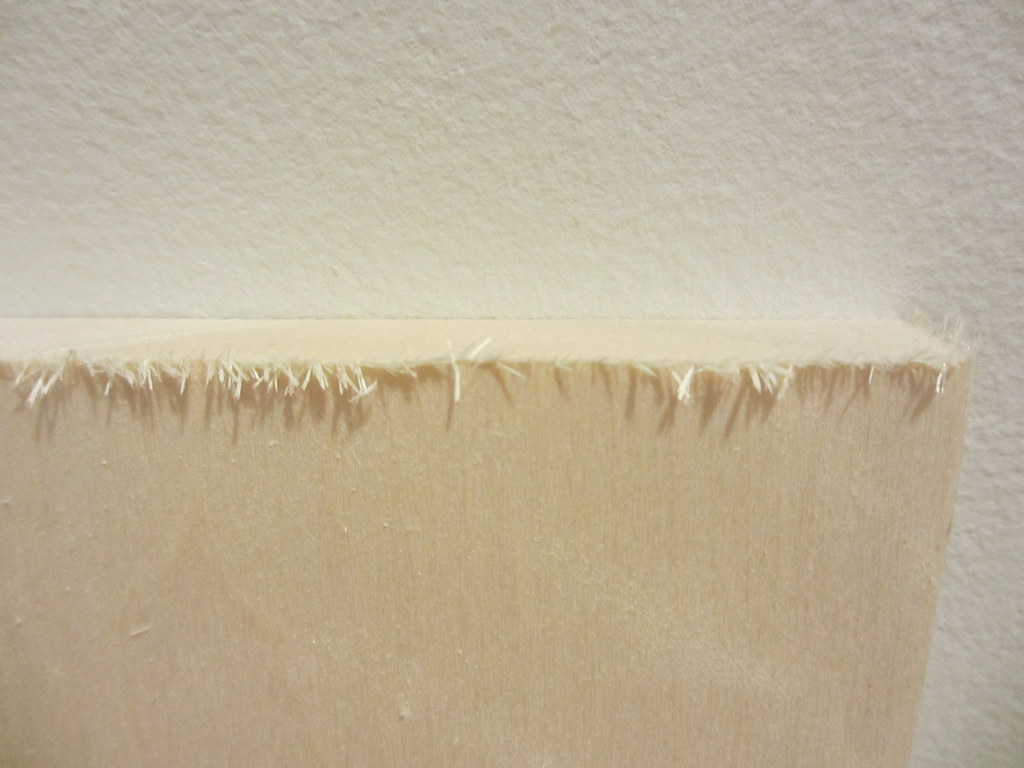
4) Since most freshly cut pieces of wood look something like this...
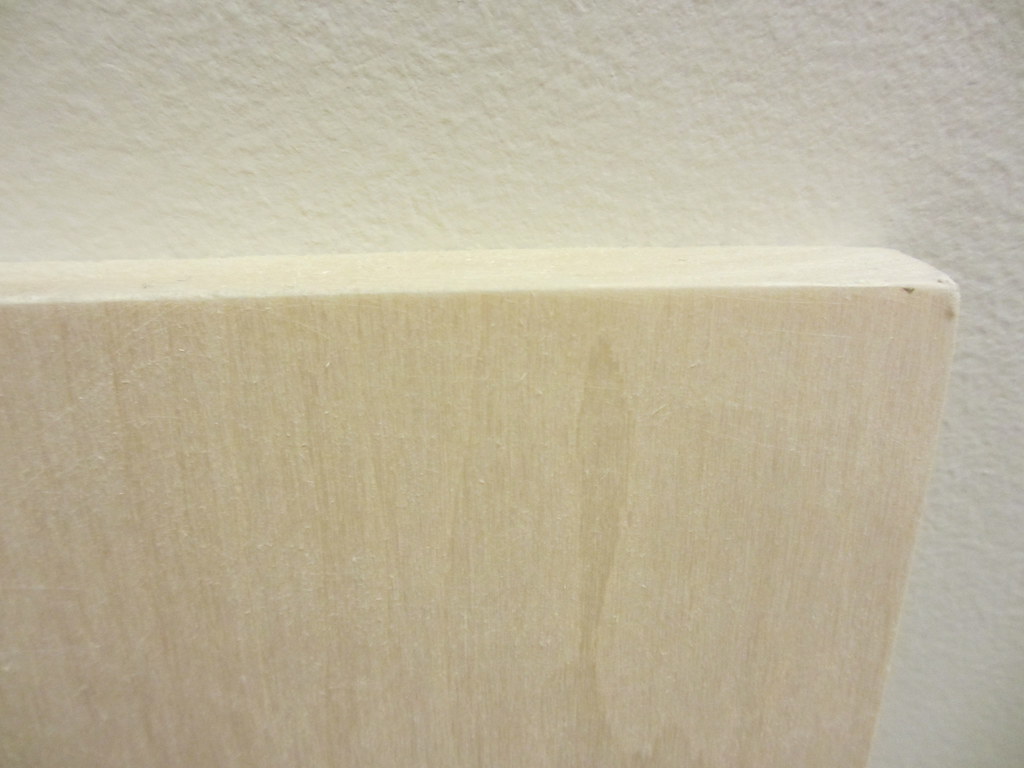
...lightly sand your new shelf. Stain and varnish if desired (I didn't since it's so darn cold outside and you DO NOT want to have all those fumes inside).
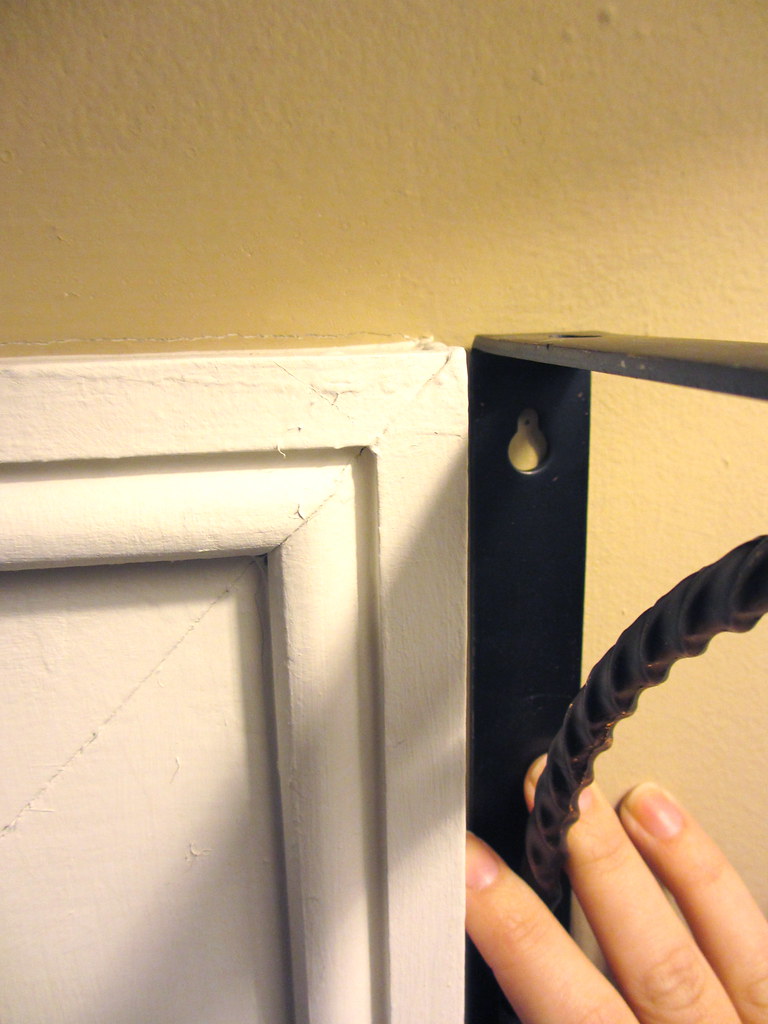
5) Install your brackets, ensuring they're level and that you're drilling into studs. While this isn't super important for small pictures, screwing into a stud is essential for any heavy/load-bearing wall items like shelves.
6) Place your board on top of the brackets and attach using small screws. These are really just to keep the shelf from sliding off the brackets, so don't need to be super duper heavy duty.
7) Place art and DIYed match bottles (look, I made another one!) and a giant calendar on your new shelf. It's obviously a bit bare right now, but hey, art will definitely be DIYed in the near future!
To make matters worse, it's not only an awkward length that apparently no pre-made shelfs would fit, but there also weren't any studs in the wall to hang it from anyways. So, I just had to make one.
Super tall ceilings + no shelf + no art = boooooring!
SO much better!
Wood board
Shelf brackets
Screws
Studfinder (if no studs, get screws specifically for drywall installation)
Sandpaper
Stain and/or varnish
What you do:
1) Measure your fireplace width, then add a few inches on either side. I only added 5, so that it would end right over the brackets on either end, and not extend beyond the edges.
2) Determine how deep you want your shelf to be. Keep in mind that if your fireplace is relatively small like mine, you don't want a huge shelf to totally overwhelm it.
3) Pick out the type of wood you want, and get it cut down to size (yay Home Depot!). I chose Aspen since I liked how light it was and I knew I wouldn't be applying a stain.
4) Since most freshly cut pieces of wood look something like this...
...lightly sand your new shelf. Stain and varnish if desired (I didn't since it's so darn cold outside and you DO NOT want to have all those fumes inside).
Oops, kind of over-sanded that corner... but at least no splinters!
6) Place your board on top of the brackets and attach using small screws. These are really just to keep the shelf from sliding off the brackets, so don't need to be super duper heavy duty.
Pro-tip: don't completely tighten each screw one at a time. Partially screw them all in, then go around and tighten them all gradually.
7) Place art and DIYed match bottles (look, I made another one!) and a giant calendar on your new shelf. It's obviously a bit bare right now, but hey, art will definitely be DIYed in the near future!
Subscribe to:
Posts (Atom)


