To make matters worse, it's not only an awkward length that apparently no pre-made shelfs would fit, but there also weren't any studs in the wall to hang it from anyways. So, I just had to make one.
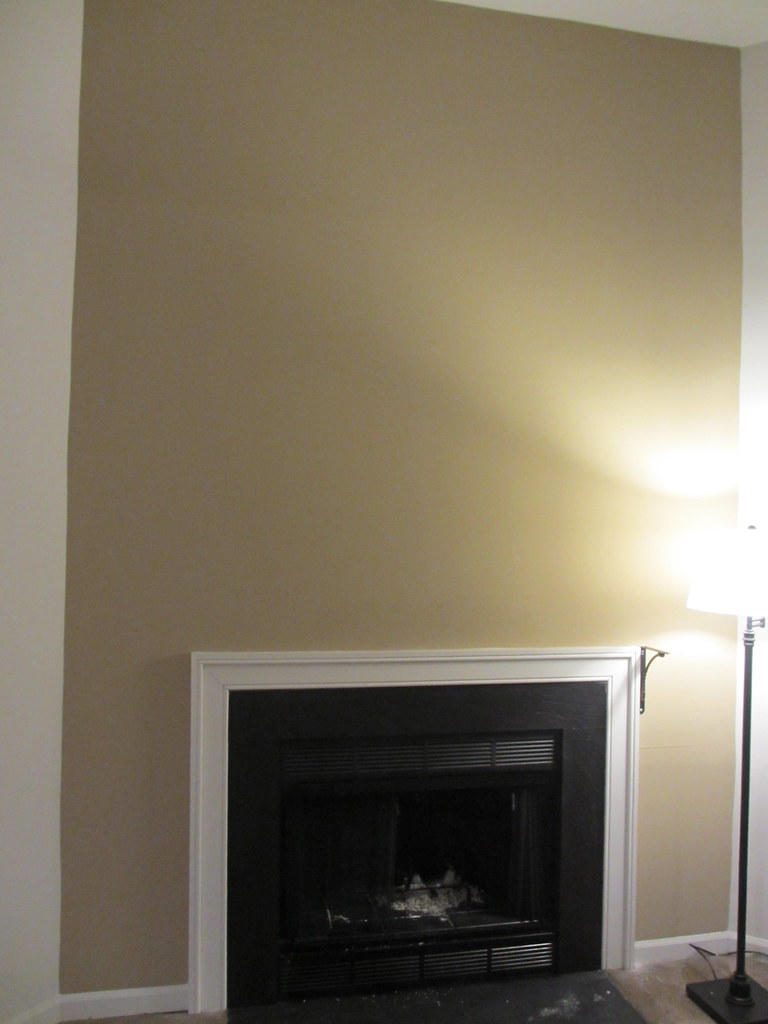
Super tall ceilings + no shelf + no art = boooooring!

SO much better!
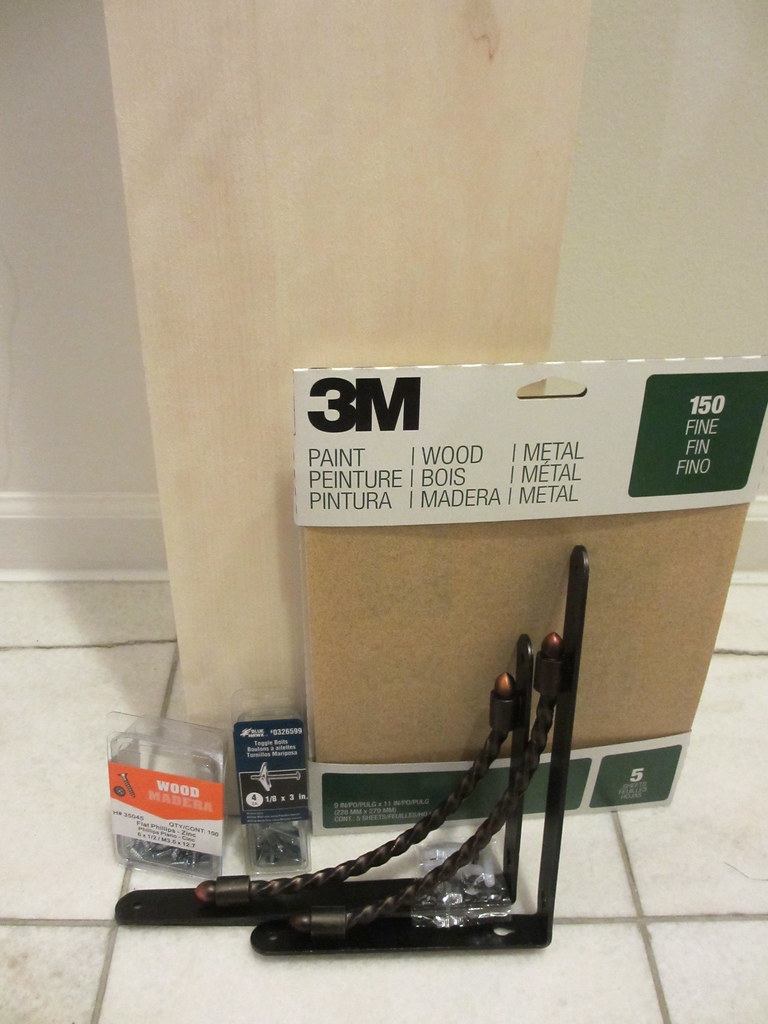
Wood board
Shelf brackets
Screws
Studfinder (if no studs, get screws specifically for drywall installation)
Sandpaper
Stain and/or varnish
What you do:
1) Measure your fireplace width, then add a few inches on either side. I only added 5, so that it would end right over the brackets on either end, and not extend beyond the edges.
2) Determine how deep you want your shelf to be. Keep in mind that if your fireplace is relatively small like mine, you don't want a huge shelf to totally overwhelm it.
3) Pick out the type of wood you want, and get it cut down to size (yay Home Depot!). I chose Aspen since I liked how light it was and I knew I wouldn't be applying a stain.
4) Since most freshly cut pieces of wood look something like this...
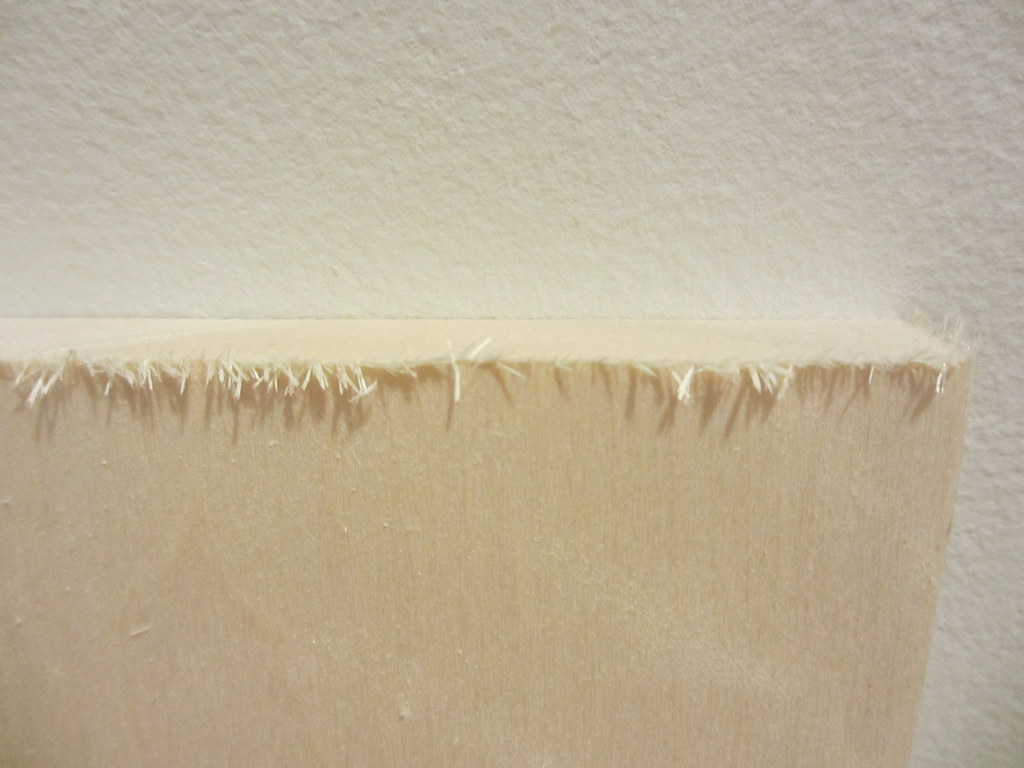
...lightly sand your new shelf. Stain and varnish if desired (I didn't since it's so darn cold outside and you DO NOT want to have all those fumes inside).
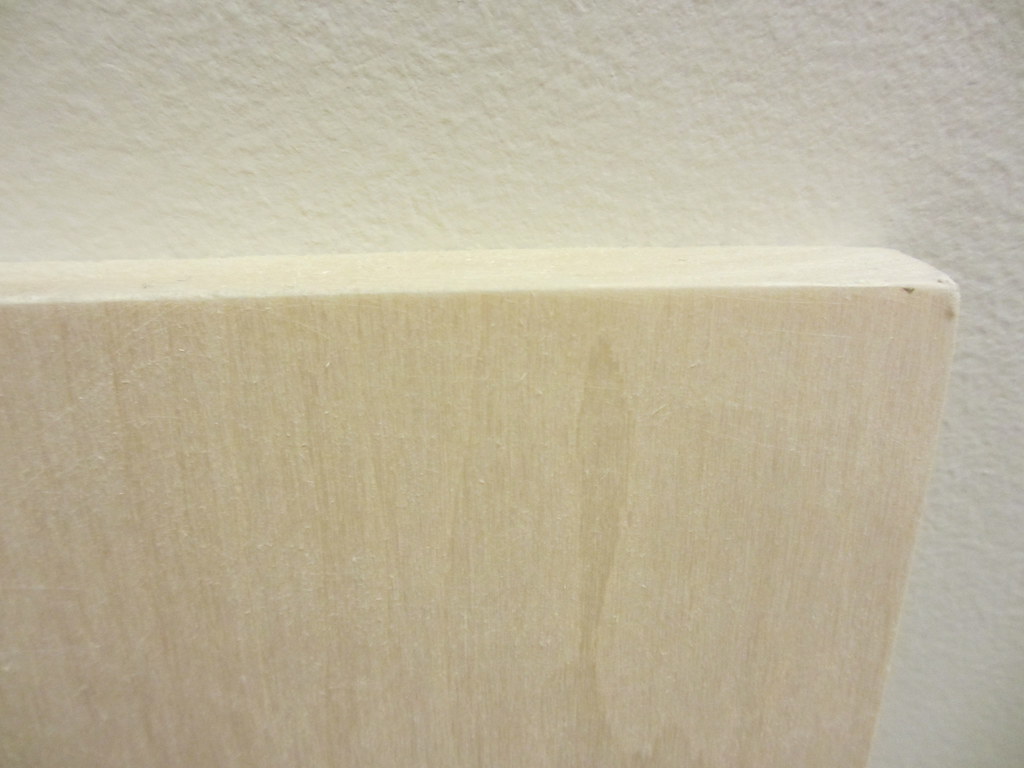
Oops, kind of over-sanded that corner... but at least no splinters!
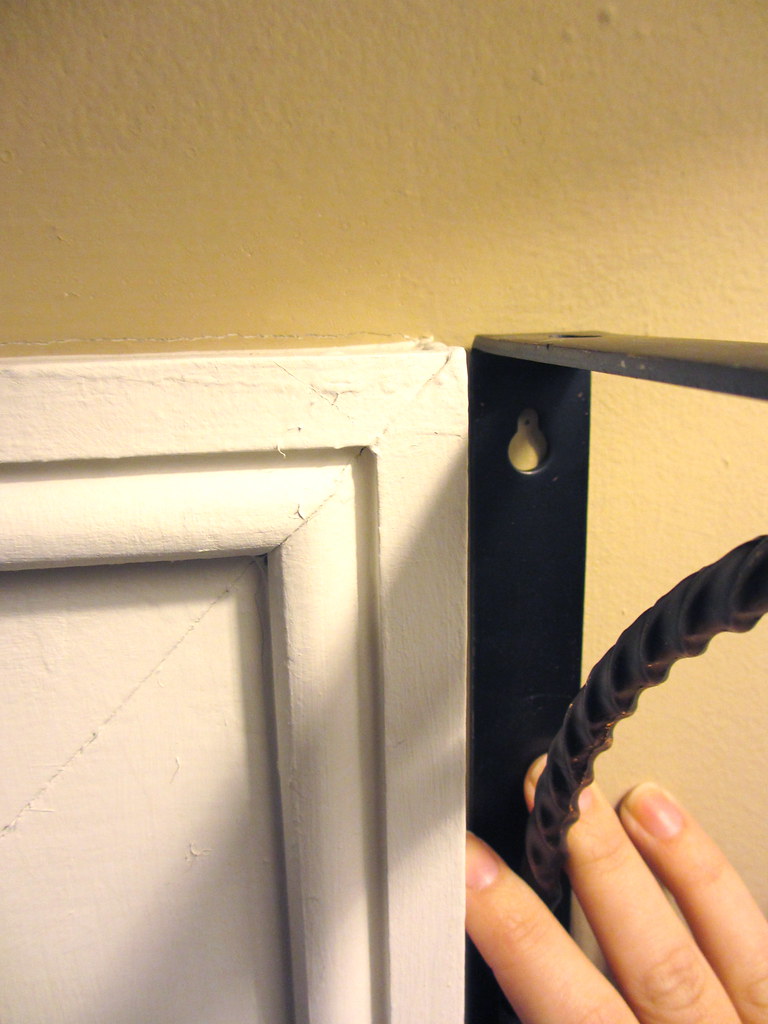
6) Place your board on top of the brackets and attach using small screws. These are really just to keep the shelf from sliding off the brackets, so don't need to be super duper heavy duty.

Pro-tip: don't completely tighten each screw one at a time. Partially screw them all in, then go around and tighten them all gradually.
7) Place art and DIYed match bottles (look, I made another one!) and a giant calendar on your new shelf. It's obviously a bit bare right now, but hey, art will definitely be DIYed in the near future!