I've always felt a weird aversion to theme-y DIYs. They always look so cute in pictures, but so horribly cheesy in my living room. So I tend to avoid them like the plague.
Buuuuut with all of these sparkly things leftover from projects past, I couldn't help myself. Especially since it would make for such a horrible pun about catching the man of my dreams for Valentine's... But I'll try to restrain myself....
What you need:
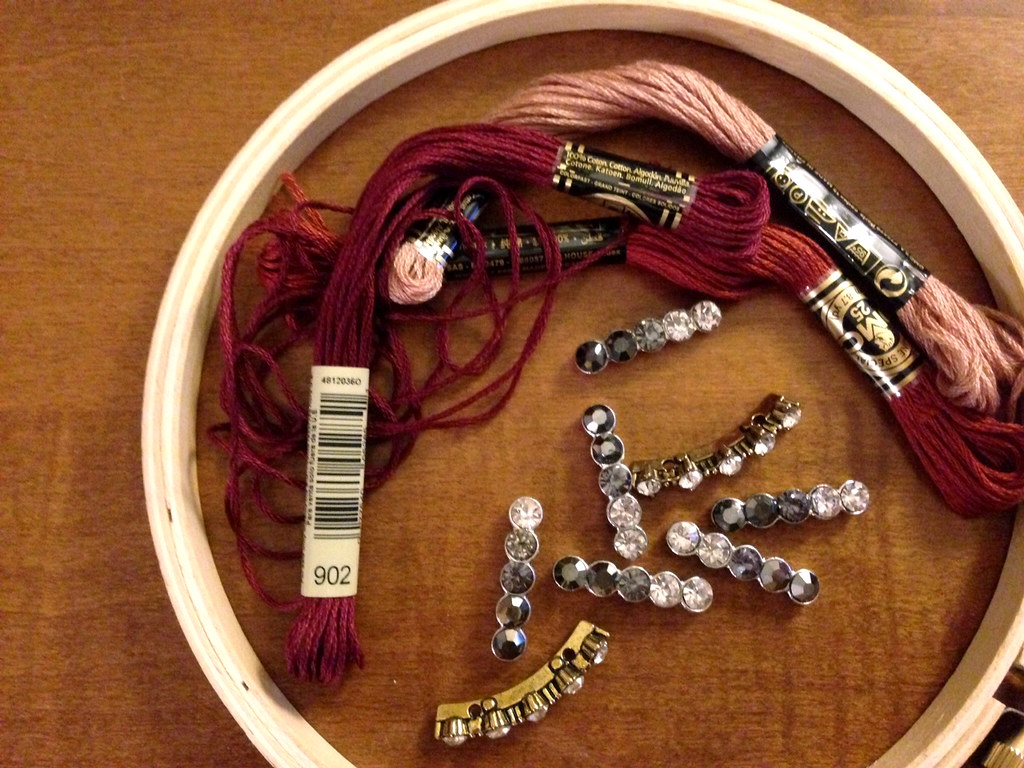
Embroidery thread or yarn
Rhinestones and beads
Embroidery hoop
Glue
Scissors
What you do:
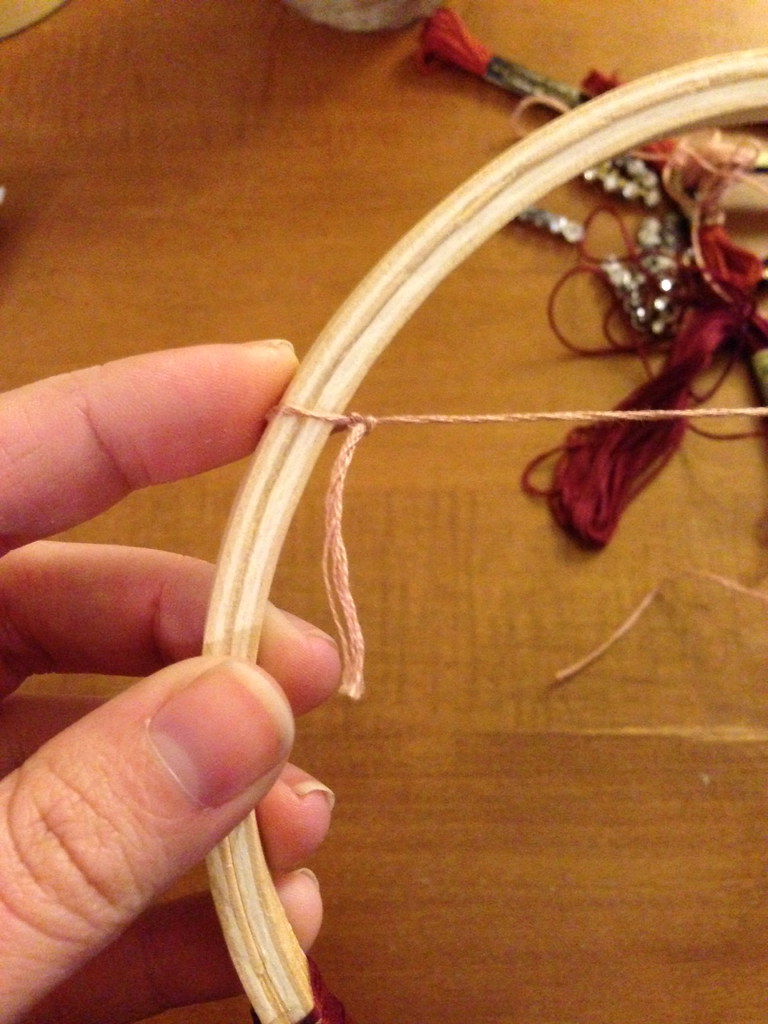
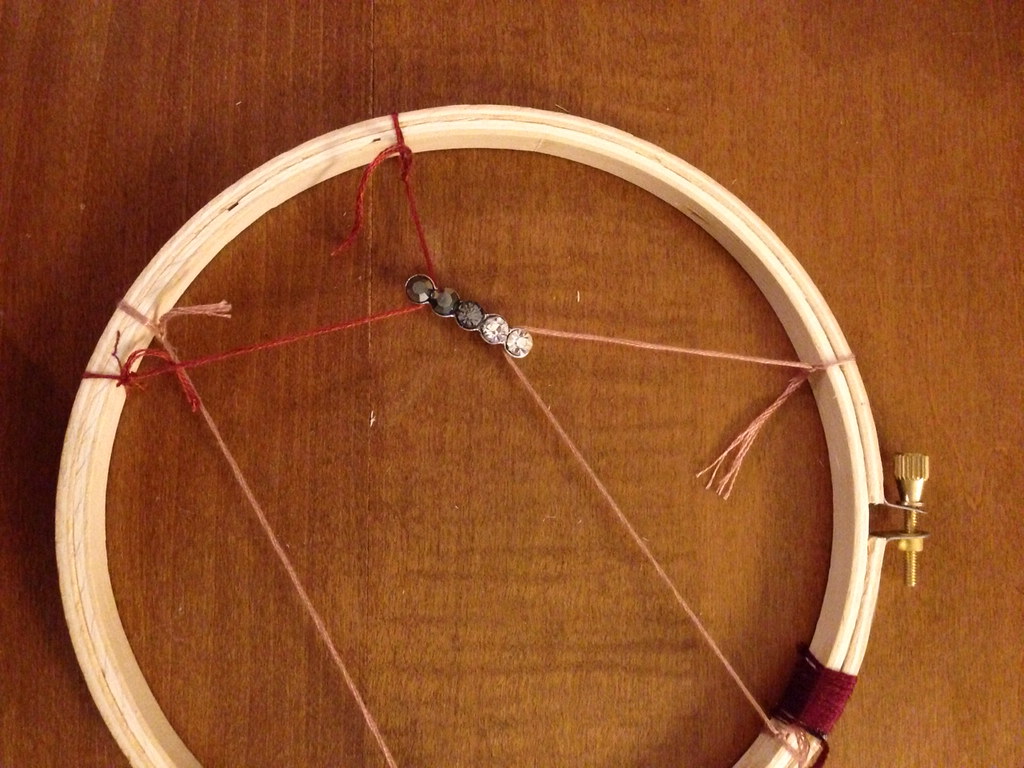
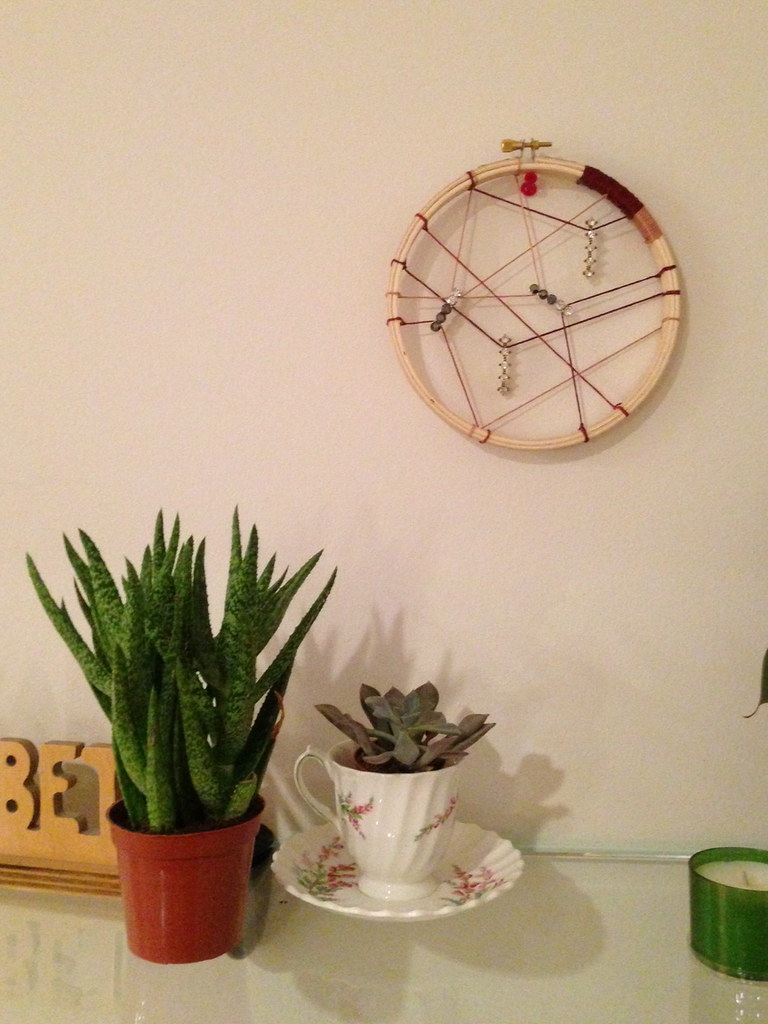
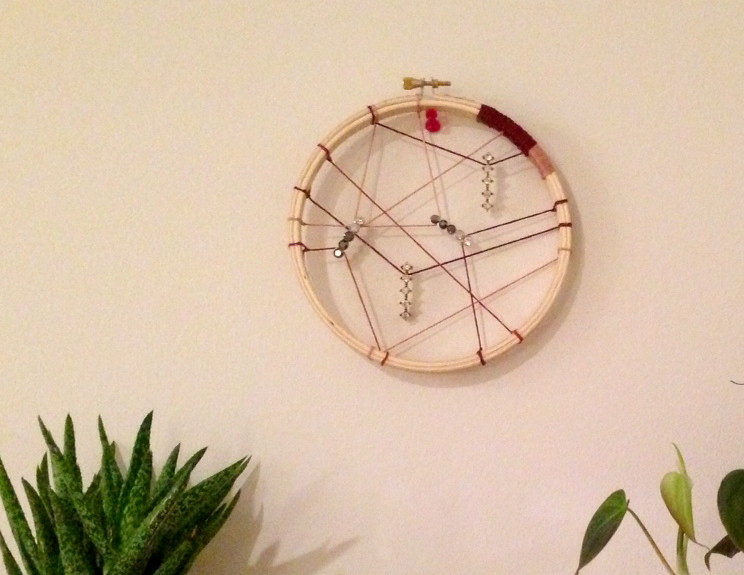
1) Tie thread around the edges of the embroidery hoop at random.
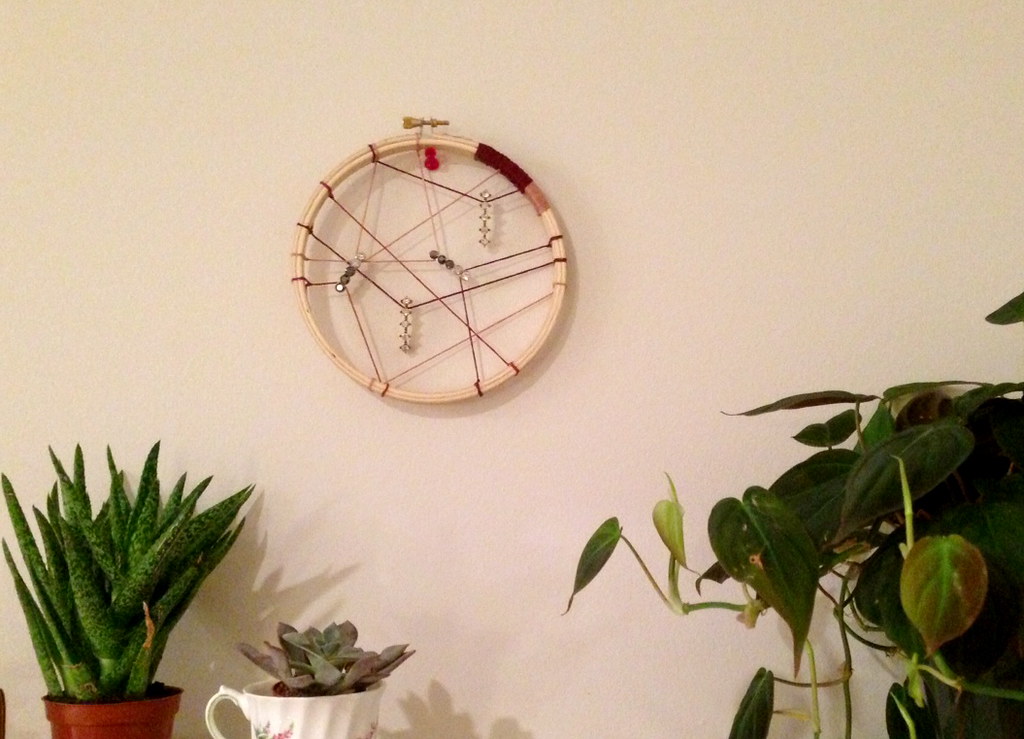
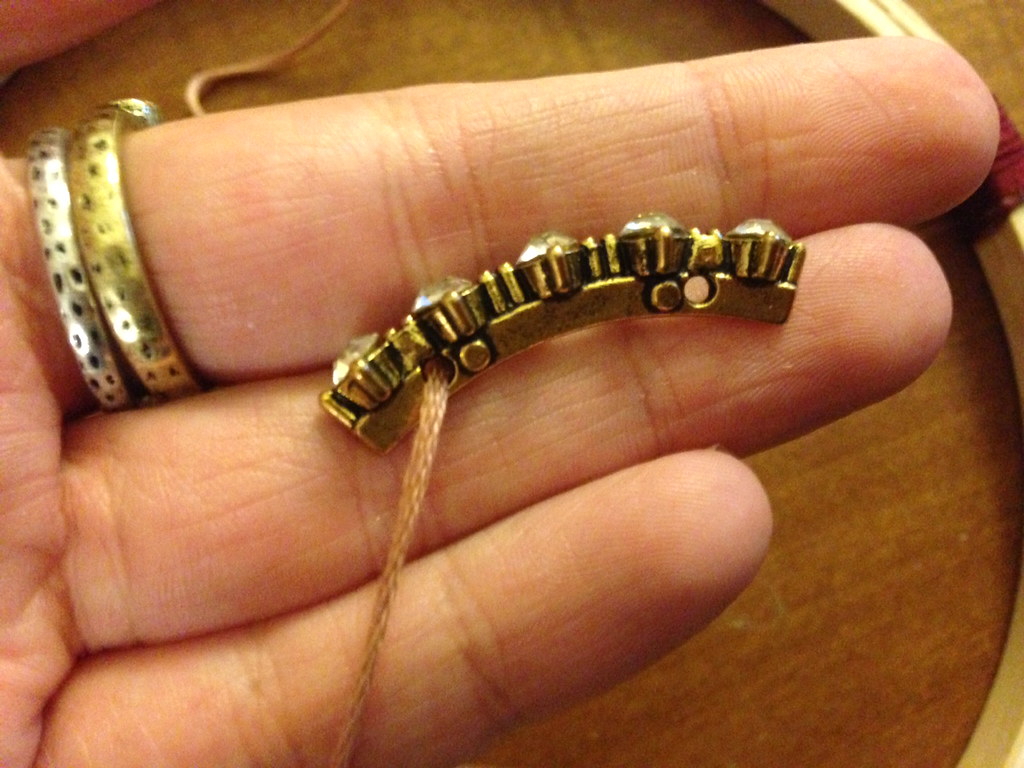
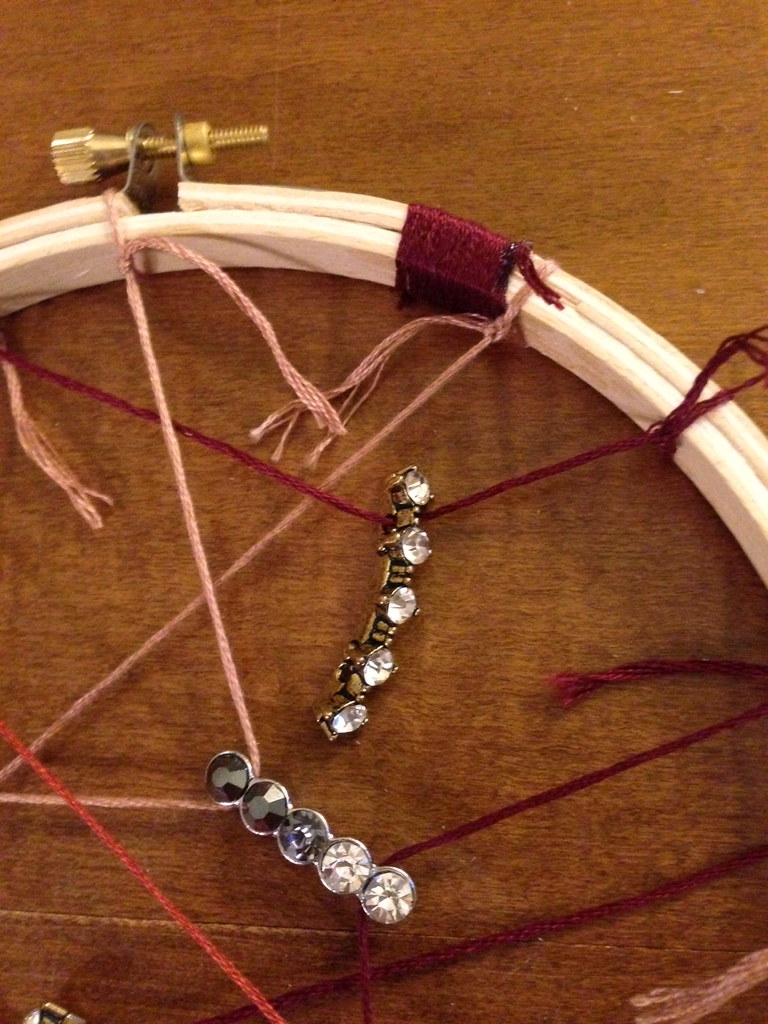
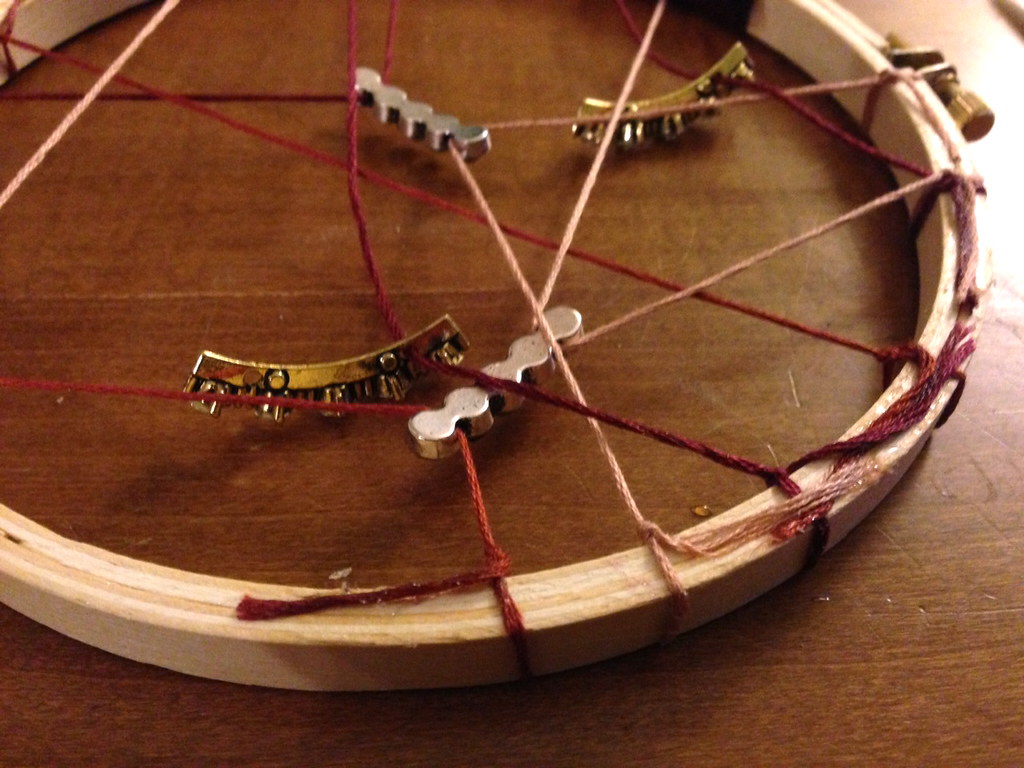
2) String some beads or rhinestones along some of the threads. I had rhinestones that had two holes, so I used two threads to suspend a couple, and then let a couple hang down. You could also tie knots on either side of the bead to keep them in place.
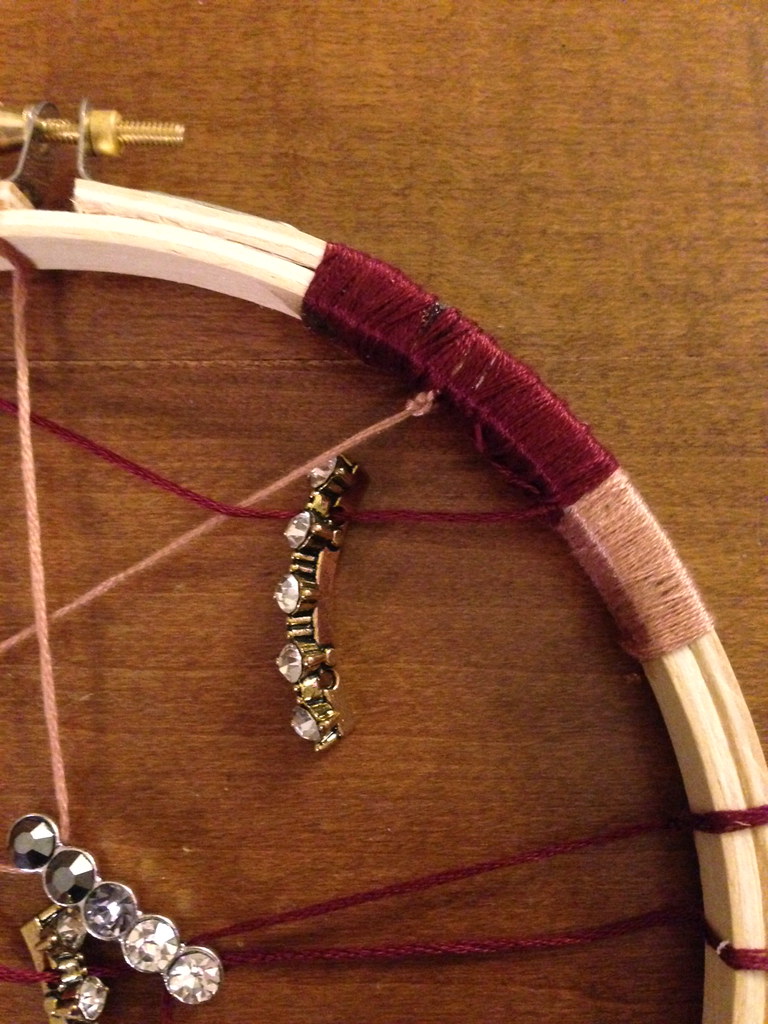
3) Wrap some thread around the embroidery hoop if desired.
4) Glue all the loose ends to the back of the hoop.
5) Hang up! Hint: Oh look, a preview of an upcoming apartment decor post :)
Showing posts with label embroidery. Show all posts
Showing posts with label embroidery. Show all posts
Wednesday, February 13, 2013
Tuesday, November 27, 2012
DIY: Colorful Upper Finger Rings
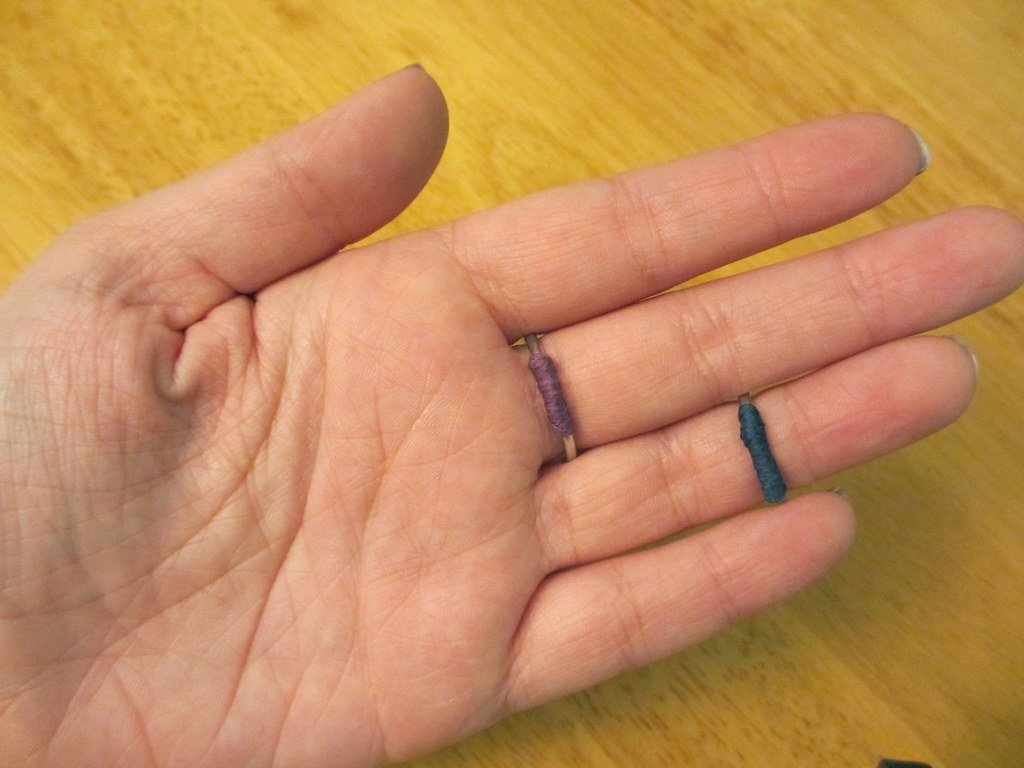
If there were an award for ugliest hands, I would totally win. My extreme appendages are generally stubby (earning me the nickname "She Who Walks On Squares" in high school - but that's another story for another day), and my fingers are no exception. They're also much more wrinkly than my 23 years of age would imply. Yay.
However, I can't help but love rings (see here and here...). I wear them probably three times as much as any other kind of jewelry. And when fiddling around with wire the other day, I thought of this DIY. Enjoy!
What you need:
Wire
Embroidery floss or thread
Glue (something like E600)
Round-nosed pliers
What you do:
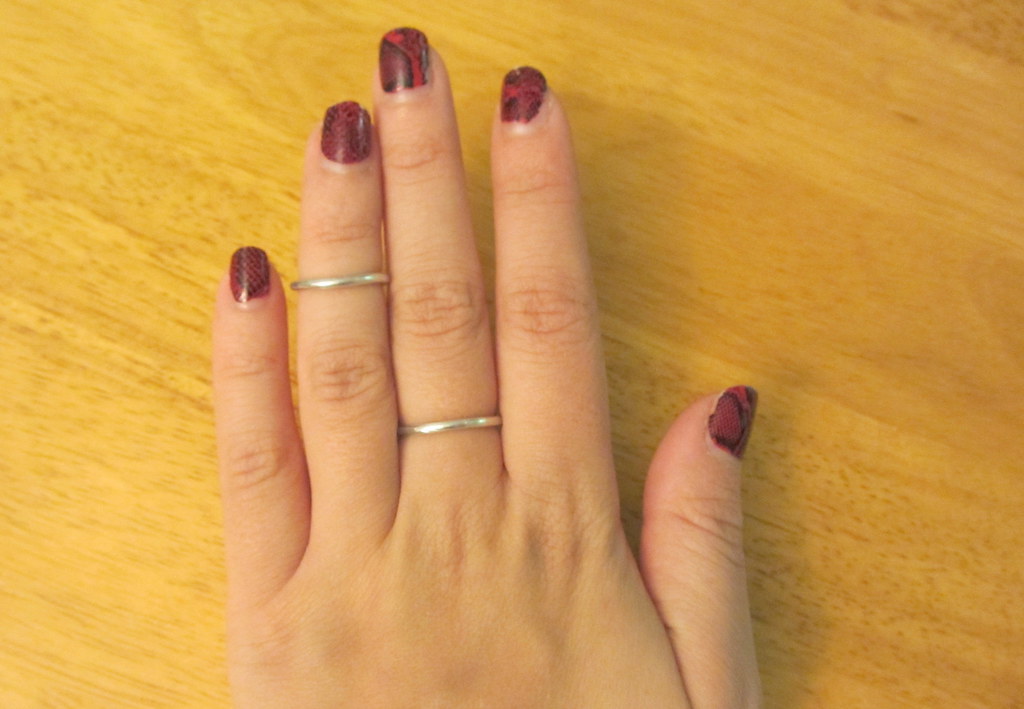
1) Gently bend wire into a circle that looks roughly like it would fit around your first knuckle. Try on and adjust as necessary. (There are ways to do this much more scientifically and precisely, but guestimation worked just fine for me!) Cut any extra wire away.
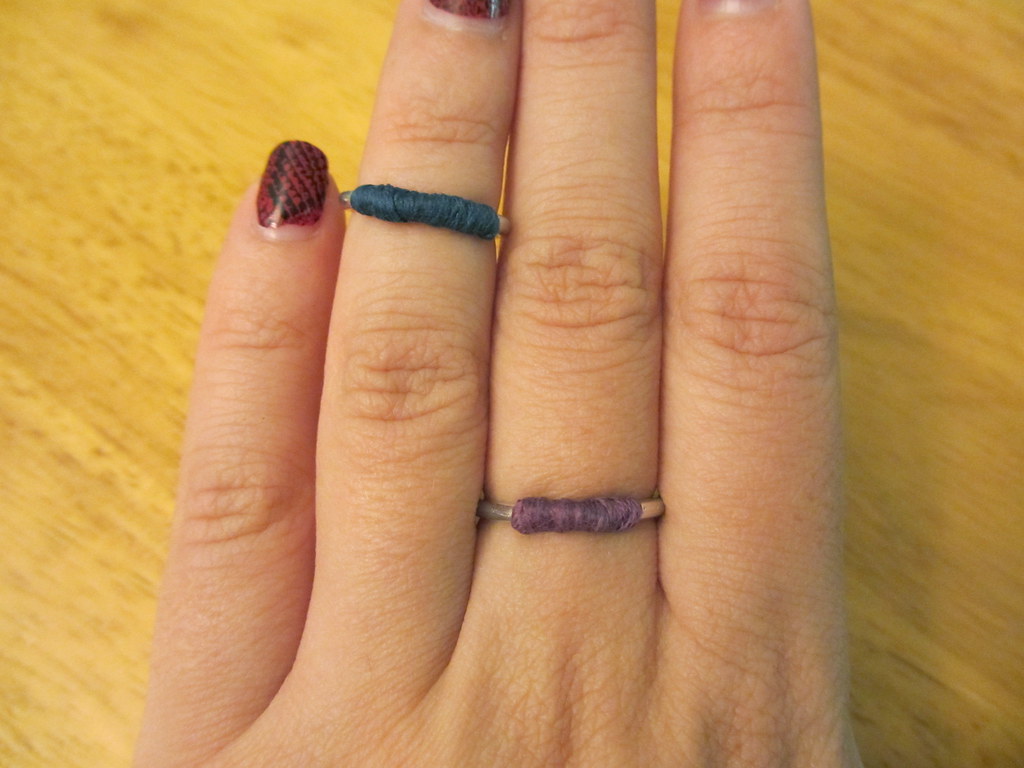
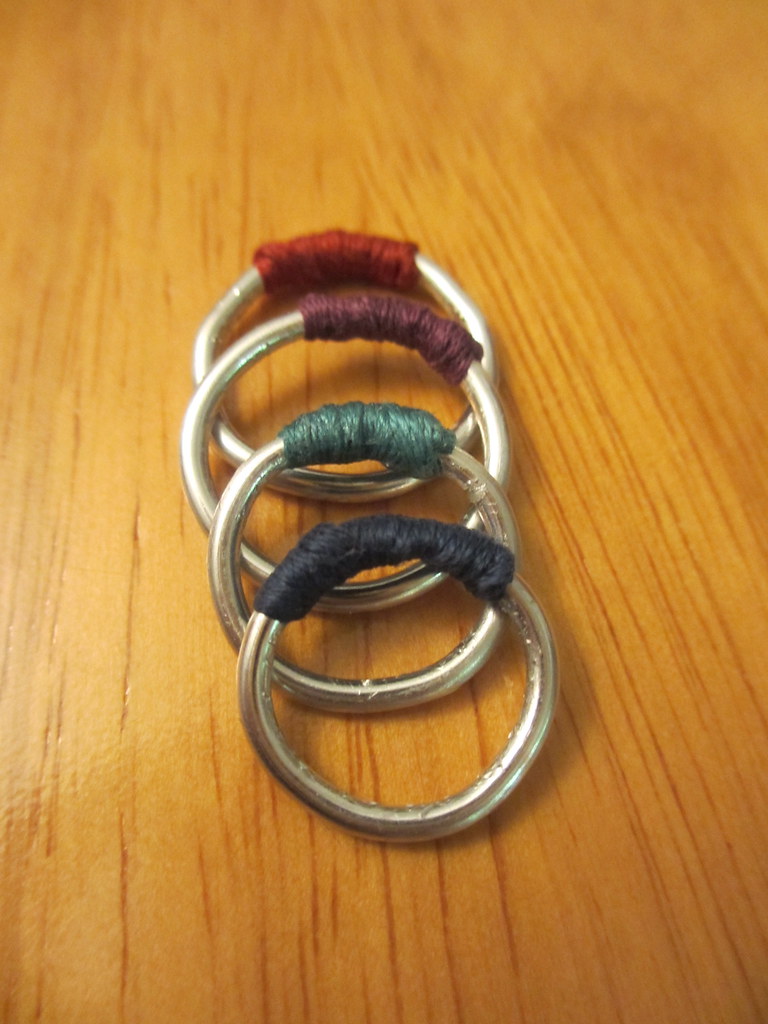
2) Tie a piece of embroidery floss onto the ring and wrap around where the wire ends meet, gluing as you go. I chose to only wrap a small bit, but it might be cool to wrap the whole ring!
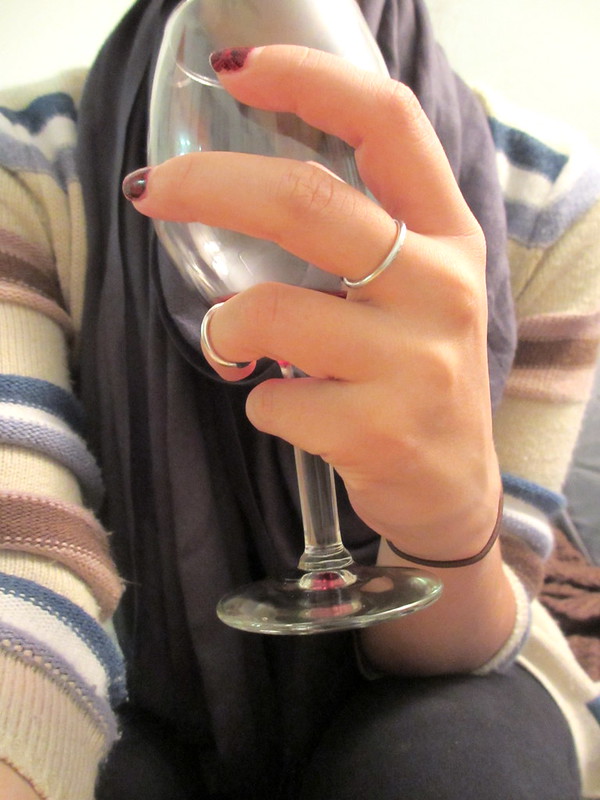
3) Model with hands only a mother could love. Drink wine to make yourself feel better.
However, I can't help but love rings (see here and here...). I wear them probably three times as much as any other kind of jewelry. And when fiddling around with wire the other day, I thought of this DIY. Enjoy!
What you need:
Wire
Embroidery floss or thread
Glue (something like E600)
Round-nosed pliers
What you do:
1) Gently bend wire into a circle that looks roughly like it would fit around your first knuckle. Try on and adjust as necessary. (There are ways to do this much more scientifically and precisely, but guestimation worked just fine for me!) Cut any extra wire away.
2) Tie a piece of embroidery floss onto the ring and wrap around where the wire ends meet, gluing as you go. I chose to only wrap a small bit, but it might be cool to wrap the whole ring!
I like wearing them with the embroidery floss on the inside for a super sneaky pop of color :)
3) Model with hands only a mother could love. Drink wine to make yourself feel better.
Wednesday, November 14, 2012
DIY: Tribal Poncho Hoodie Shawl... Thing
I really can't figure out what to call this recent mini-trend. Is it a shawl? No, it's got a hood. It's certainly not a hoodie, but it's not exactly a poncho either. Eh, you get the idea.
Best part of this DIY? No sewing machine required!!

What you need:
Woven tribal print fabric (or an old blanket)
Scissors
Large-ish needles
A variety of embroidery floss
A couple toggle buttons (not pictured)
What you do:
1) Cut two shapes like this. Make sure they're big enough to fit over your head into a hood.
2) With wrong sides together (the "pretty sides" facing out), overlock stitch the curved sides of the hood pieces together so that the stitches show on the outside of your hood. Reminds me of a dinosaur :)
Switch embroidery floss colors at random, tying the strands together on the underside of the hood.
3a) Cut a large rectangle of the fabric. I have NO idea how I didn't get a photo of this step so here's a crude mock-up...)
4) Take that top edge and fold it down so the edges meet in the center; position your toggle buttons (make sure the hooks are both on one side and the buttons on the other!)
5) Glue and/or sew your toggle buttons down. Since they won't be taking much stress, I just used a couple stitches.
6) Done!
Tuesday, February 14, 2012
Blue Valentine Series: Embroidered Sweater
The inspiration:
via ???
The outcome:
Today's been super busy, so this is about as good of an "outfit picture" as we're gonna get for now!
What you need:
What you do:
1) Trace out the word or picture you want in chalk on your sweater. I chose the french word "bleuissant" meaning, "to make blue" or "to turn blue". Appropriate right? I printed it out just to give myself an idea of what it would look like, then sketched out the letters by hand.
2) Stitch along the lines using your embroidery floss and needle. Here's a good explanation of a couple basic embroidery stitches - backstitching or a stemstitch would probably be your best bet for letters.
3) Flaunt headless
Subscribe to:
Posts (Atom)



.jpg)


