Showing posts with label Blue Valentine Series. Show all posts

Tuesday, February 14, 2012

Blue Valentine Series: Embroidered Sweater

The inspiration:
via ???

The outcome:
Today's been super busy, so this is about as good of an "outfit picture" as we're gonna get for now!

What you need:
A sweater
Embroidery floss
Chalk or pencil
A darning needle (essentially a large sewing needle)


What you do:
1) Trace out the word or picture you want in chalk on your sweater. I chose the french word "bleuissant" meaning, "to make blue" or "to turn blue". Appropriate right? I printed it out just to give myself an idea of what it would look like, then sketched out the letters by hand.


2) Stitch along the lines using your embroidery floss and needle. Here's a good explanation of a couple basic embroidery stitches - backstitching or a stemstitch would probably be your best bet for letters.


3) Flaunt headless


Monday, February 13, 2012

Blue Valentine Series: Ombre Fringe Necklace

On the second day of Blue Valentine, I decided to try and make... the ever-popular fringe necklace, this time actually featuring the color blue!

The inspiration

The outcome

I originally wanted to bleach the blue fringe to make it ombre from white to blue, kind of the reverse of this one. However, apparently the fringe I bought would be impervious to nuclear attack, because even after an hour of sitting in undiluted bleach, it was still as blue as ever. So onto Plan Silver Sharpie!

What you need:
Fringe
Chain
Necklace clasp
Pliers of some sort
White or silver sharpie (or bleach, if your fringe is less hearty than mine)


What you do:
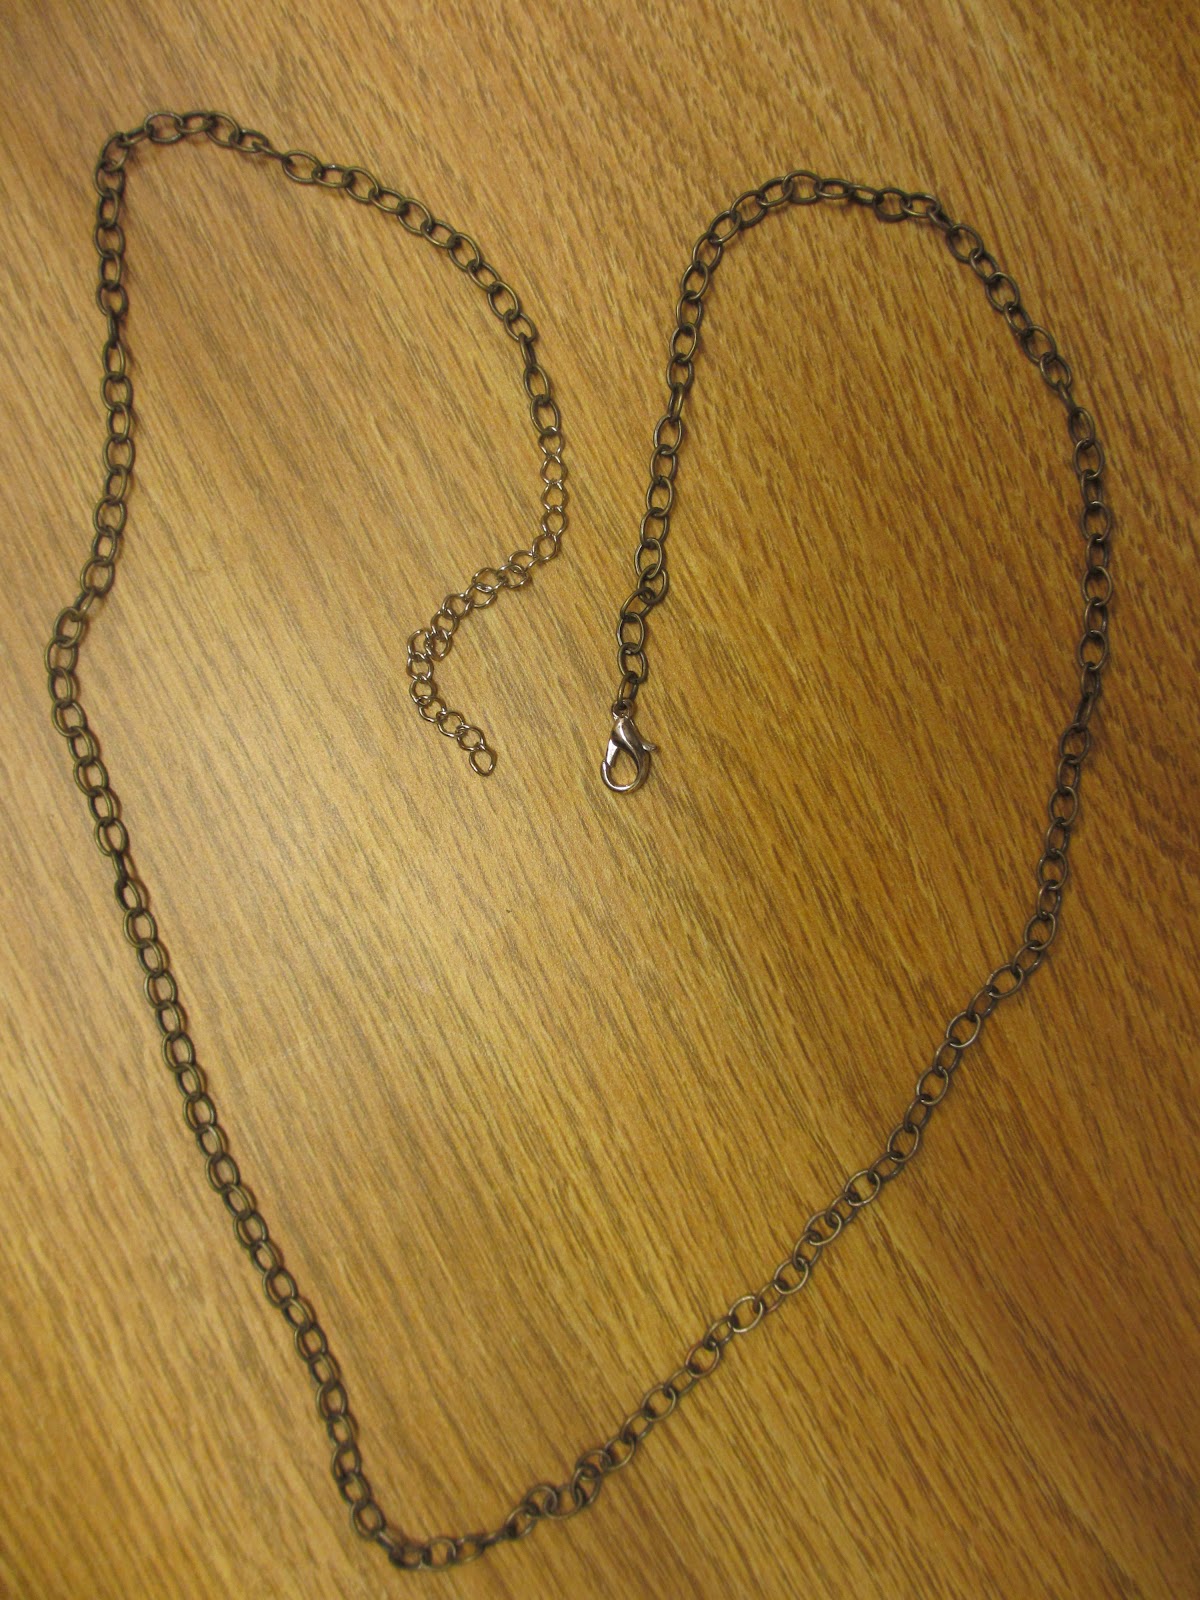
1) Cut a length of chain as long as you want your necklace (keeping in mind that the fringe will hang down a bit), and attach the necklace clasp to the chain.

It's a heart! Kinda.


2) Sharpie (or bleach) the ends of your fringe. If you're feeling thorough, flip the fringe over and color the back side too. My sharpie was dead by this point though, so I didn't. I also added some extra glue at the top and sides of my fringe just so it wouldn't unravel.


3) Whip-stitch, sew, glue, or otherwise attach your fringe to the chain at the center.


4) Wear!


Sunday, February 12, 2012

Blue Valentine Series: Tassel Earrings

Got plans for Valentine's Day this year? In addition to the usual cookie-baking, sappy romance movie watching, and wine-drinking, I'm starting my Blue Valentine's Day series!

Why blue, you ask? Although I love any excuse to wear things plastered with red, pink and glittery hearts, I find that most Valentine's Day themed DIY's are too cheesy to wear the other 364 days of the year. (Note: this does not apply to baked goods. Heart-shaped cookies are good year-round) So instead I'll be doing one blue-inspired project a day, for the three days leading up to Valentine's.

Up first we have tassel earrings! And yes, I know they're technically black but think of it as a really dark blue.

Tassel earrings with bead accent a la Jason Wu at NYFW

What you need:
Tassels or embroidery floss (since most tassels I've found at stores are too fat for my taste, I made my own - there are tons of good how-to's online, like this one or this)
Earring hooks
Jewelry wire
Tacky Glue (not shown)
Decorative beads (optional)


What you do:
If not using a bead, just attach your tassel to the earring hook via a jump ring. Otherwise...

1) String bead onto jewelry wire and make a loop at either end.


2) Attach one end of the loop to the earring hook


3) Attach the other end of the loop to the tassel and use tacky glue to secure (it dries clear). You can also add an extra jump ring here if you want the tassel to move more freely.


4) Wait until dry, then wear!


It's kinda hard to see the earrings since my hair is dark-ish, so here's an extreme close up. I don't know why my hair looks red...