Alright, so you've seen it a million times at this point: ombre is fashion's lady of the week. Dresses, shirts, skirts, pants, you name it, it's been ombre'd, and that includes hair (I'm really trying to convince myself that I shouldn't follow this trend...).
This last image inspired me to try my hand at ombre'ing (or dip dying) a dress I originally got for an Alice in Wonderland costume. Great for the costume, not so great for anything else.
Super pale, super snoozeville.
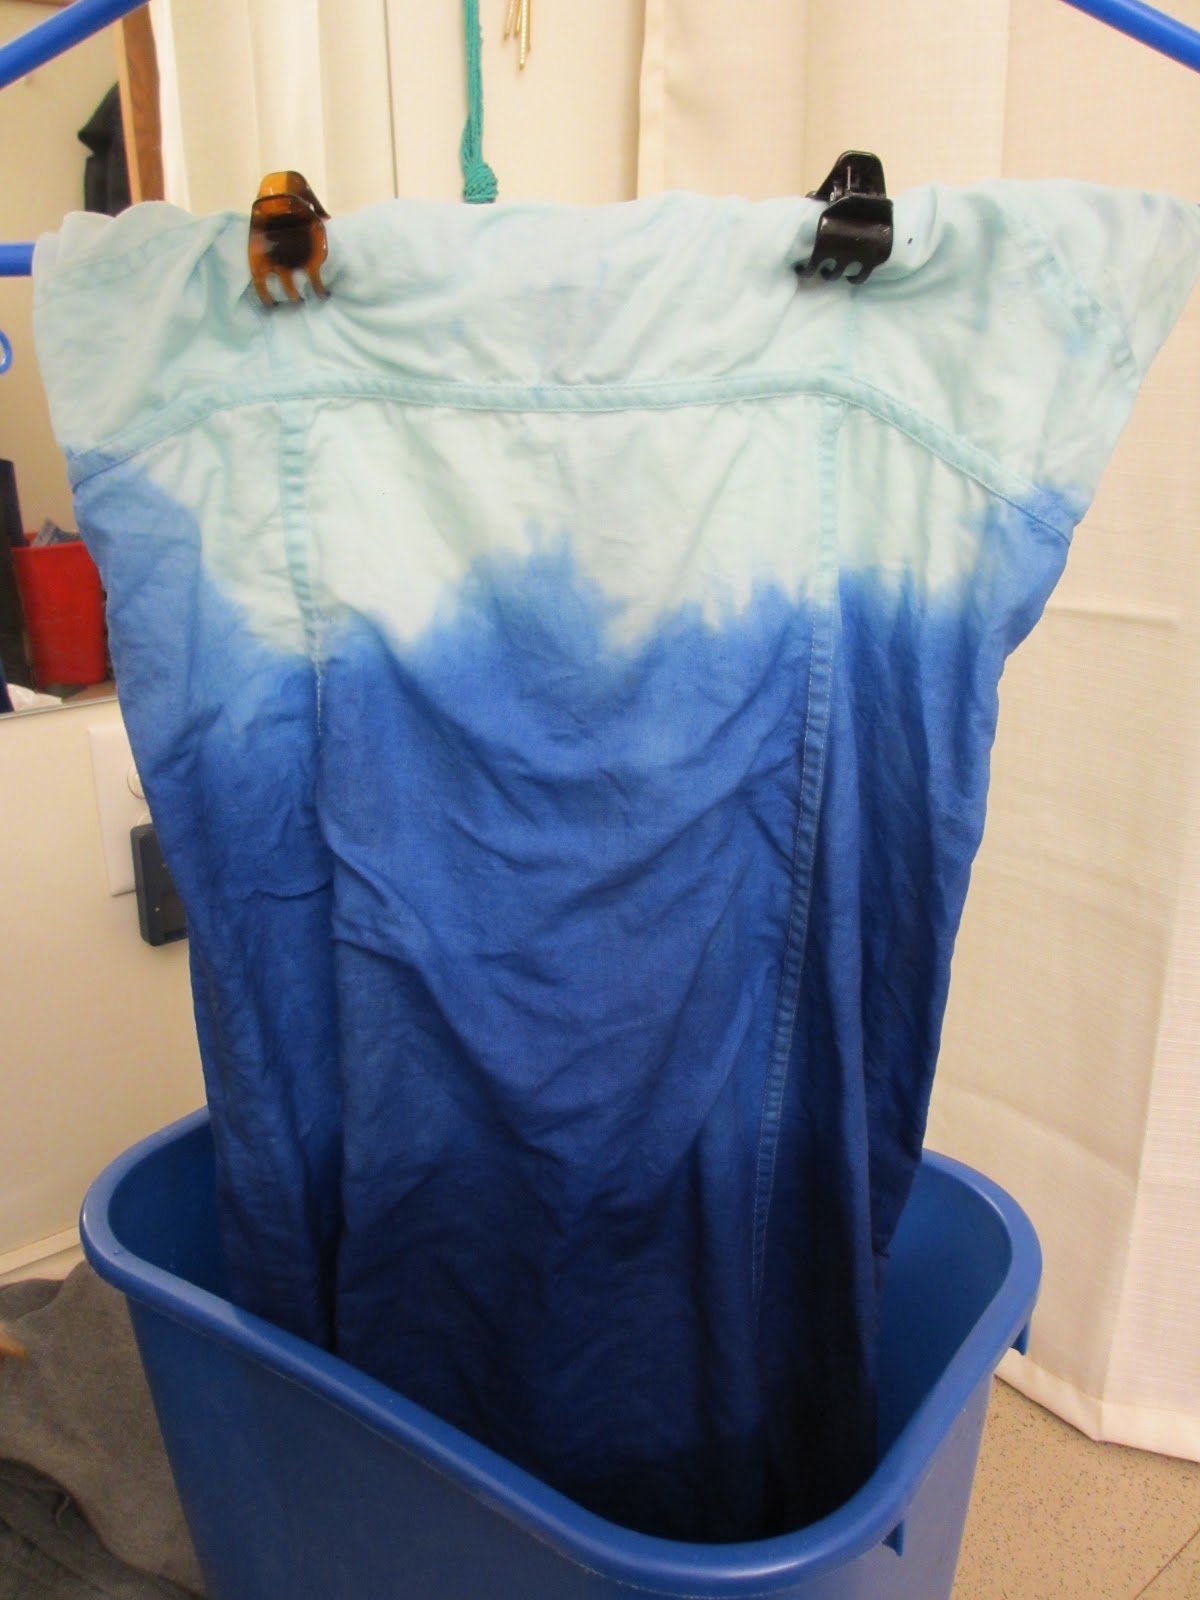
Boil some water, add some Navy Blue dye, and dip it in! I wanted most of the dress to be a darker color, so dipped almost all of the dress in. The dye stains linen and cotton really quickly though, so your lightest "layer" should only be in the dye for a second or two.
I left the second level in the dye for about 3 minutes.
The last "level" of dye took about 10 minutes to deepen to the color I wanted.
Make sure to dry your newly dyed article of clothing on a towel that you don't care too much about. It will get dyed too! I have a specific "dye-drying" towel that I use. Here's the final product! Of course I took these pictures plenty past midnight, so the photoshoot devolved pretty quickly...
Pretty normal so far
I really like how the back turned out - the line of color is much straighter.
This is where I start getting a bit delusional... "OMG LOOK I finished something!!"
"I wonder what shoes I should wear with this dress? I guess these are okay!"
You get the idea. Super easy DIY that I definitely need to try on a pair of jeans or two. Or three.