Showing posts with label jewelry. Show all posts

Thursday, January 31, 2013

Thankful Thursday: A Delayed Part Two

So to finally reveal what I've been hinting at the past few weeks of Thankful Thursdays...

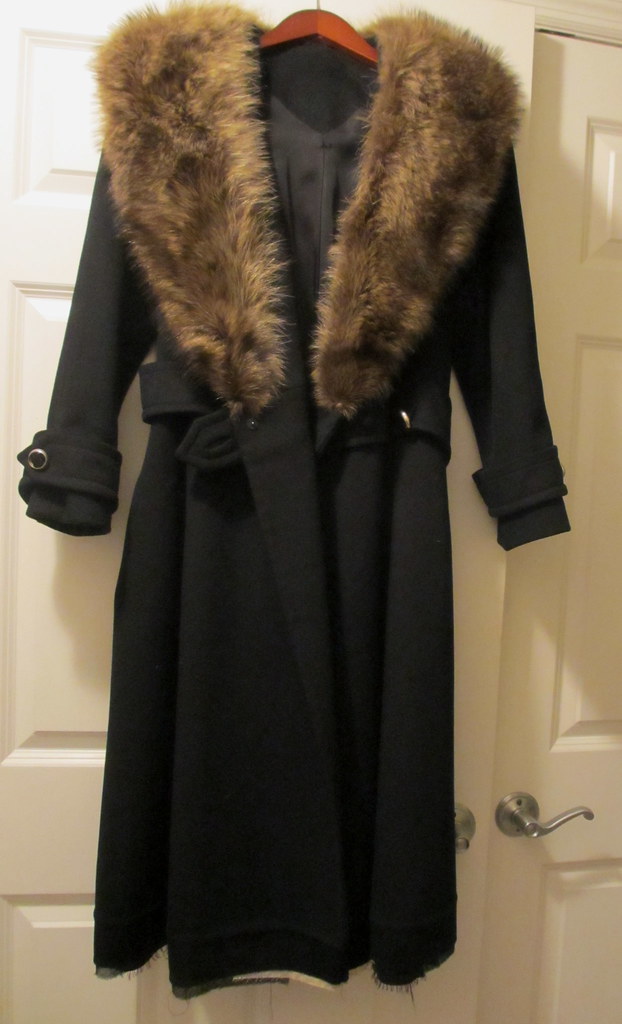
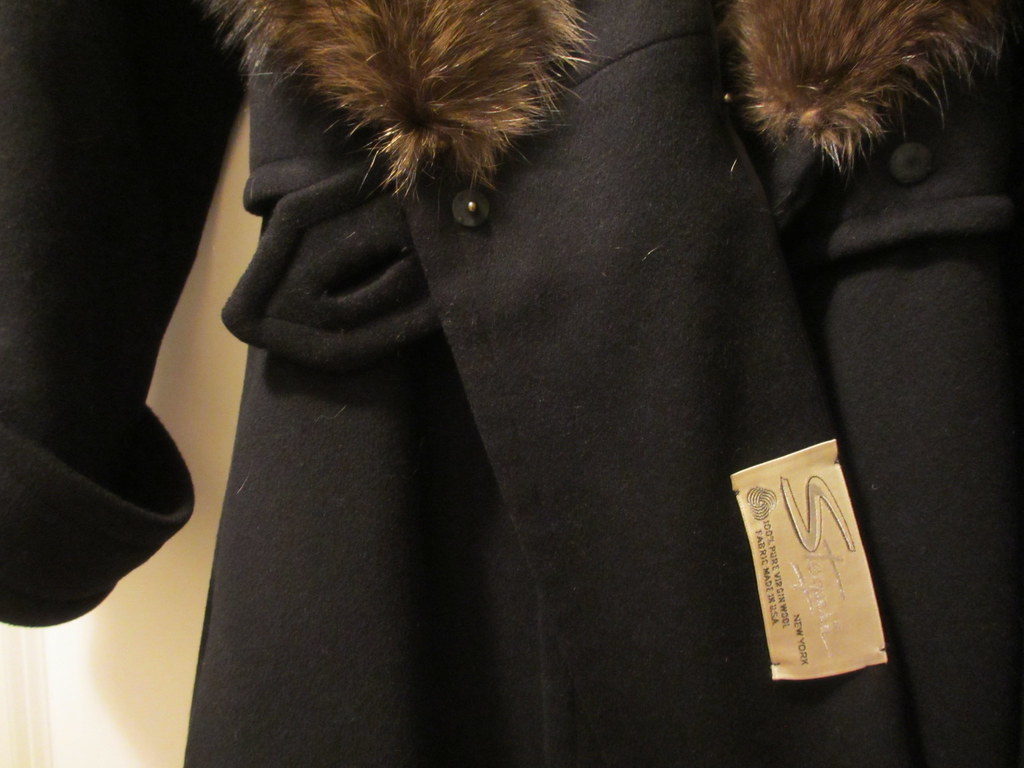
1> This is the most amazing, all wool and fur vintage coat that one of my sweet co-workers back in Nashville gave me right before I left for Columbus. This is the real deal folks - it's beautifully made, fully lined, has huge pockets and these super cute vintage-y buttons, and she gave it to me for free (on the condition that I pass it along gratis to someone else when I no longer want it). Yes it is real fur, but its vintage and second/third hand, so I feel slightly less bad.
Oh and RU, I found the note you left in the pocket a couple weeks back and almost cried. Thank you!!!

2> And this is the gorgeous little key necklace that one of the high schoolers I worked with gave me right before I left. Such a sweet heart in this kid, I know he's going places!

3> Lunch dates with new friends. 'nuff said.

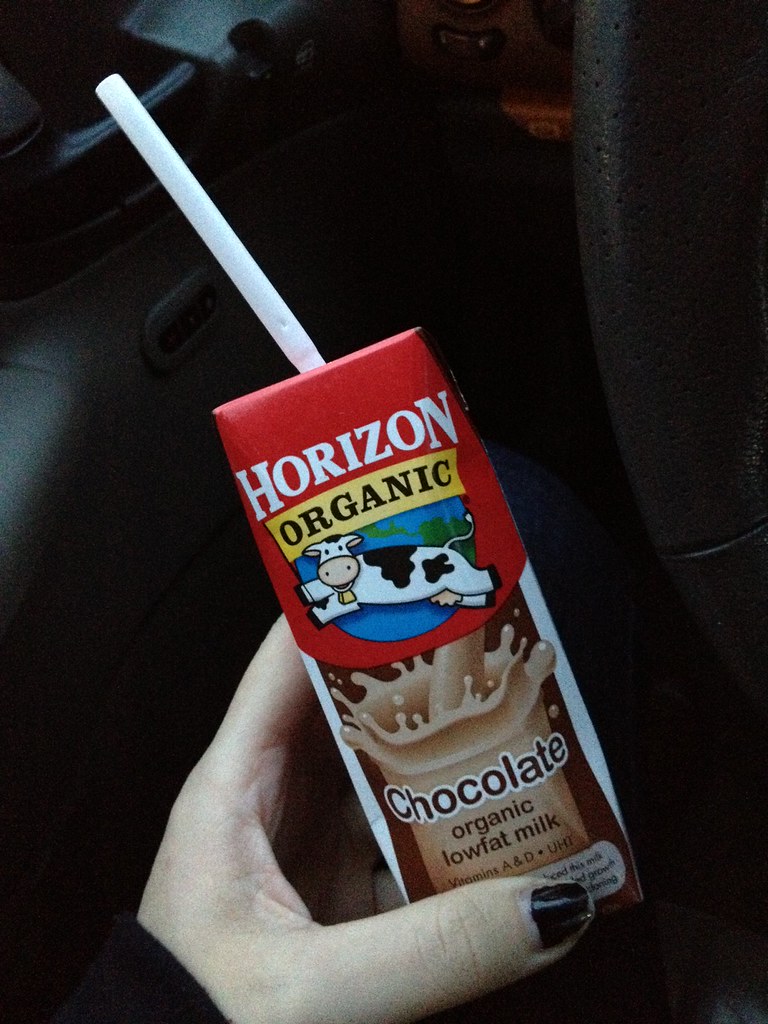
4> Chocolate milk. I can never seem to leave the grocery store without one of these, but it's such a great pick me up.

5> All of my things finally coming out of boxes, but mostly my adorable french press. I spend so much less on coffee now that I have this thing again.

6> Getting to go visit Nashville this weekend, even if one of my dear friends isn't going to be there (JS, I'd better see you soon!!!).

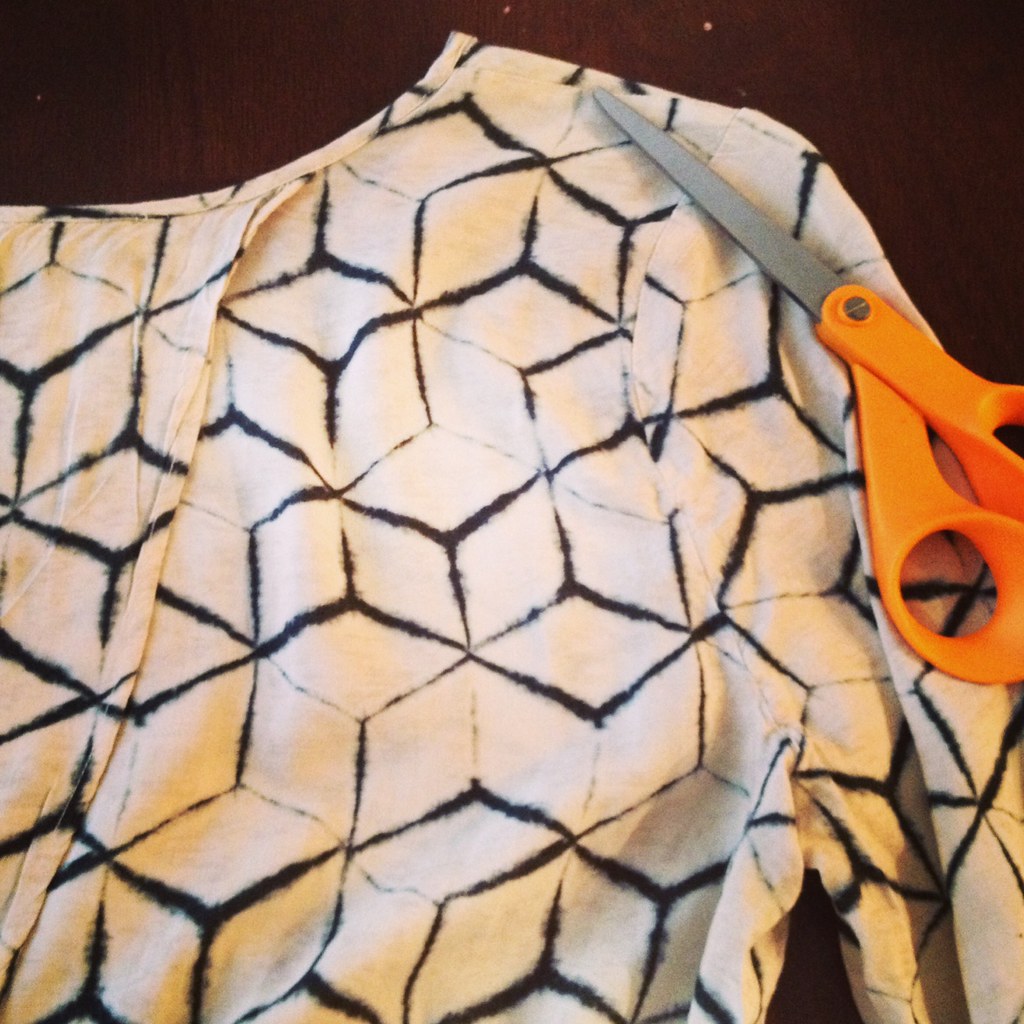
7> Being able to start back into DIYing and crafting. SO many ideas, I just need payday to roll around. Rent and food before jewelry, no matter how much I wish it were otherwise.

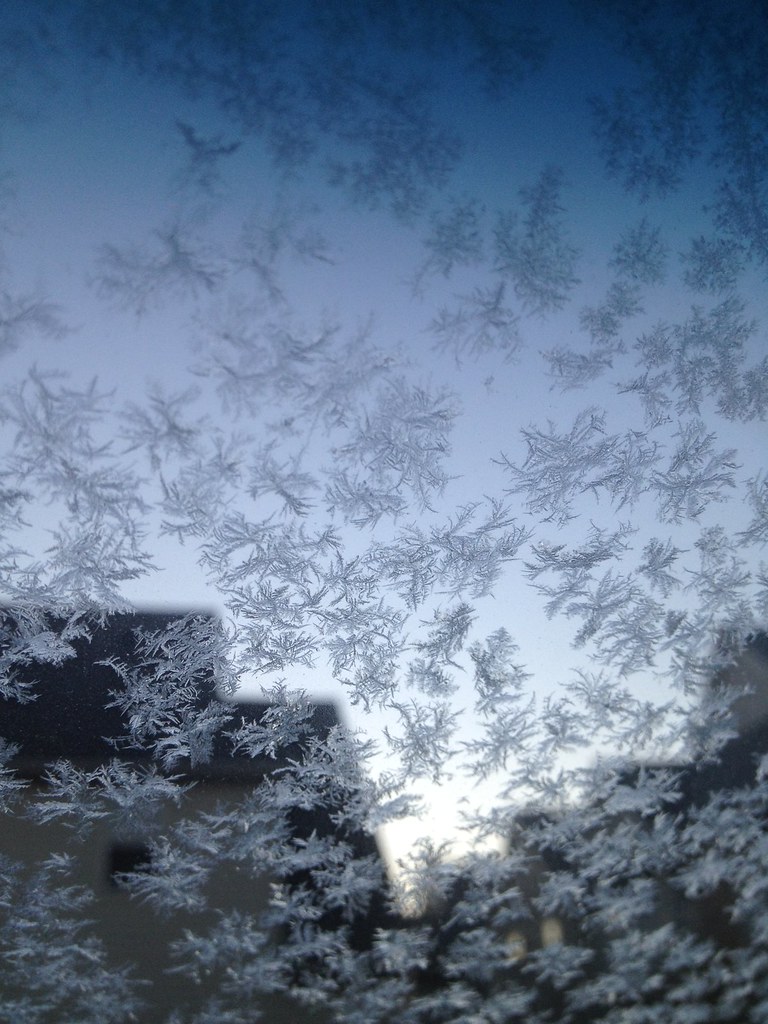
8> The beauty of winter. Otherwise, it would be an intolerable season.

9> This book. It's been just a beautiful read so far. It's dreamy and matter-of-fact and sentimental, with a touch of magical realism, without being too much of any.

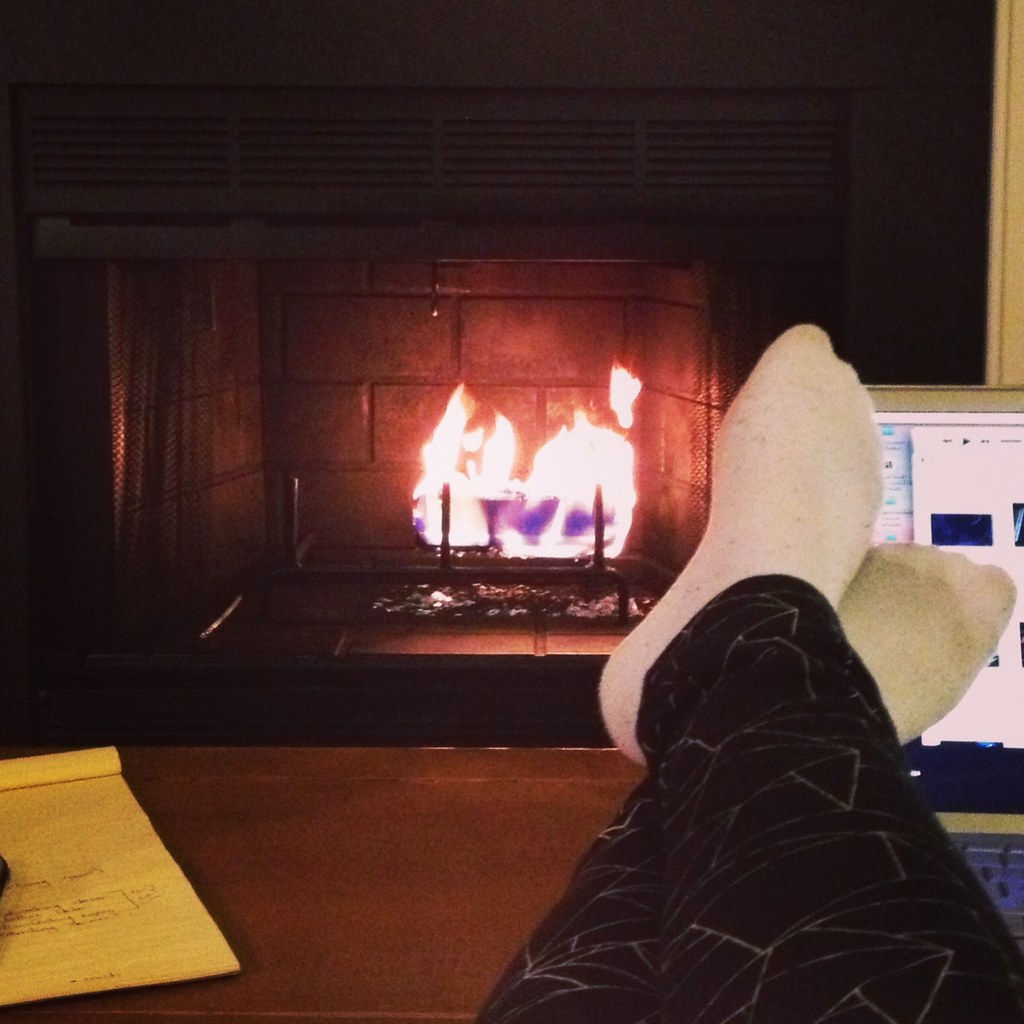
10> And finally, fireplaces. It's been bitingly cold up here, so this has been a common sight this past week:
1, my socks really aren't that dirty, I promise! 2, I'm in love with these F21 leggings I got a few week back.
Sunday, December 23, 2012

DIY: Hand Harness, Two Ways

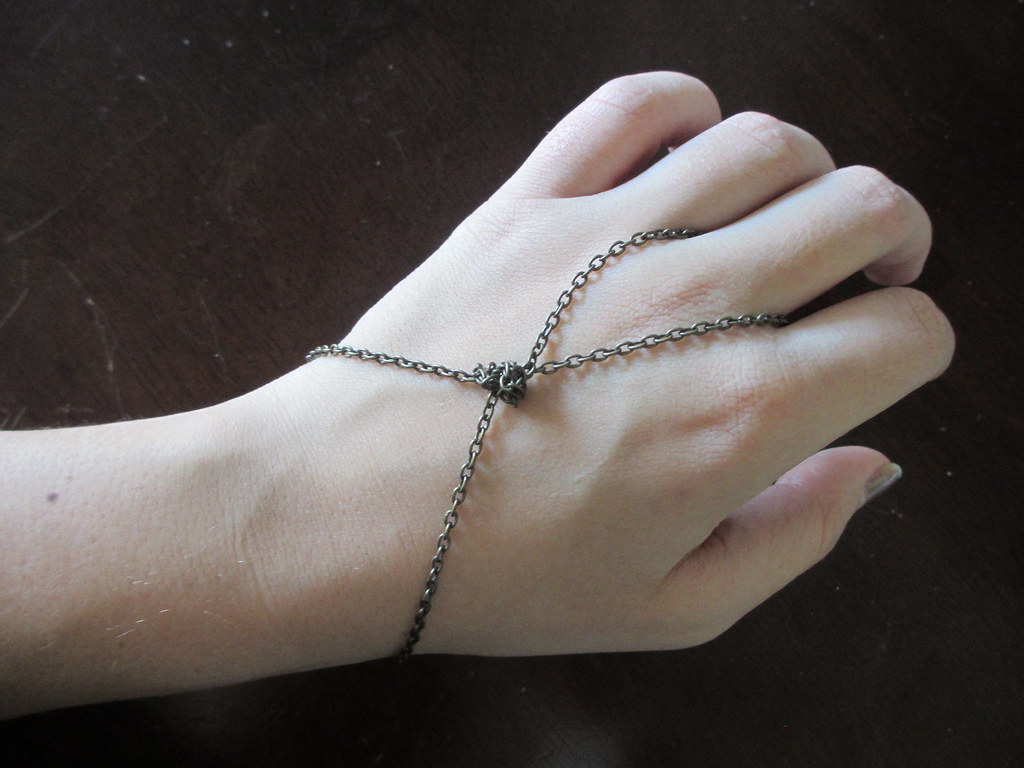
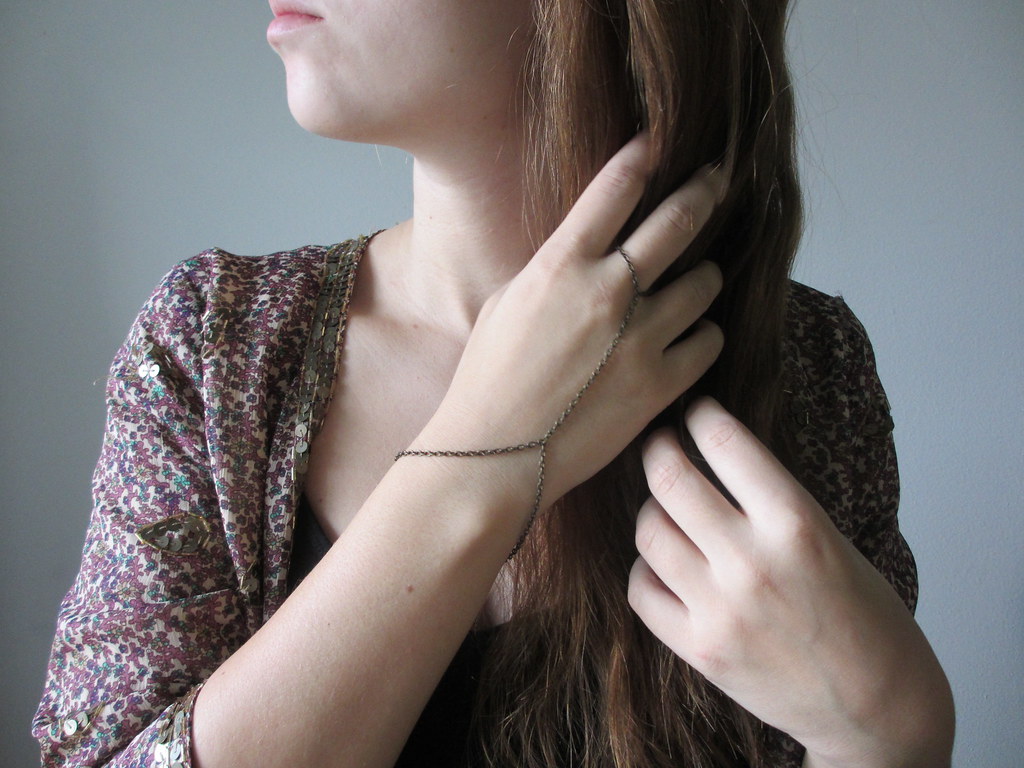
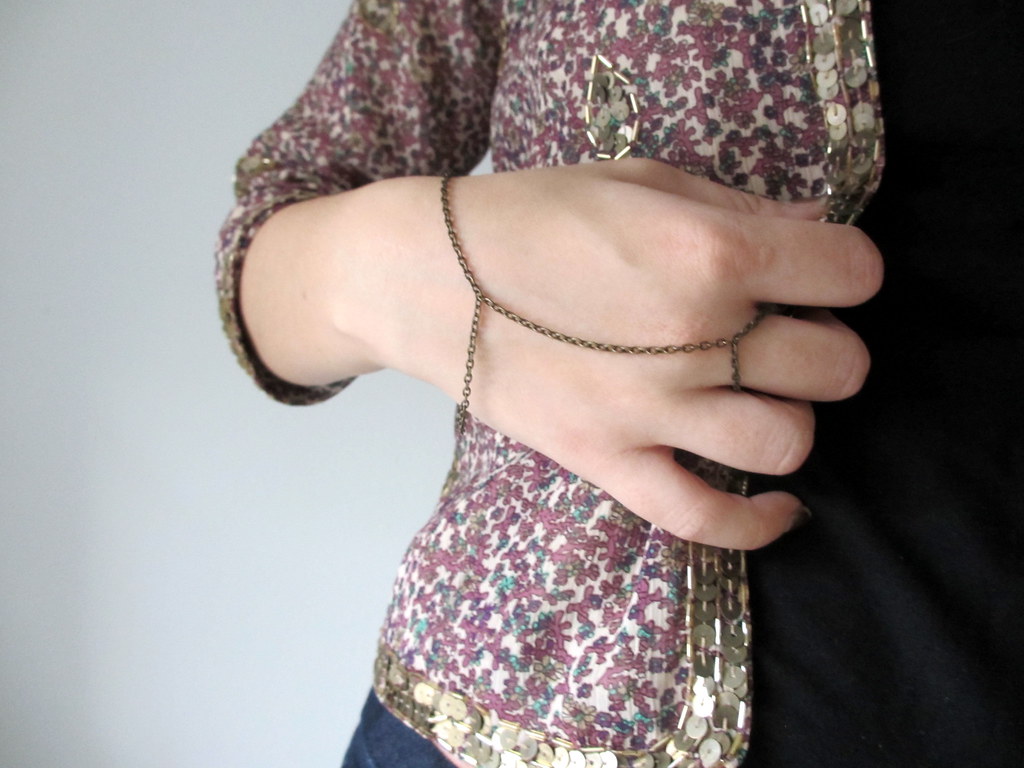
Here comes the first of the five DIY's I'm doing for my Ten Days challenge! It's also ultra-easy if you need a quick present (or two or three) for the holidays still!

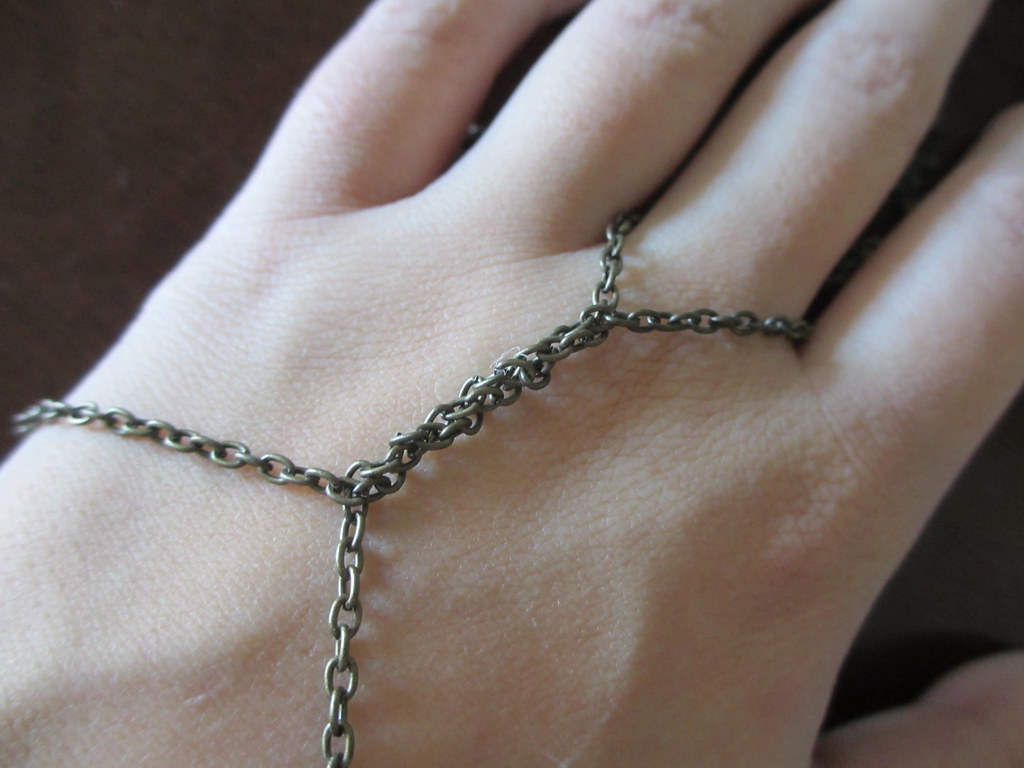
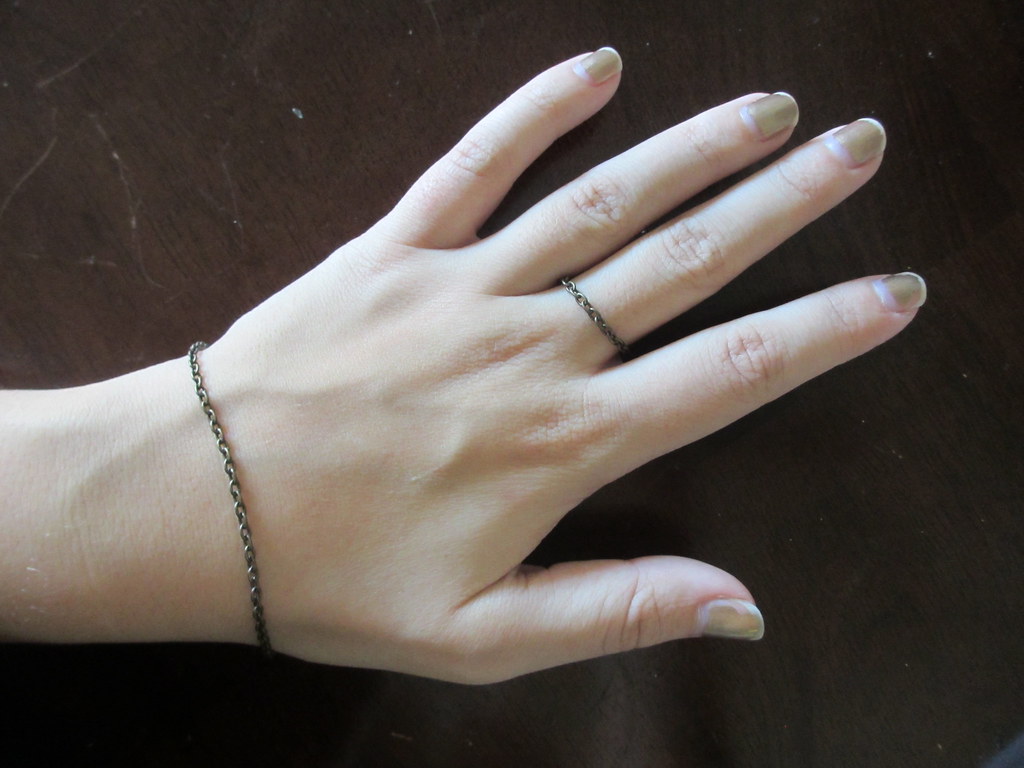
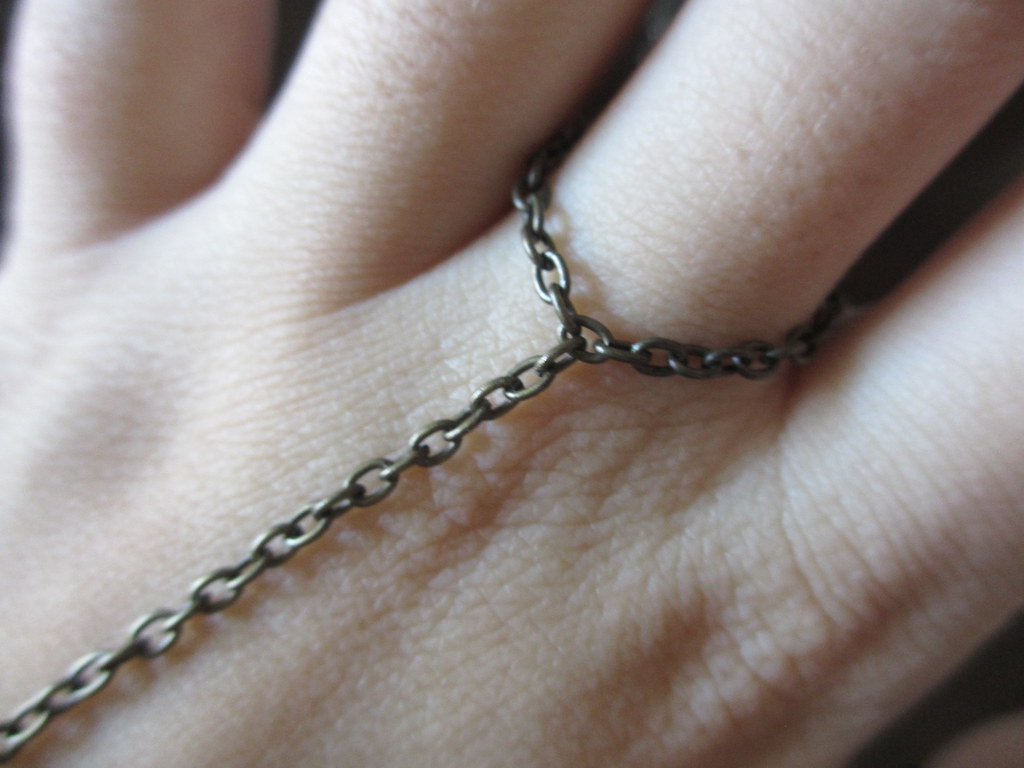
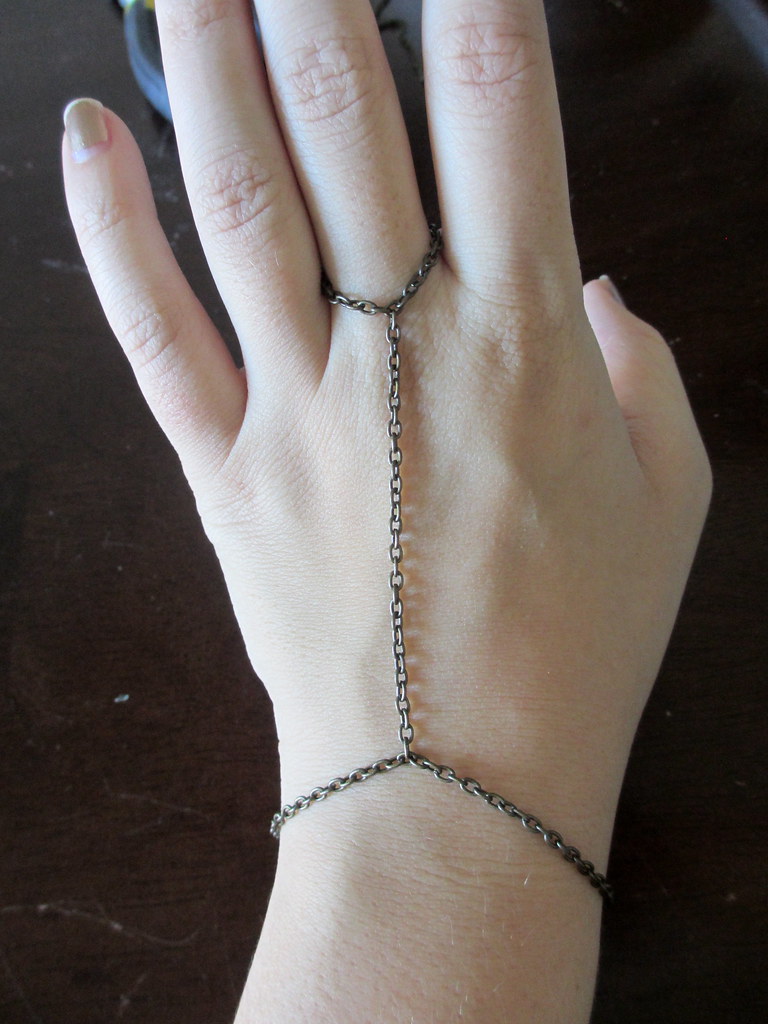
Yes, I know these things are generally called "slave bracelets". Call me too politically correct, just somehow seems a little weird and a little wrong to call them that..... Especially cause they're so dang pretty, and perfectly appeal to my earthy flowy hippie side! In any case, here's two super easy ways to create a umm..... bracelet connected to a ring.


What you need:
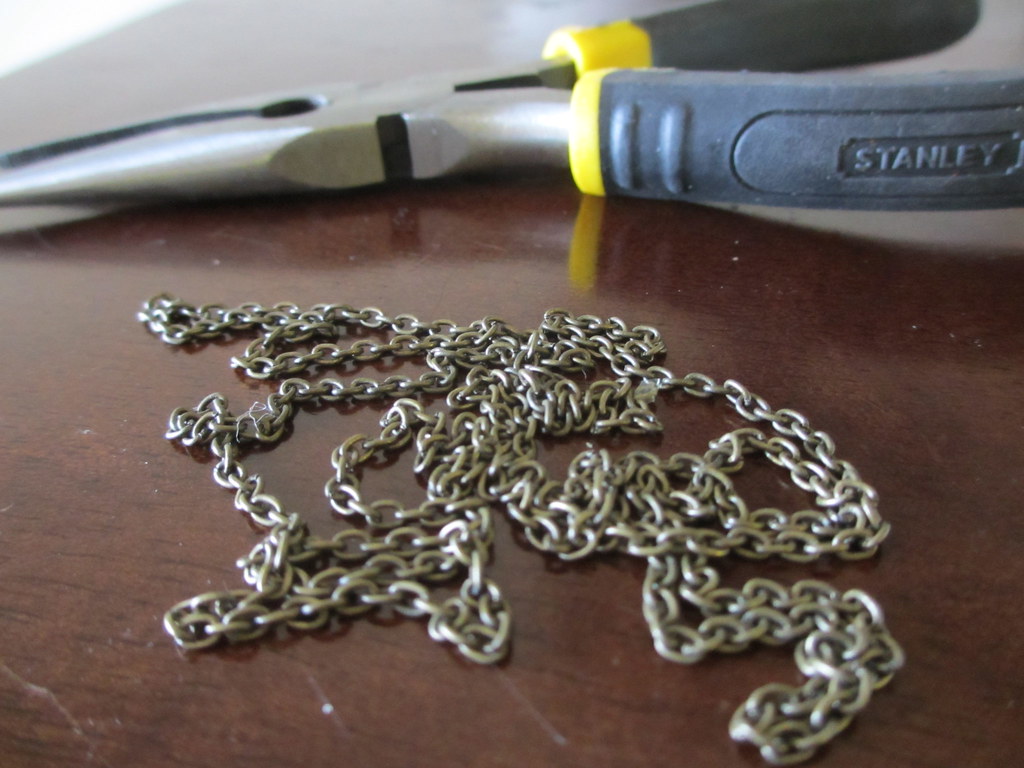
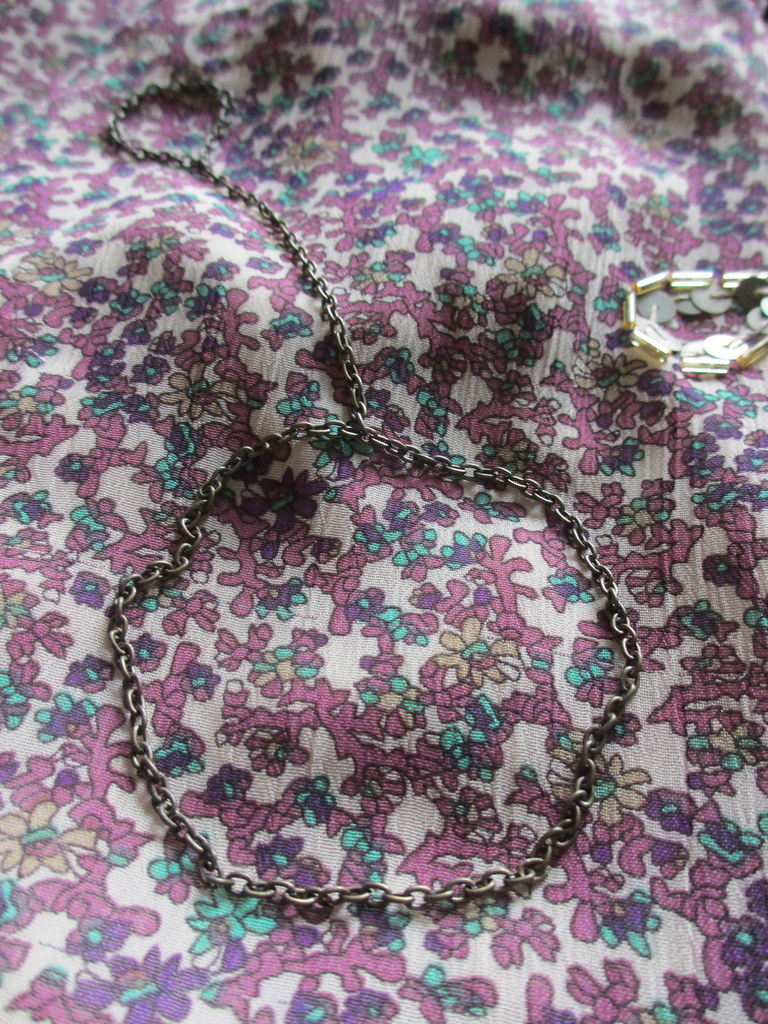
Fine chain
Jump rings (if your chain is too fine to just separate the links)
Jewelry pliers

What you do (part 1):
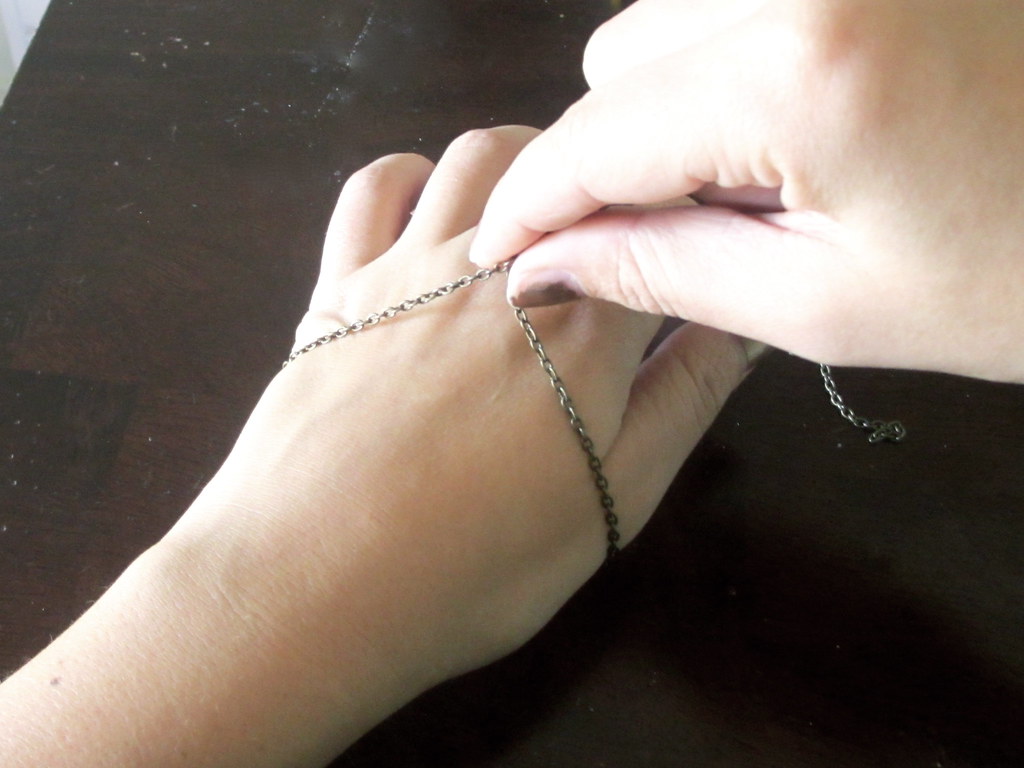
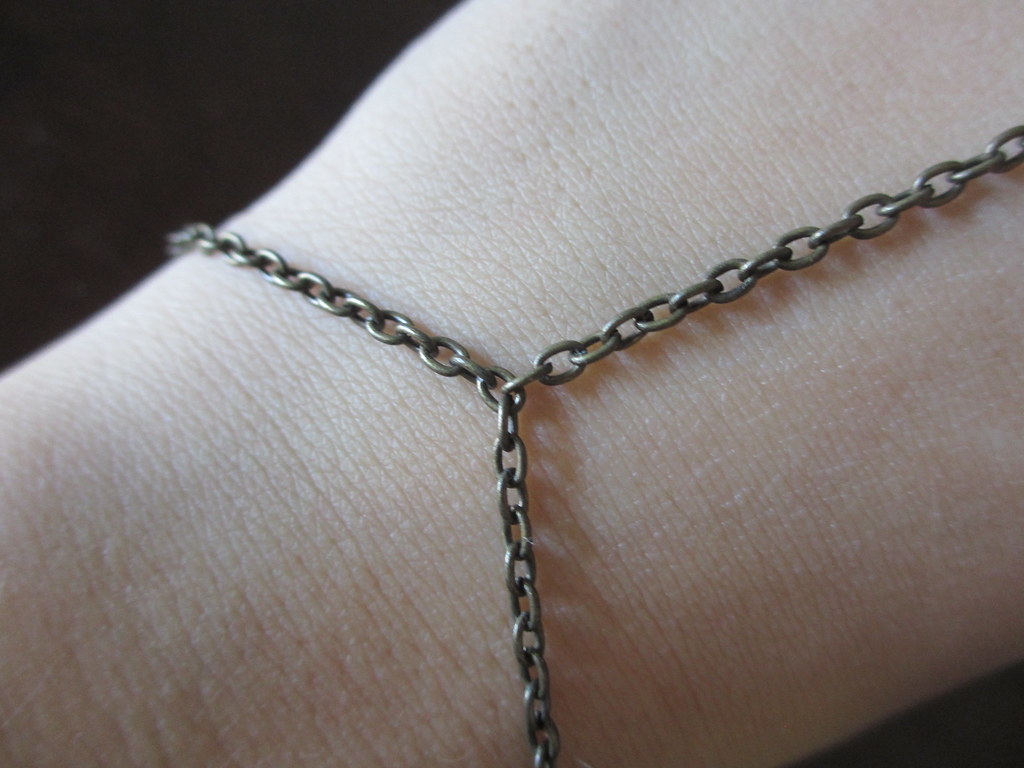
1) Measure a length of chain that you can easily slide onto your wrist. Make sure to leave several inches of chain on either end.

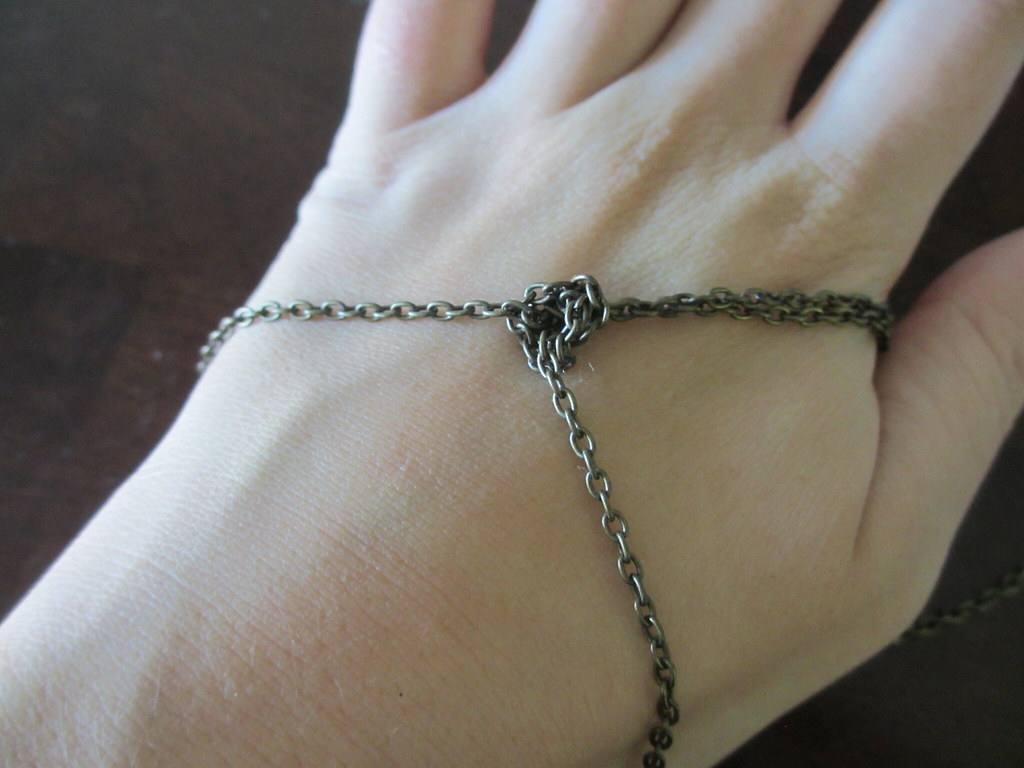
2) Create a knot in the chain.

3) Connect the leftover ends of chain behind your middle finger. Keep a bit of slack so you can flex your wrist, but not so much that the whole thing will fall off.

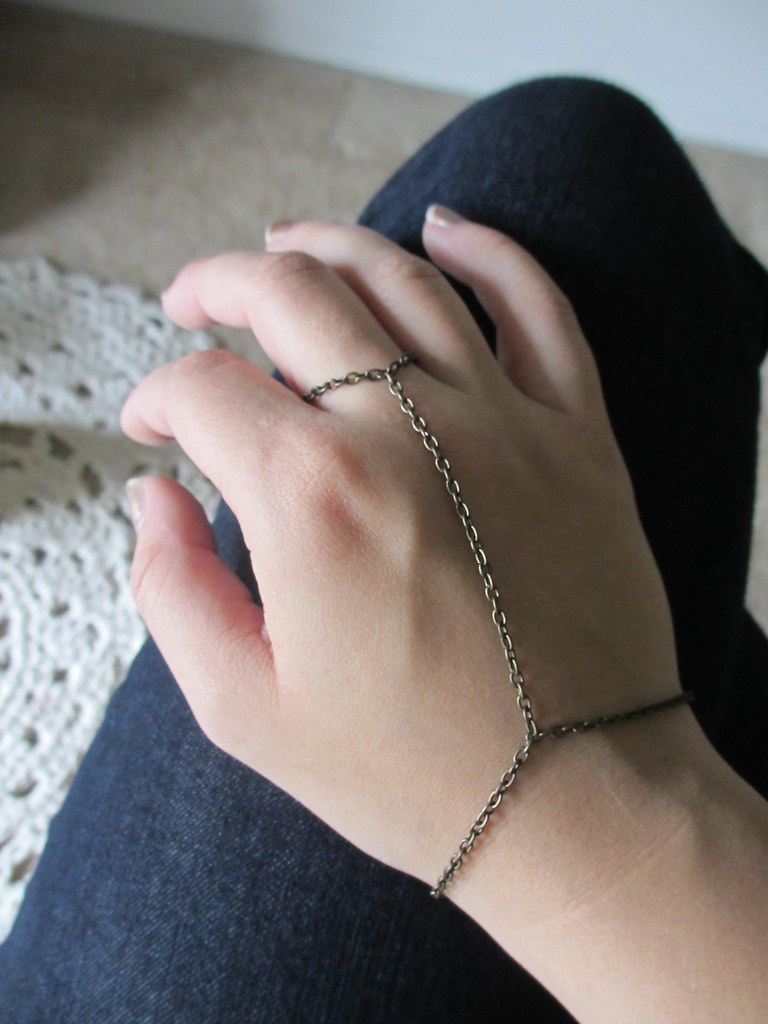
4) You can either finish here, leaving you free to undo the knot and style the chain in other ways (I twisted the chain in the below photo), or you can add a bit of glue to the knot to keep it in place.


What you do (part 2):
1) Create a circle of chain that you can slide onto your wrist. You can add a lobster claw clasp to this version if you'd like, but I like the simplicity of just having the chain.

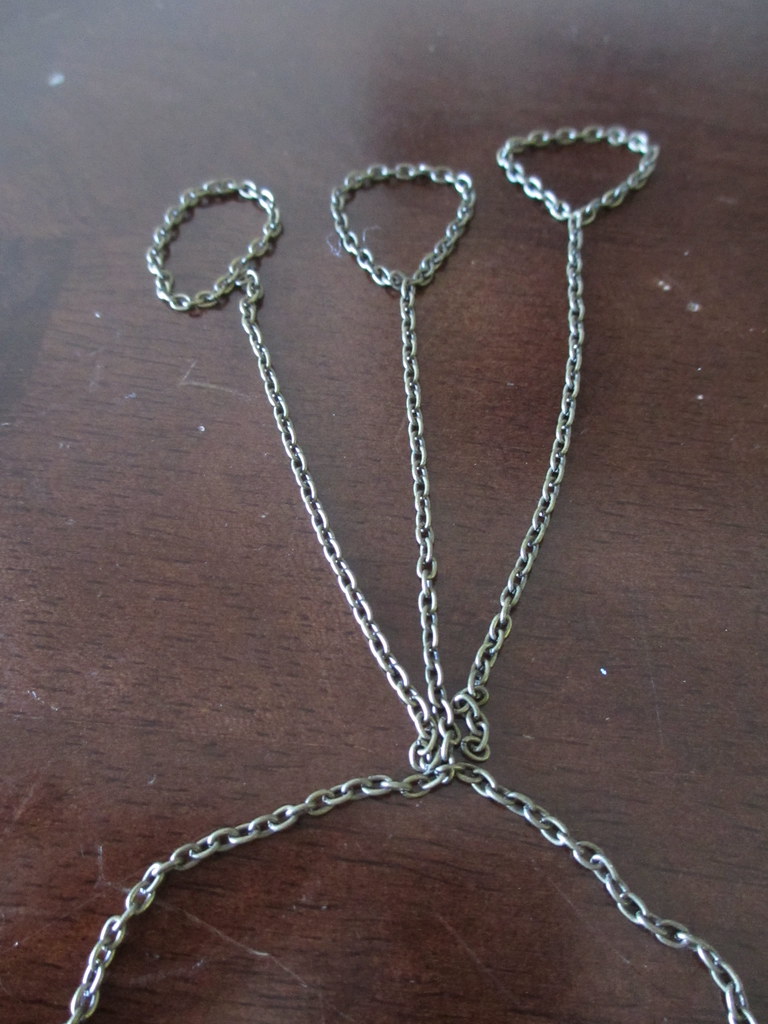
2) Create another circle of chain that you can slide onto your middle finger (or two or three fingers if you want a more dramatic look).

3) Connect the ring circle(s) with another chain to the bracelet, again leaving some slack so you can flex your wrist easily.


And this step is where you can get creative - you don't just have to have one ring, one bracelet, one chain! Play around with how many rings and how you want it all connected: braid some chains together, spread them out, attach one ring with a bunch of chains... I didn't have enough chain, but I thought a "feathered" look like this would be pretty.

4) Done!


Tuesday, November 27, 2012

DIY: Colorful Upper Finger Rings

If there were an award for ugliest hands, I would totally win. My extreme appendages are generally stubby (earning me the nickname "She Who Walks On Squares" in high school - but that's another story for another day), and my fingers are no exception. They're also much more wrinkly than my 23 years of age would imply. Yay.

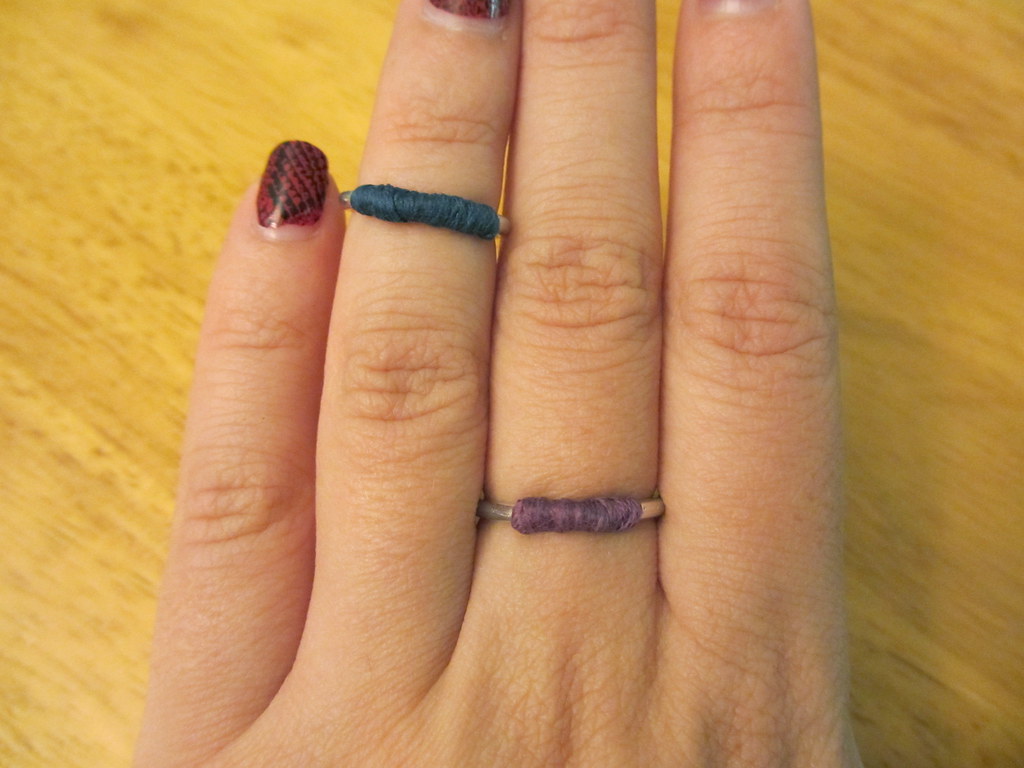
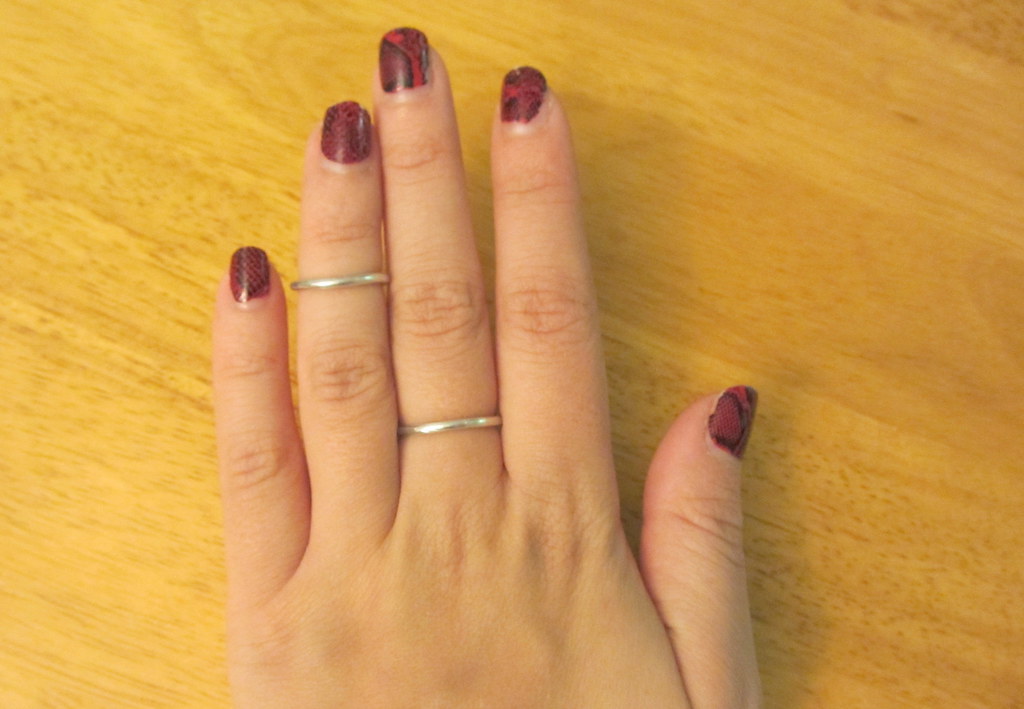
However, I can't help but love rings (see here and here...). I wear them probably three times as much as any other kind of jewelry. And when fiddling around with wire the other day, I thought of this DIY. Enjoy!

What you need:
Wire
Embroidery floss or thread
Glue (something like E600)
Round-nosed pliers

What you do:
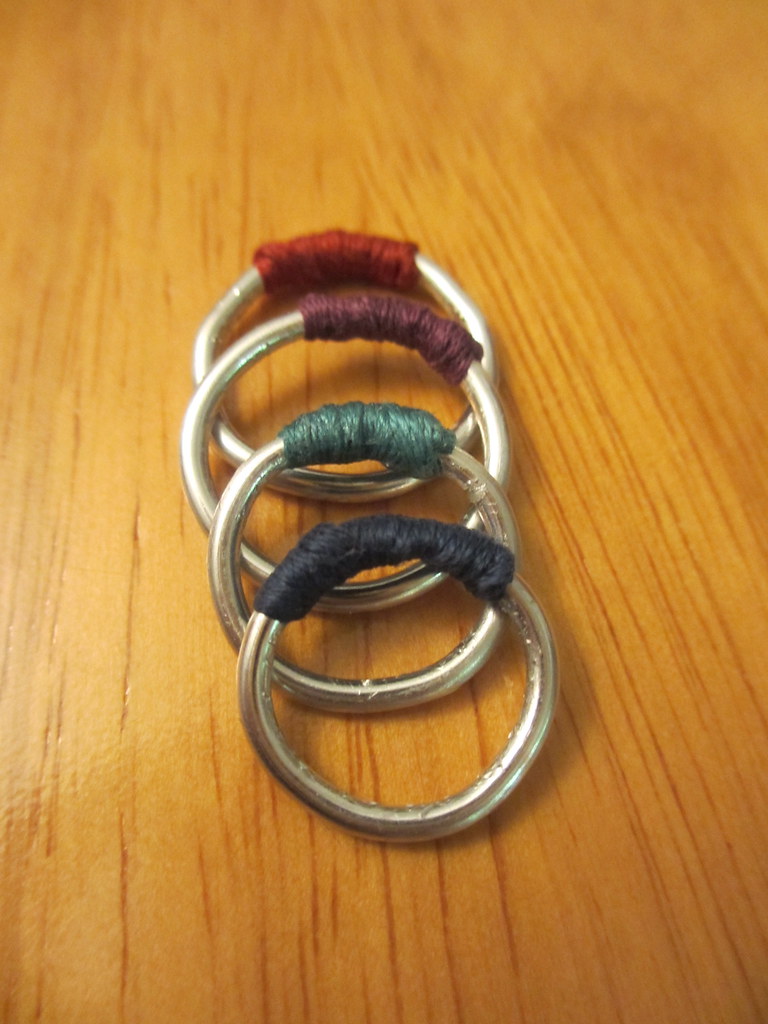
1) Gently bend wire into a circle that looks roughly like it would fit around your first knuckle. Try on and adjust as necessary. (There are ways to do this much more scientifically and precisely, but guestimation worked just fine for me!) Cut any extra wire away.


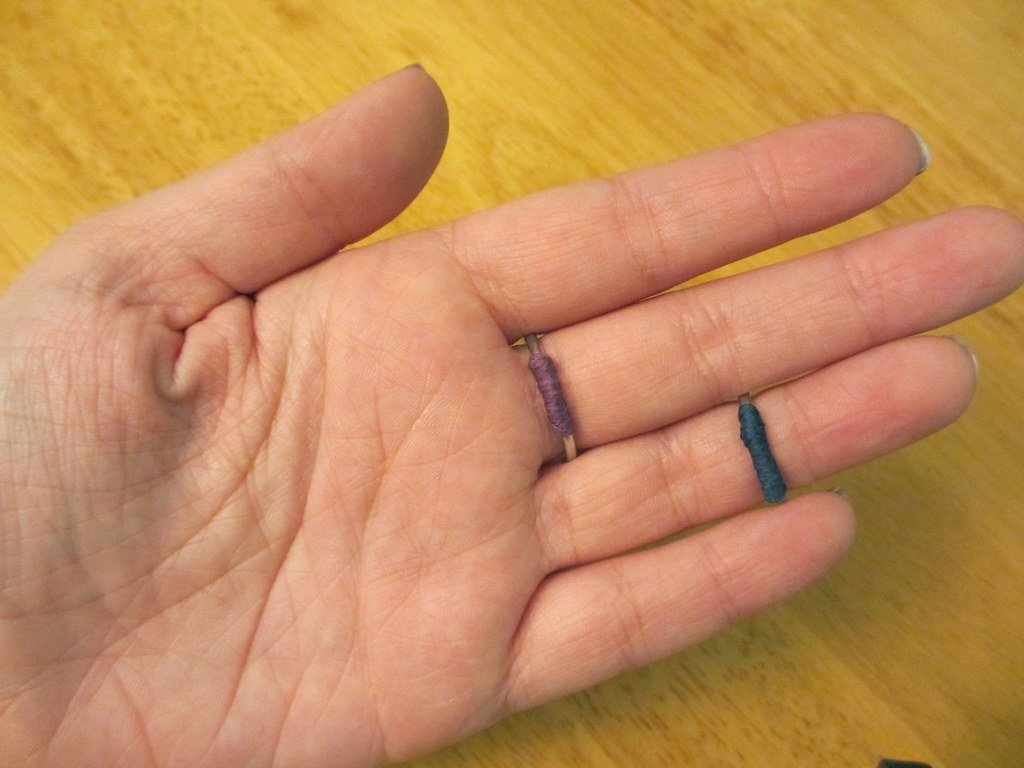
2) Tie a piece of embroidery floss onto the ring and wrap around where the wire ends meet, gluing as you go. I chose to only wrap a small bit, but it might be cool to wrap the whole ring!
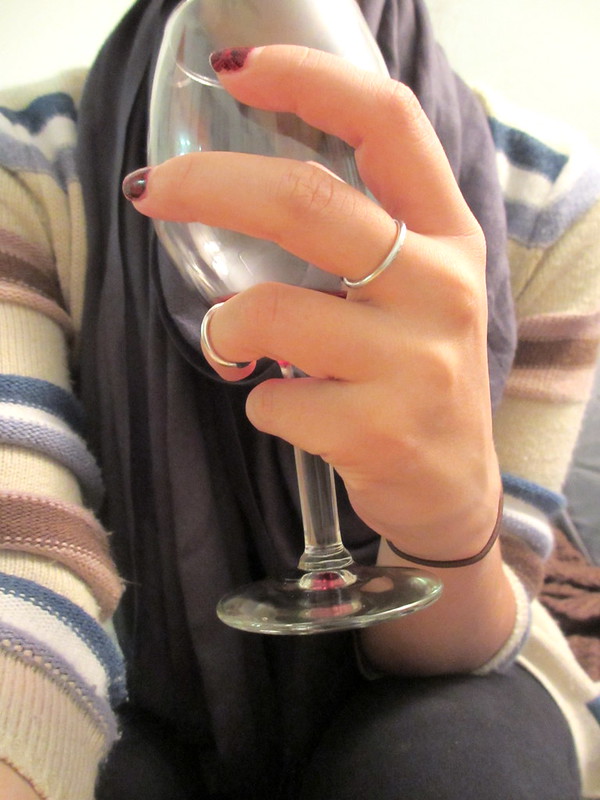
I like wearing them with the embroidery floss on the inside for a super sneaky pop of color :)

3) Model with hands only a mother could love. Drink wine to make yourself feel better.


Sunday, November 11, 2012

Home DIY Inspiration: Decorating With Toys

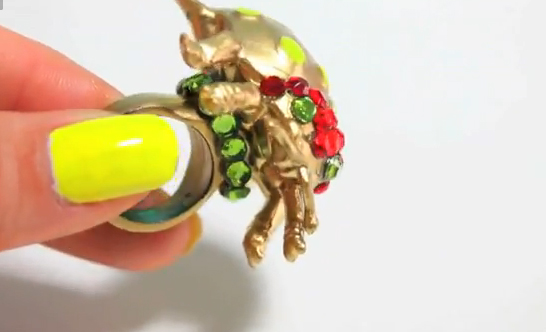
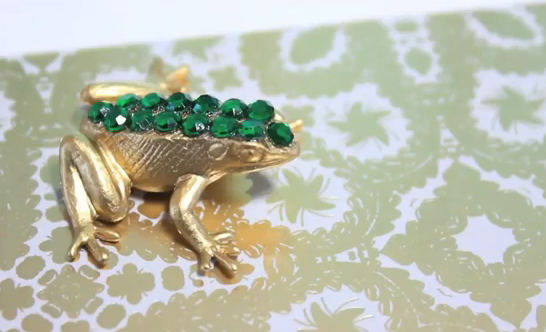
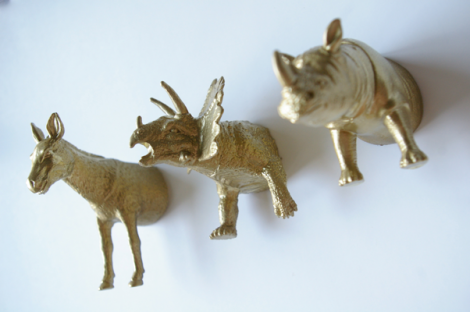
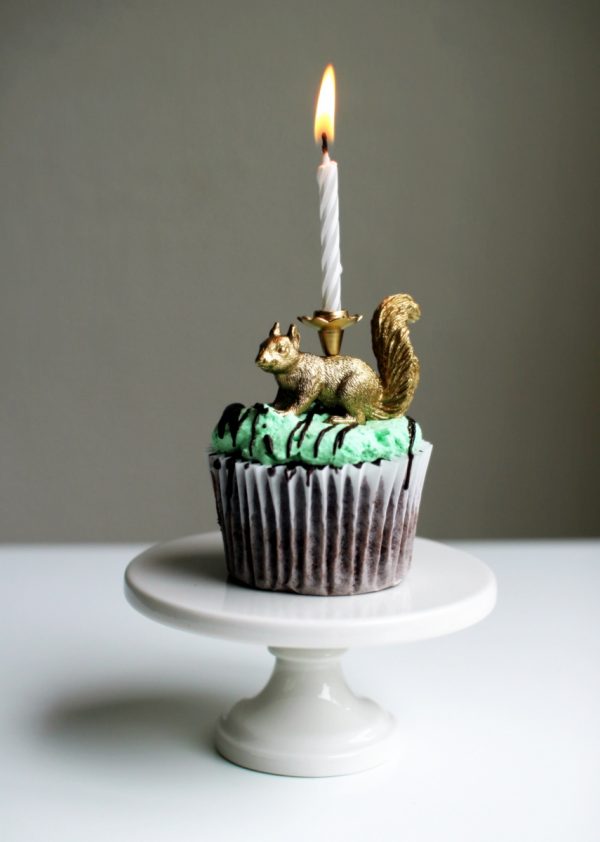
Don't know what to do with all your old dinosaur set or gumball machine plastic figurines? Besides turning action figures into flower stands, apparently the thing to do is spray paint them a metallic/neon color, then turn them into magnets/necklaces/rings/table decor.

Adore. I'm so breaking out the spray paint tomorrow.

(how cute is the flower headpiece on this elephant??)
(do you see the army men in this photo??)

Photos via: WeSeeRainbowsThreadbanger (x2)Sugar and Cloth, Martha Stewart, PB Teens, HGTV Design, The Sweetest Occasion (and here), The Good Machinery, This Is Colossal, GoHausGo

Tuesday, October 23, 2012

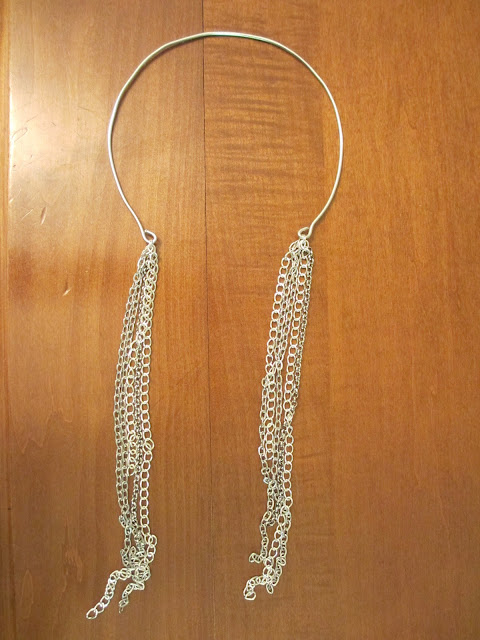
DIY: Collar Necklace (Two Ways!)


First, remember this rad zebra print dress?? I need to find another occasion to wear it - right now it's hung as a psuedo-art piece on my wall, paired with this necklace. Though I am happy this altered black shift dress is finally getting some wear time thanks to my work dress requirements. Anyways, I can't really remember where I got the idea for these necklaces sooooo... let's just get to the DIY, shall we?!

What you need:
Thick gauge jewelry wire
Various types and thicknesses of chain
Some matching bells, bobbles, and charms
Pliers
O jump rings


What you do:
1) Cut a piece of your thick gauge wire long enough to do this:

2) Bend the ends in like this, making sure that any pointy cut ends won't dig into your skin.

3) Cut various lengths of chains in two "matching" piles.

4) Attach each "pile" to one loop of your wire collar base. I used two jump rings for more security.

5) Add a few bobbles or bells or beads randomly along some of the chains on either side. And done!

5) You can also just make one "pile" of chain and attaching both ends to your wire collar base, to make a more necklace-like look.

Super easy and super cute!!