This is my obligatory "goodbye 2012, helloooooo 2013" post. Except I really don't know what to say. The past year would be nearly impossible to sum up in any cohesive, coherent manner. There's been some amazing moments (graduating with honors, presenting my thesis, moving into my first apartment, meeting new friends and getting letters from old ones, reacquainting myself with my hometown) but some really really dark moments as well (being lied to and taken advantage of, being rejected 30 or 40 times from companies, having so many plans for my future fall through, feeling completely beaten and utterly worthless). And some days it seemed the bad far outweighed the good this year.
I'm also really not sure if I can even wrap it up with the phrase "it all happens for a reason" because I'm not sure if I believe it anymore - sometimes there's just no reason. But still, in just 24 short hours, I will drive away from Nashville like I've done so many times to go to so many places. Except this time, there's no reason for me to go back. I will fairly literally be seeing 2012 fade away in my rearview mirror.
And so I'll just say this. 2012, I will not particularly miss you. 2013, I'm ready.
I don't have one specific New Year's resolution (though I will finally post the rest of my Ten Day challenge after the 1st), but here's some challenges I've set for myself this year:
Learn how to clean a sewing machine
Go to three concerts
Master one new cooking technique each month
Go to reunion
Build the strength to do an unassisted handstand
Run a 5k
Participate in a triathalon
Read 1 book a month
Find two causes to support/volunteer for
Write friends once a month
Think seriously about getting a dog and a tattoo (decide if/when they would be appropriate or not)
Travel abroad
Watch one classic movie a month
Master one new cocktail each month
Write/journal more often
See three plays or ballets
Practice meditation regularly
Start a garden (indoor or outdoor)
Learn Wordpress
Monday, December 31, 2012
Friday, December 28, 2012
Thankful (Almost) Thursday: By Way Of Snail Mail
Yes I know I missed Thankful Thursday yesterday. I decided to write my thanks this week instead of blogging about it.
Without going into too much detail, this holiday week was a bit rough with the family. And after this past month of insanity and upsetness and crying and feeling down and friends rescuing me at all hours of the night and day with their calls and texts from wildly different time zones, I knew I had to do something in return to show my friends how much their help has meant to me.
I seriously considered (on a sugar-high at 3am one night) writing to each of them here on a Thankful Thursday post, but it quickly became too eerily reminiscent of those weird MySpace "tell everyone what you think of them without naming names but you don't really need to cause everyone knows you're talking about Billy who you're madly in love with and Jane who's a witch I mean really come on" things.
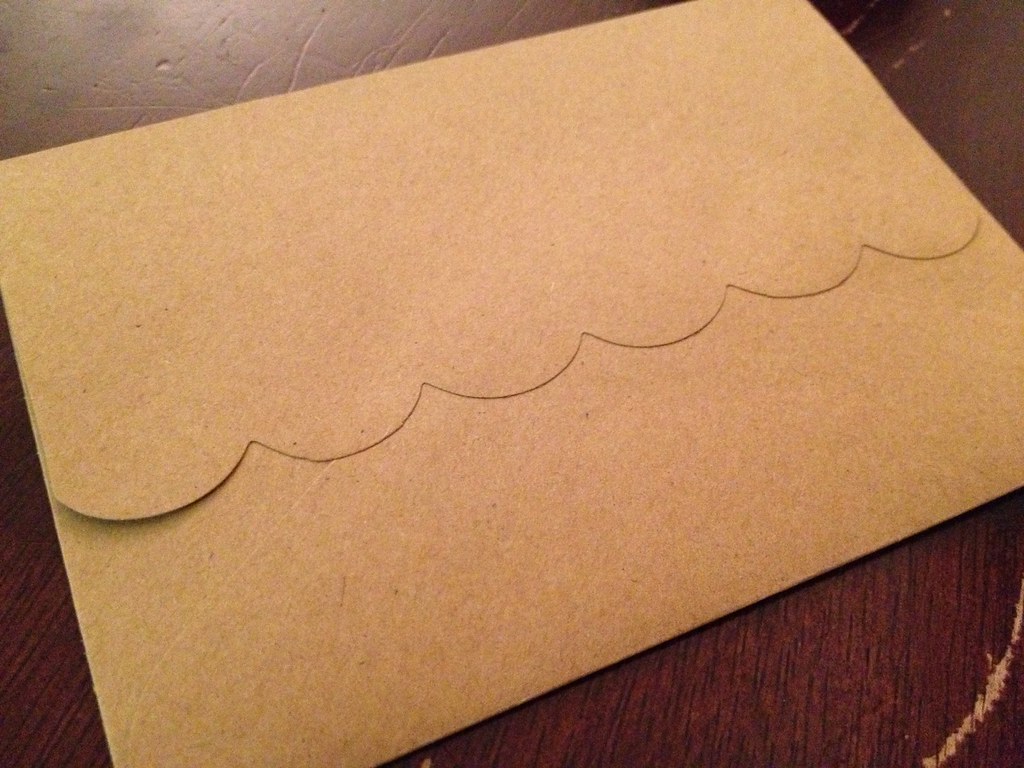
Once properly rested, I realized that these folks don't need me to tell everyone how grateful I am for them, I need to tell them that. And preferably, with letters. Hand-written letters are possibly my favorite thing ever. They make thank you's and hello's and I miss you's infinitely better and more tangible. So it was added to my Ten Days challenge. And here they are! I mean, how adorable are these cards??
I ended up writing a few more than the original three I intended but oh well!
Sunday, December 23, 2012
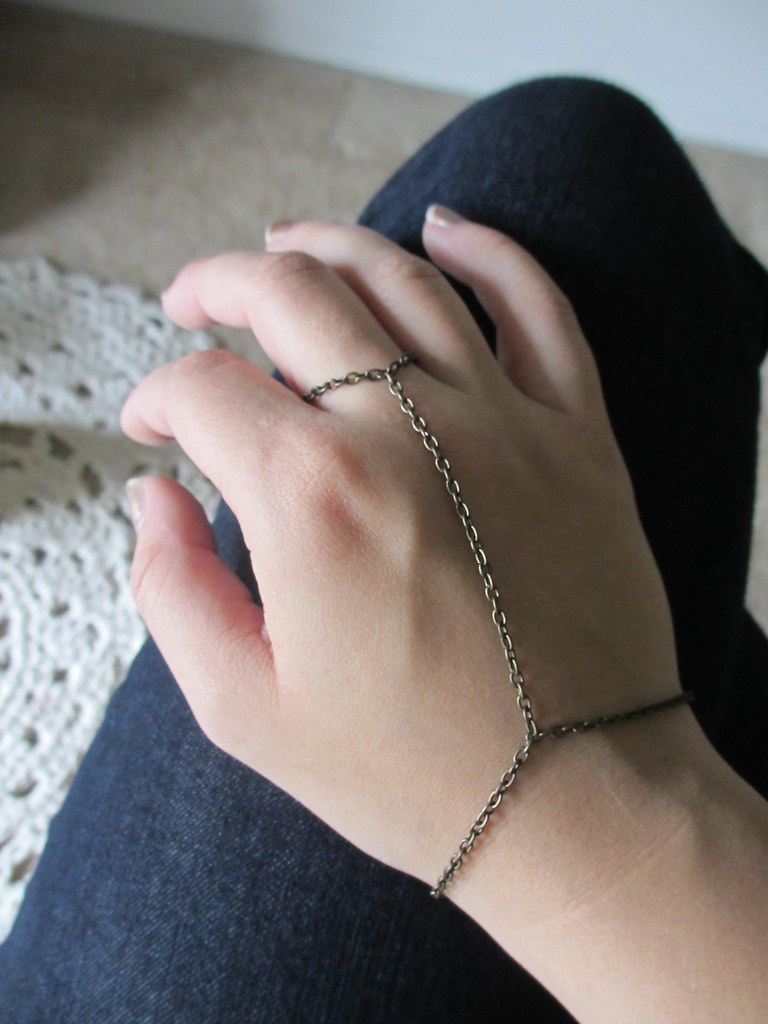
DIY: Hand Harness, Two Ways
Here comes the first of the five DIY's I'm doing for my Ten Days challenge! It's also ultra-easy if you need a quick present (or two or three) for the holidays still!
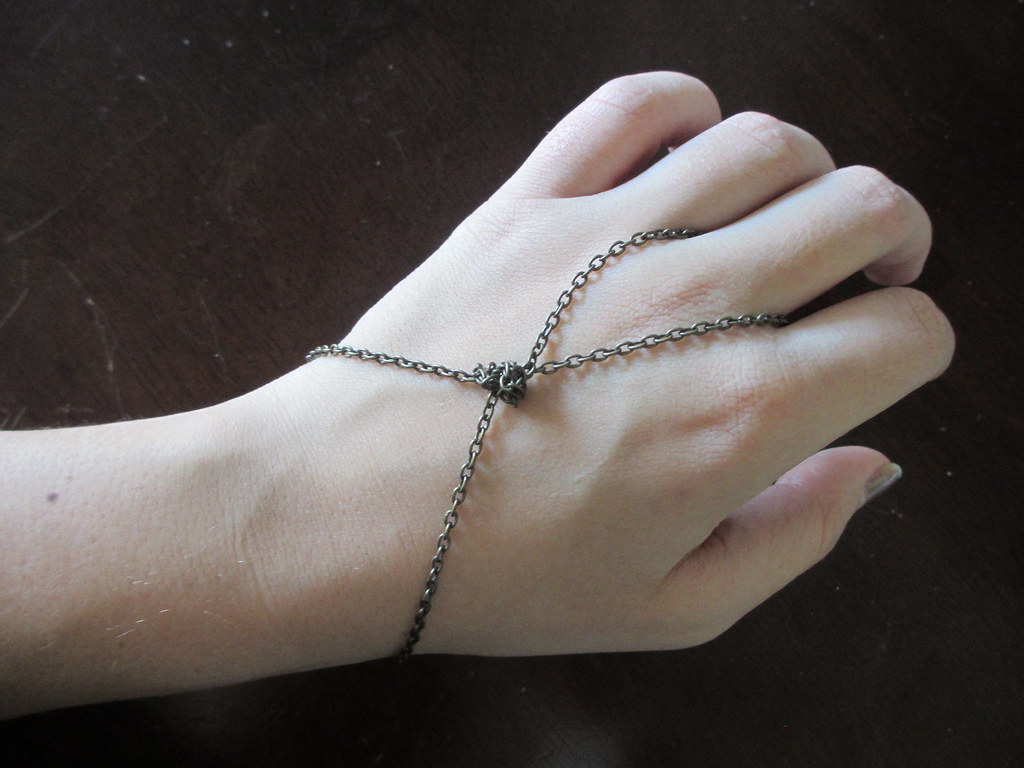
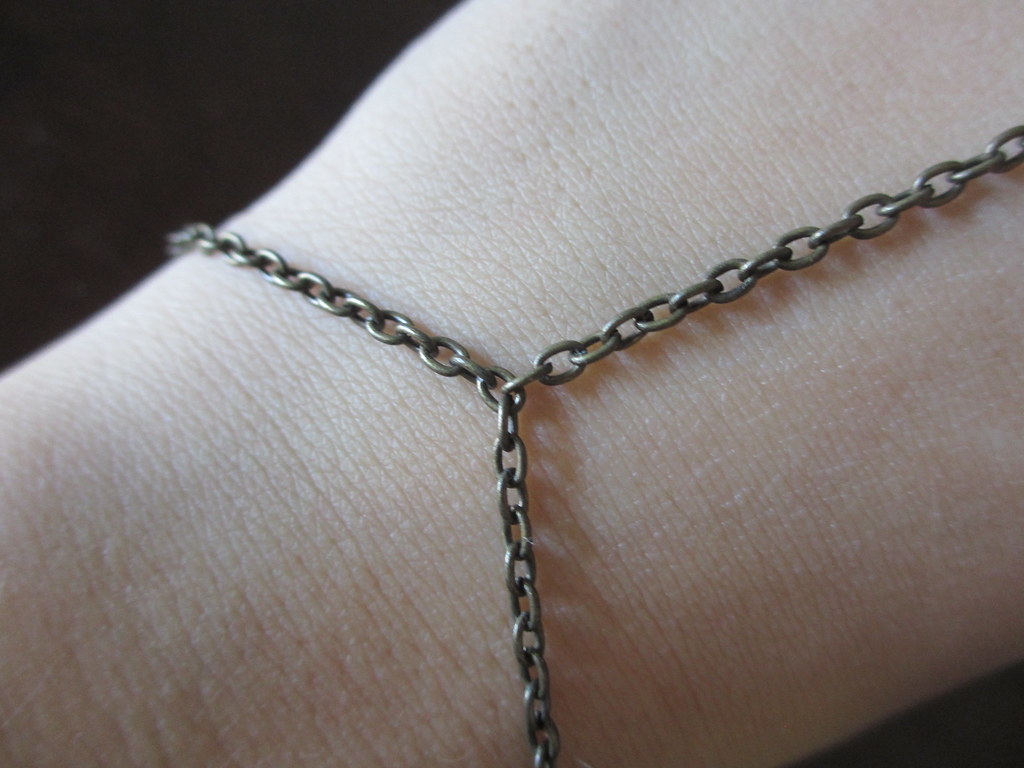
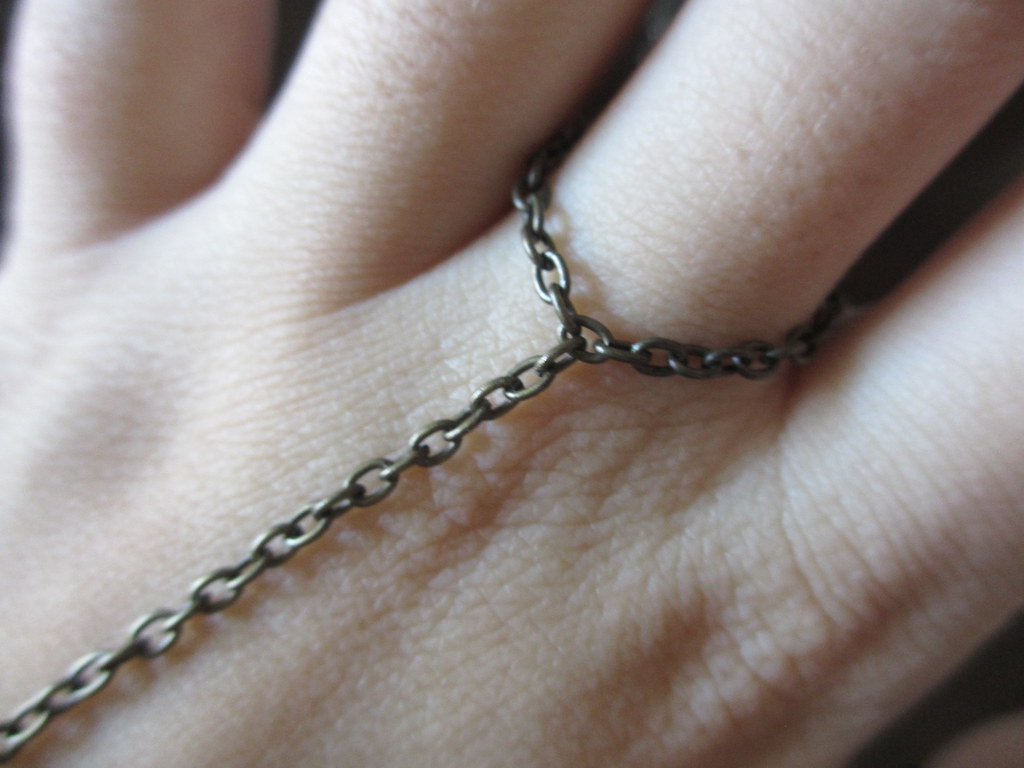
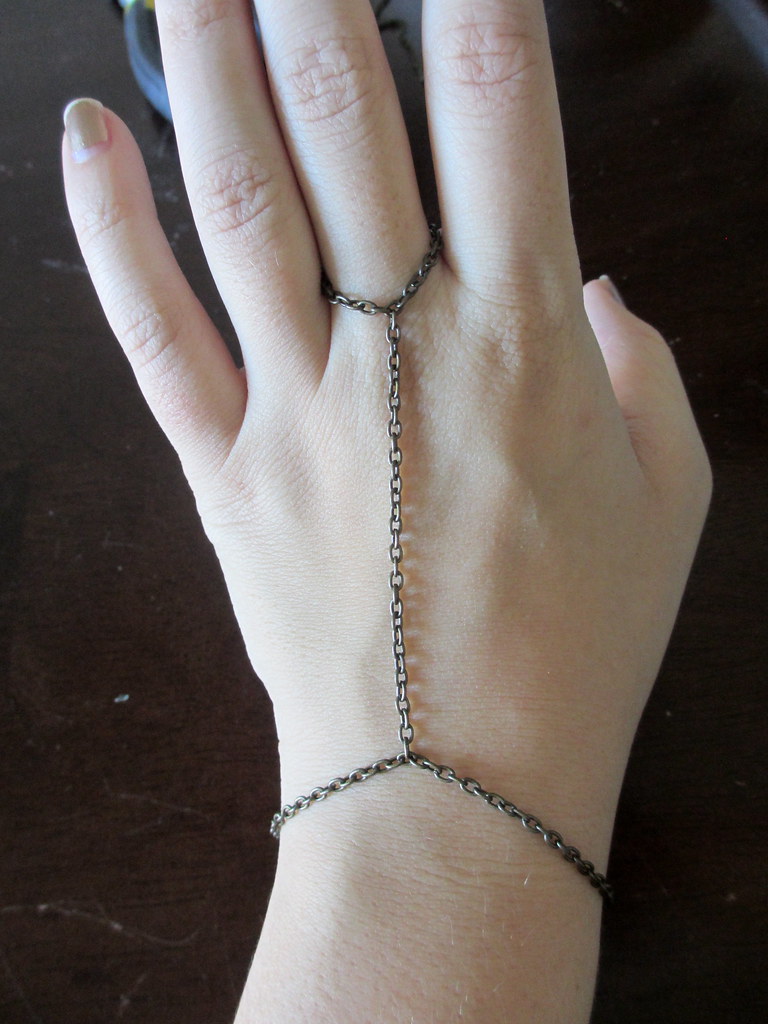
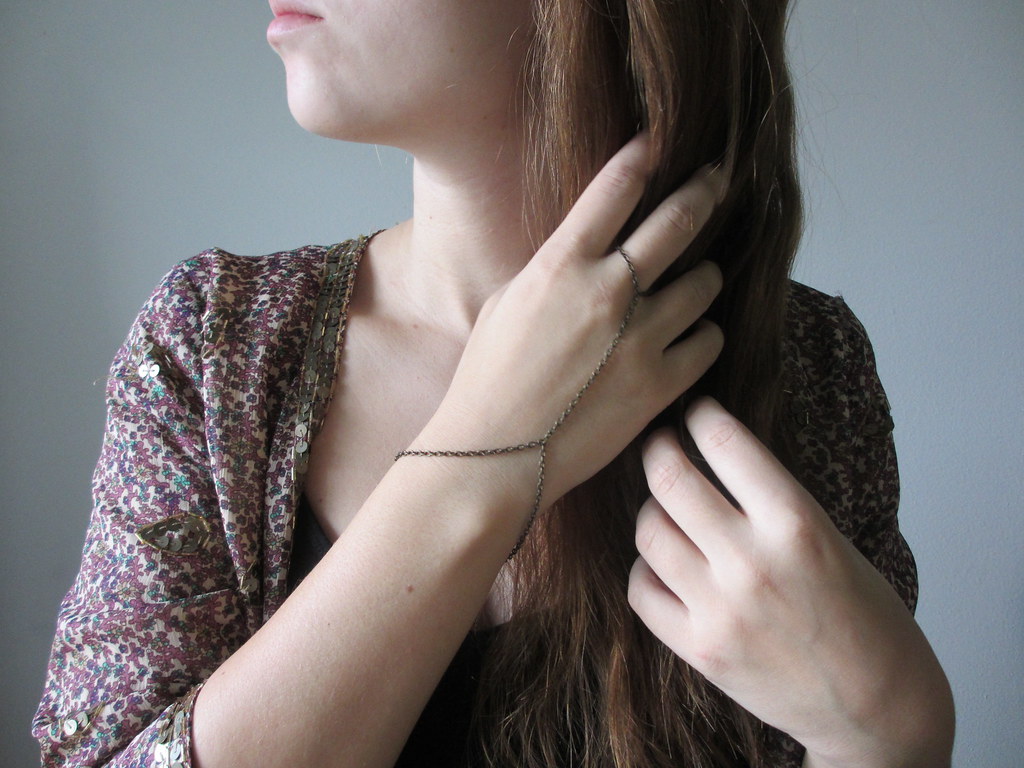
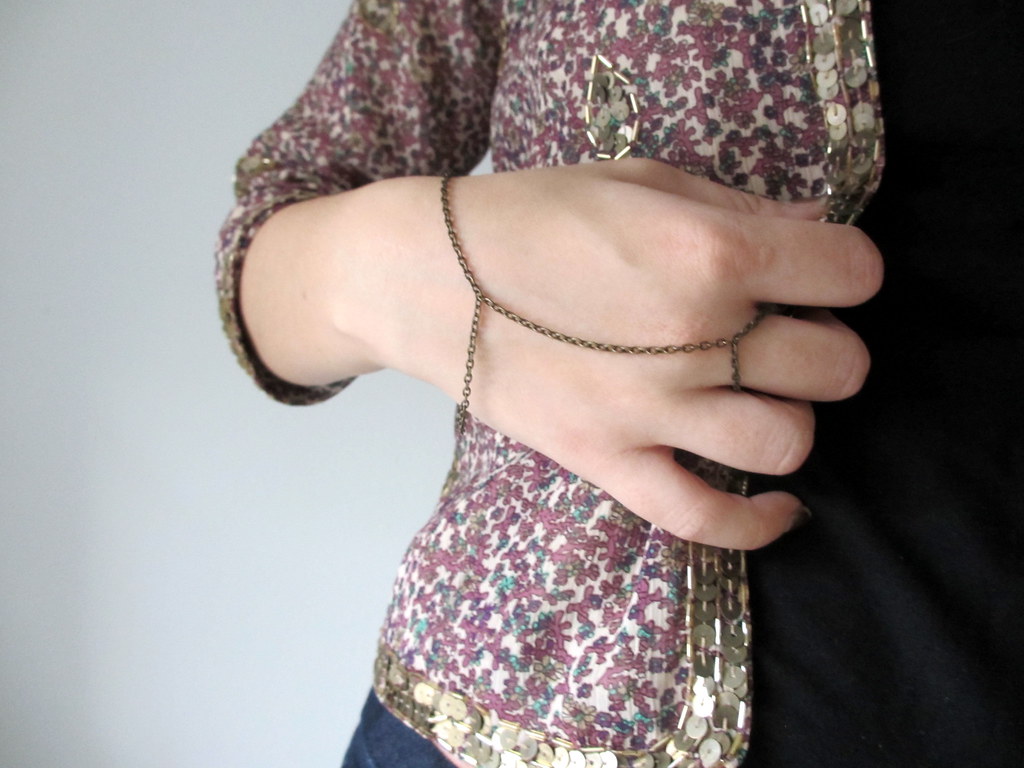
Yes, I know these things are generally called "slave bracelets". Call me too politically correct, just somehow seems a little weird and a little wrong to call them that..... Especially cause they're so dang pretty, and perfectly appeal to my earthy flowy hippie side! In any case, here's two super easy ways to create a umm..... bracelet connected to a ring.
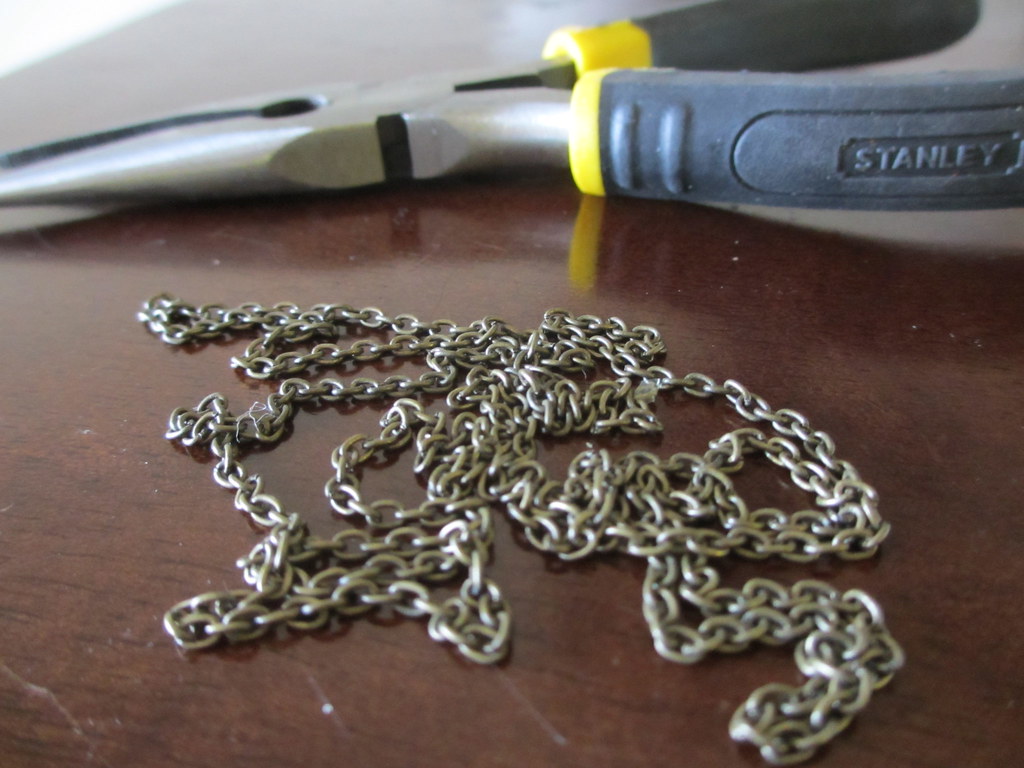
What you need:
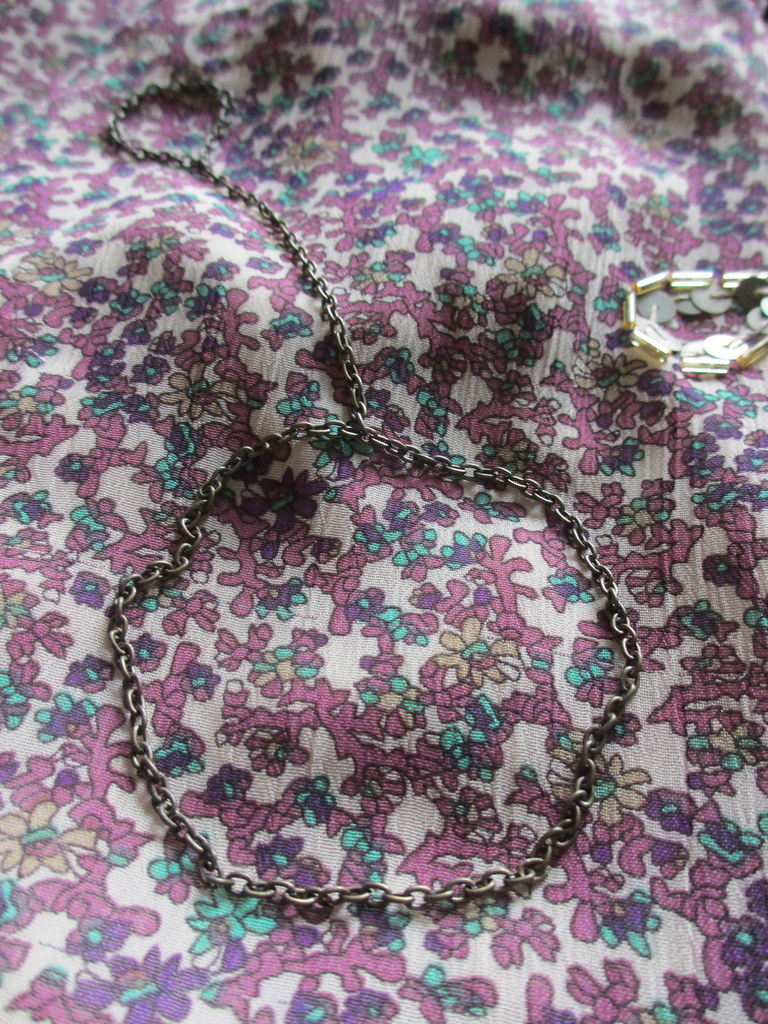
Fine chain
Jump rings (if your chain is too fine to just separate the links)
Jewelry pliers
What you do (part 1):
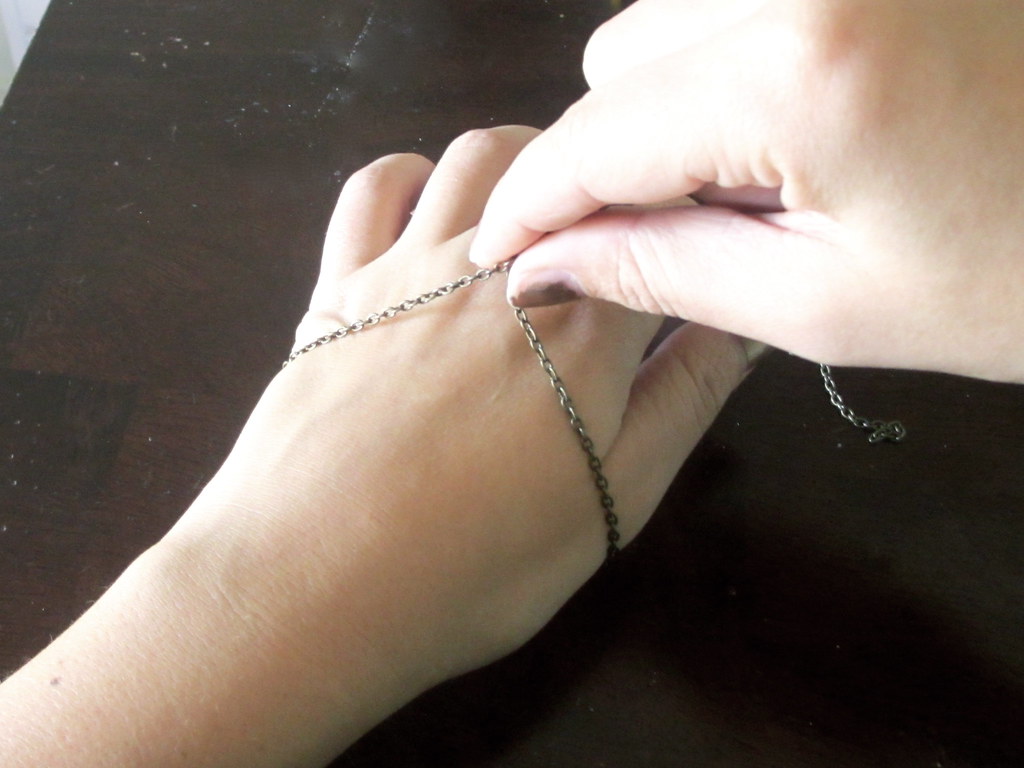
1) Measure a length of chain that you can easily slide onto your wrist. Make sure to leave several inches of chain on either end.
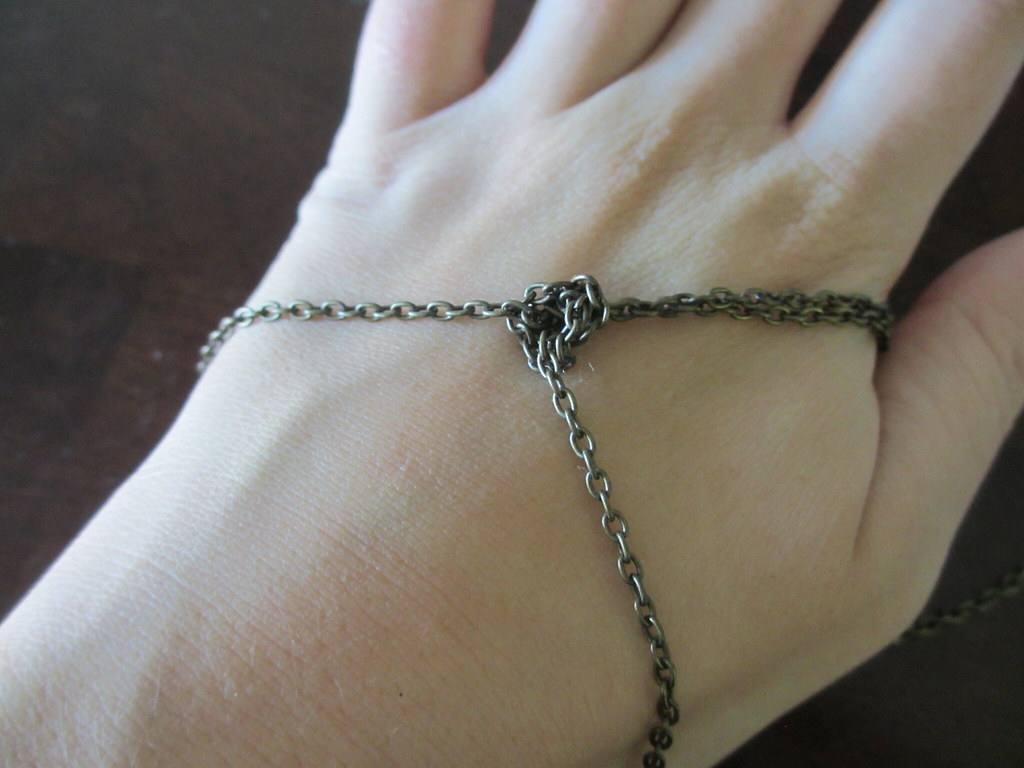
2) Create a knot in the chain.
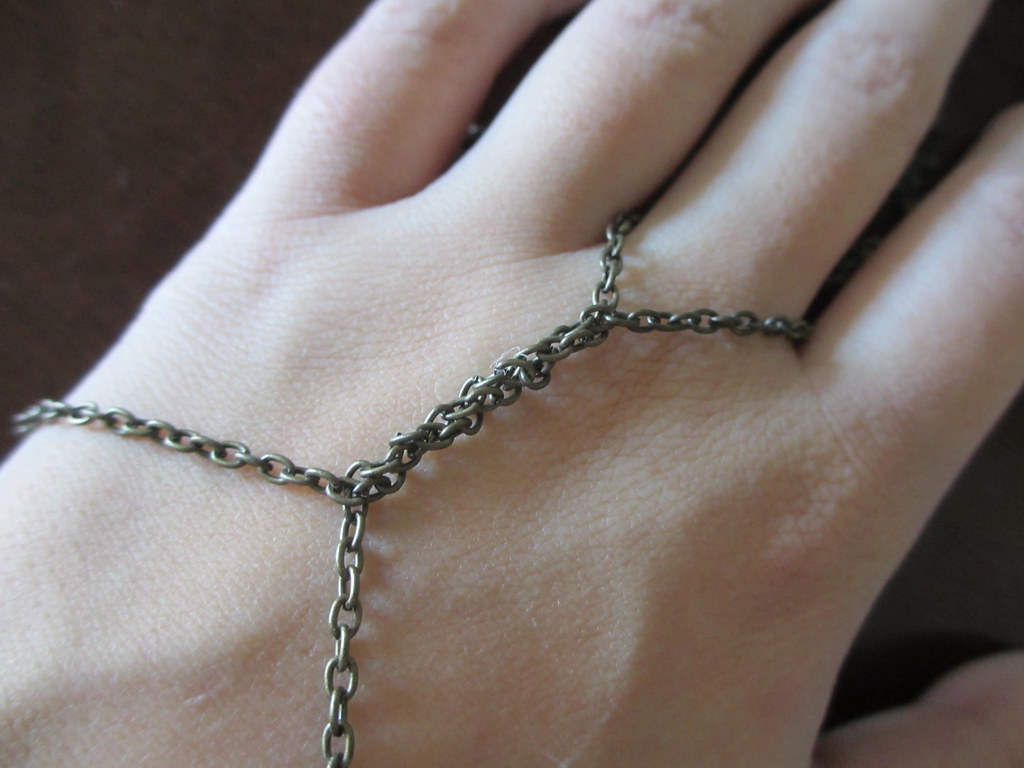
3) Connect the leftover ends of chain behind your middle finger. Keep a bit of slack so you can flex your wrist, but not so much that the whole thing will fall off.
4) You can either finish here, leaving you free to undo the knot and style the chain in other ways (I twisted the chain in the below photo), or you can add a bit of glue to the knot to keep it in place.
What you do (part 2):
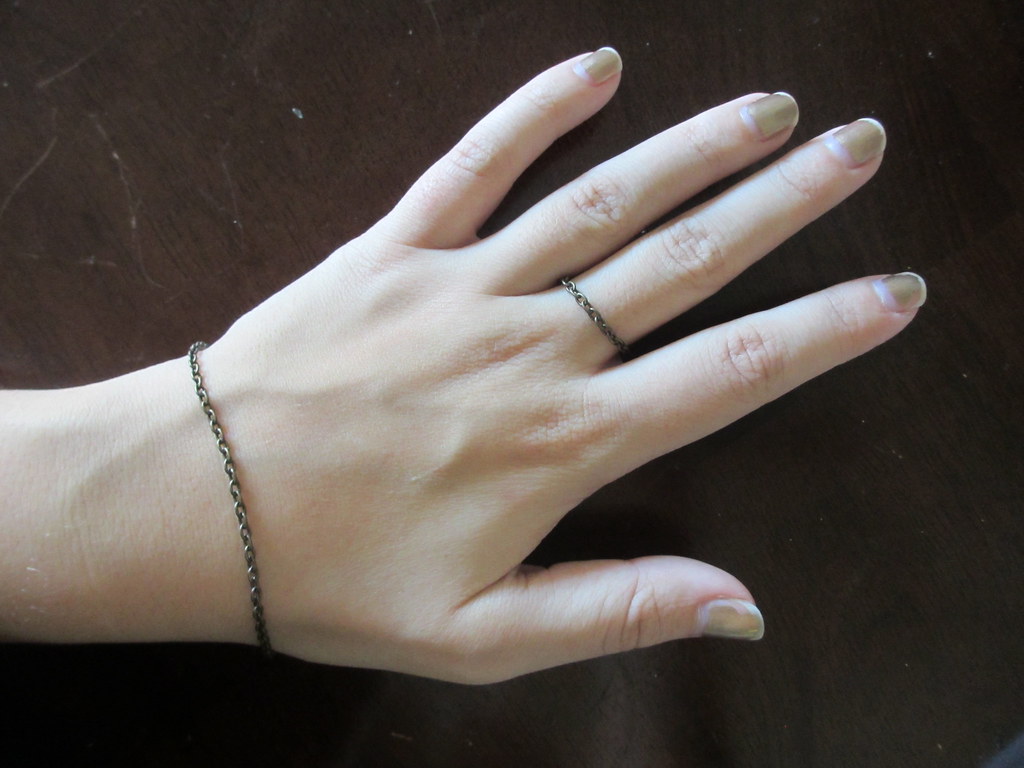
1) Create a circle of chain that you can slide onto your wrist. You can add a lobster claw clasp to this version if you'd like, but I like the simplicity of just having the chain.
2) Create another circle of chain that you can slide onto your middle finger (or two or three fingers if you want a more dramatic look).
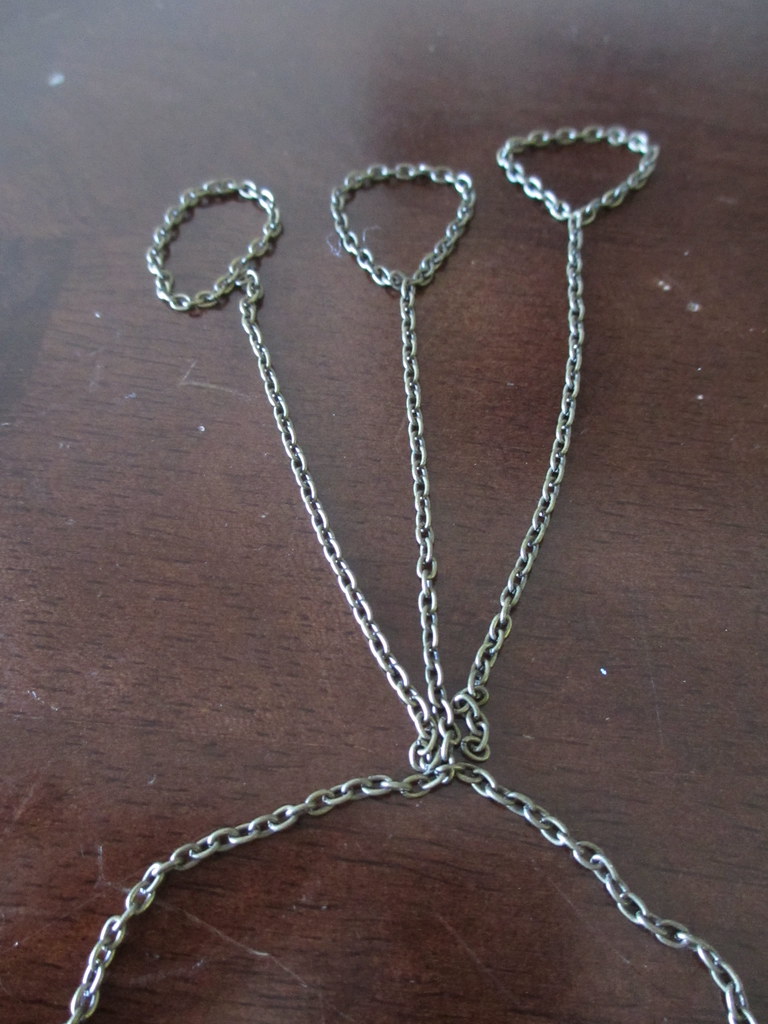
3) Connect the ring circle(s) with another chain to the bracelet, again leaving some slack so you can flex your wrist easily.
And this step is where you can get creative - you don't just have to have one ring, one bracelet, one chain! Play around with how many rings and how you want it all connected: braid some chains together, spread them out, attach one ring with a bunch of chains... I didn't have enough chain, but I thought a "feathered" look like this would be pretty.
4) Done!
Saturday, December 22, 2012
Ten Days: Hair Confessional
Warning: longest post ever...
Alright, so remember when I promised you good folks a while ago that you'd get to see my number one most embarrassing photo? That time has finally arrived. I re-dyed my hair for my Ten Days quest, and thought this would be a good time to confess to my love-hate relationship with my hair and show you what I've done with it over the years.
Begin.
Presenting: roughly 14 year old me at my great-uncle's New England cabin, complete with post-lake air-dried hair, corn shucking, the most unflattering pose ever, a dorky/toothy smile, and untimely blinking.
I'll wait for you to stop crying from laughter. No really, I'll wait.
Done yet? No?
How about now? Ok well I hope so.
In any case, although my hair is still a terrifying beast today (see photo 9 below), I've learned to tame it through copious amounts of coconut oil and learning how to properly blow-dry it. But because my locks have never been terribly beautiful on their own, I've never been afraid to dye and cut and change it frequently, which is the point of this post:
DO NOT BE AFRAID OF YOUR HAIR.
It is only hair, and it will grow back. Want turquoise tips? Do it (see how I did them here!). Want a dark brown blunt bob? Go for it. Side/full bangs? Done/done. Hate it? Wait a little while or go back to the hair stylist! Here's a brief synopsis of my wildly fluctuating hair styles over the past 6 years or so, ending with my current 'do!
Alright, so remember when I promised you good folks a while ago that you'd get to see my number one most embarrassing photo? That time has finally arrived. I re-dyed my hair for my Ten Days quest, and thought this would be a good time to confess to my love-hate relationship with my hair and show you what I've done with it over the years.
Begin.
Presenting: roughly 14 year old me at my great-uncle's New England cabin, complete with post-lake air-dried hair, corn shucking, the most unflattering pose ever, a dorky/toothy smile, and untimely blinking.
Done yet? No?
How about now? Ok well I hope so.
In any case, although my hair is still a terrifying beast today (see photo 9 below), I've learned to tame it through copious amounts of coconut oil and learning how to properly blow-dry it. But because my locks have never been terribly beautiful on their own, I've never been afraid to dye and cut and change it frequently, which is the point of this post:
DO NOT BE AFRAID OF YOUR HAIR.
It is only hair, and it will grow back. Want turquoise tips? Do it (see how I did them here!). Want a dark brown blunt bob? Go for it. Side/full bangs? Done/done. Hate it? Wait a little while or go back to the hair stylist! Here's a brief synopsis of my wildly fluctuating hair styles over the past 6 years or so, ending with my current 'do!
Oh the crunchy curls I rocked at my Dad and stepmom's wedding... my natural color though!
One of my high school grad photos. Super dark brown! My sister makes fun of this one since it looks like I have gray hair...
Freshman year shaggy bob... still dark brown.
Slightly more blunt bob and still dark brown, but more reddish.
SUPER DUPER PROFESSIONAL BLONDE WITH AWESOME HIGHLIGHTS for a play my sophomore year (wassup Helena??)
Fuuuuuuuudge that, back to dark brown summer after sophomore year.
Aaaaaaand then back to a lighter brown/blonde-ish shade later that year.
Frizzy beach hair - Spring Break 2011 baby! Slightly more blonde/massive roots.
BAM SIDE BANGS. Also, junior year ultra-frizz. Not even kidding, this is what my hair looks like right after I blow-dry it.
Not a fan of this weird/uneven brown dye job the summer after junior year.
Curls were my jam senior year - back to a more neutral brown.
Much more natural looking brown curls for my college grad photos
Turquoise tips, woot woot! Except then I had to cut those 5 inches of hair off a month later booo
Amazing strawberry blonde professional color.
FULL BANGS OH YEAH!
...aaaaaand after dyeing it again last night (and realizing I do this face A LOT)...
It's current shade of a slightly lighter strawberry blonde. Really digging the red-ness!
TTHHEEEEEEE END!
Friday, December 21, 2012
Ten Days
The new year is just a mere 10 days away, and with it comes my new job (an event coordinator), my new city (Columbus, Ohio), my new apartment (still tbd), and my new life (self-explanatory). And while I don't put too much (read: any) faith in mercury retrogrades or Saturn's position affecting my friendships, I find it strangely fitting that tonight is the winter solstice: facing my demons in the longest night of the year, planning for the future that I thought would never come, before slowly recovering daylight and the life that comes with it. I know this move won't suddenly bring me peace and happiness, but it's step one of many more that will lead me in that direction.
I really couldn't have planned it better.
So in preparation for all these new beginnings, here's 10 things I want to accomplish in the next 10 days (hint: I've already done one of them!). And at the end of it, I'll be posting about my goals for the new year!
PS: I was planning on using a much more serious/well-lit photo but this one makes me happy so I'm using it instead. Yeah. Here's to making 2013 a year worth living.
PPS: If you want tips on goal-setting, there's seriously no better than Elise Blaha. She is such an inspiration. I may have sort of kind of totally copied her monthly "I Choose" photos for this one...
Thursday, December 20, 2012
Thankful Thursday: Job, Job, Job, Oh And Did I Mention A Job?
In case you were wondering why there was so much silence here this past week, here's your answer: I finally finally finally got a job!! It's not my ideal position exactly, but it's definitely on the path to where I want to be so Merry Christmas to me!! Best part is, my last day in my position here is New Year's Eve and I move out to an entirely new city on New Year's Day. How's that for a start to 2013??
So even though I have zero photos this week (see #10 - it was overall a slightly worse week even than last week), I'm still thankful for:
1-5> Finally having a job. So much so that it's allowed to count for five items.
5> Having six or seven DIY projects on my list (even though I've seen at least four of them pop up on various other bloggers' sites in the past 24 hours... great minds think alike?). I love having things to do.
6> Finding a deep red lipstick that doesn't make me look like a tramp. I love you MAC!
7> Having a clean space again. I can actually find things in my bathroom, kitchen, and closet again and it's awesome.
8> Discovering my new years resolution. Stay tuned on this one.
9> Finally getting a library card from the beautiful library downtown, and checking out far more books than I can actually read in three weeks.
10> My friends who helped me through this absolutely terrible past week, calling me out of the blue or texting me from another continent to calm me down from a panic attack. You guys are seriously the best.
Thursday, December 13, 2012
Thankful Thursday: Settling In And Moving On
This week I'm thankful for:
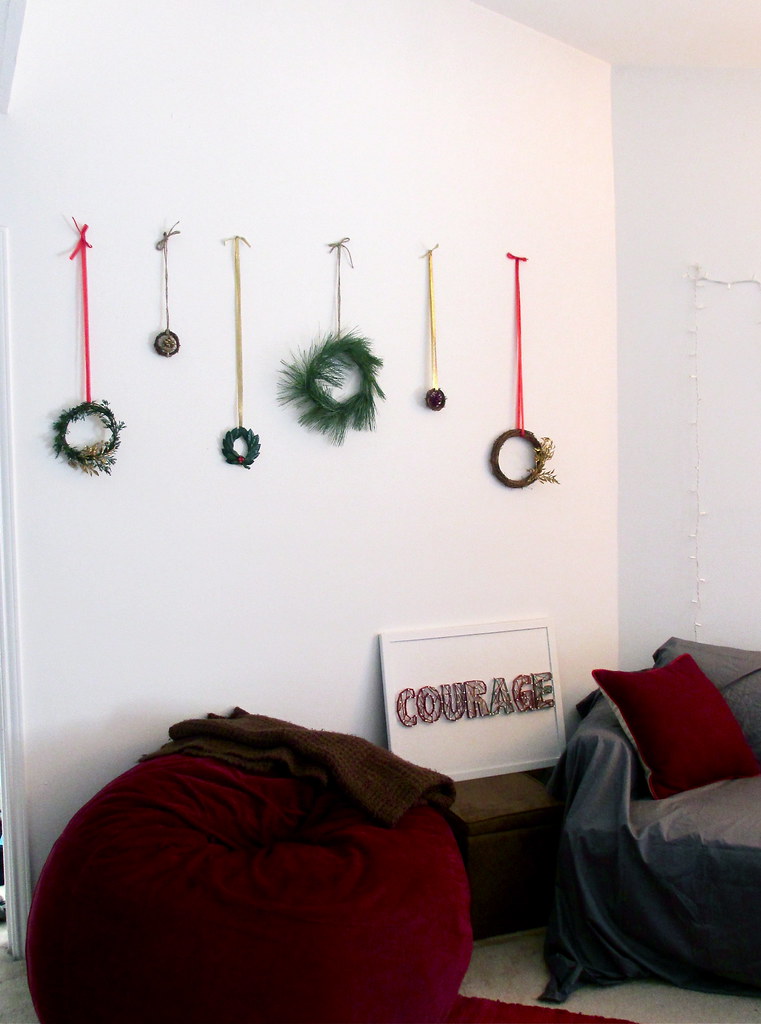
1> Finally getting my apartment properly DIY decorated for the holidays. I just feel happier when my space is both organized and pretty.
2> Good friends who call me at midnight just to calm me down from a really bad day (I'm looking at you, RM).
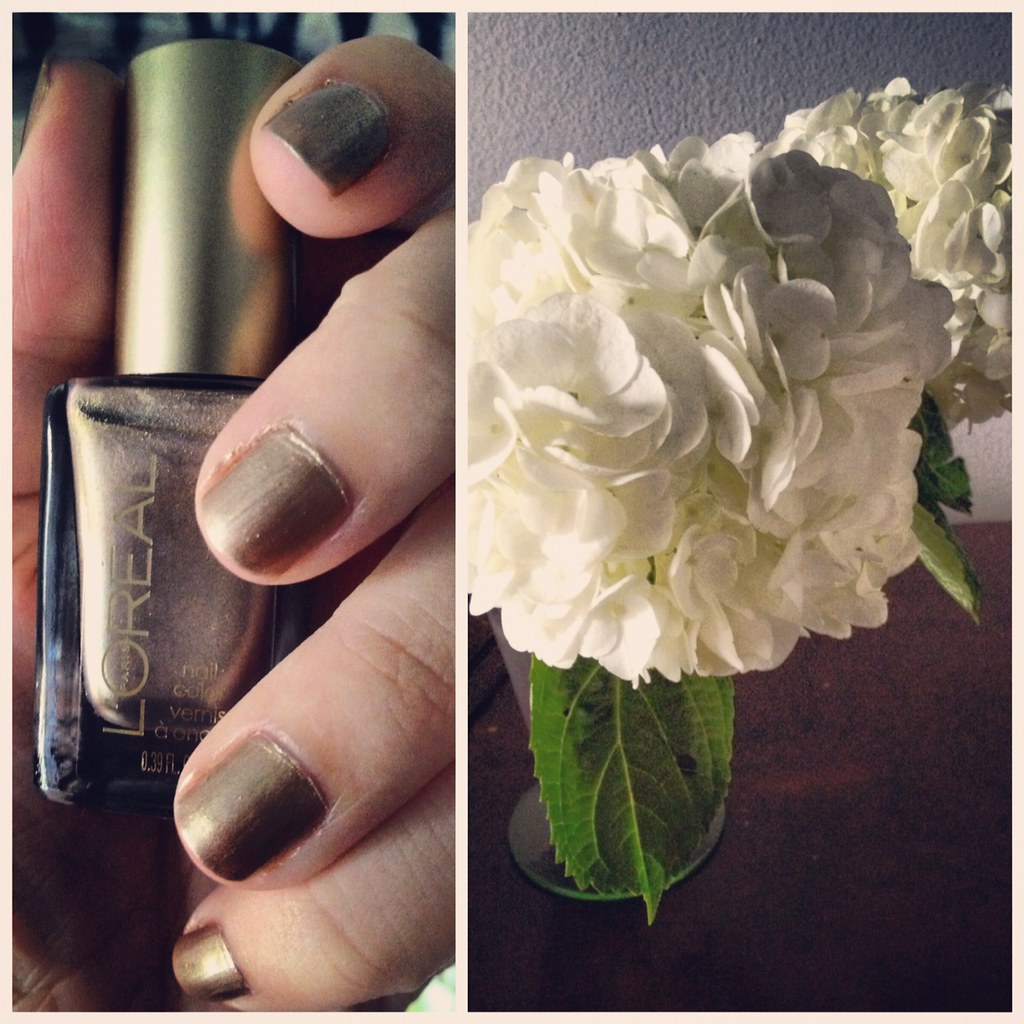
3> The beautiful white hydrangeas that have decorated my desk for the past few days.
4> Morning yoga.
5> Another dear friend who became an ally to me, helping me to make my goals more concrete.
6) Rainy days, and driving around late at night.
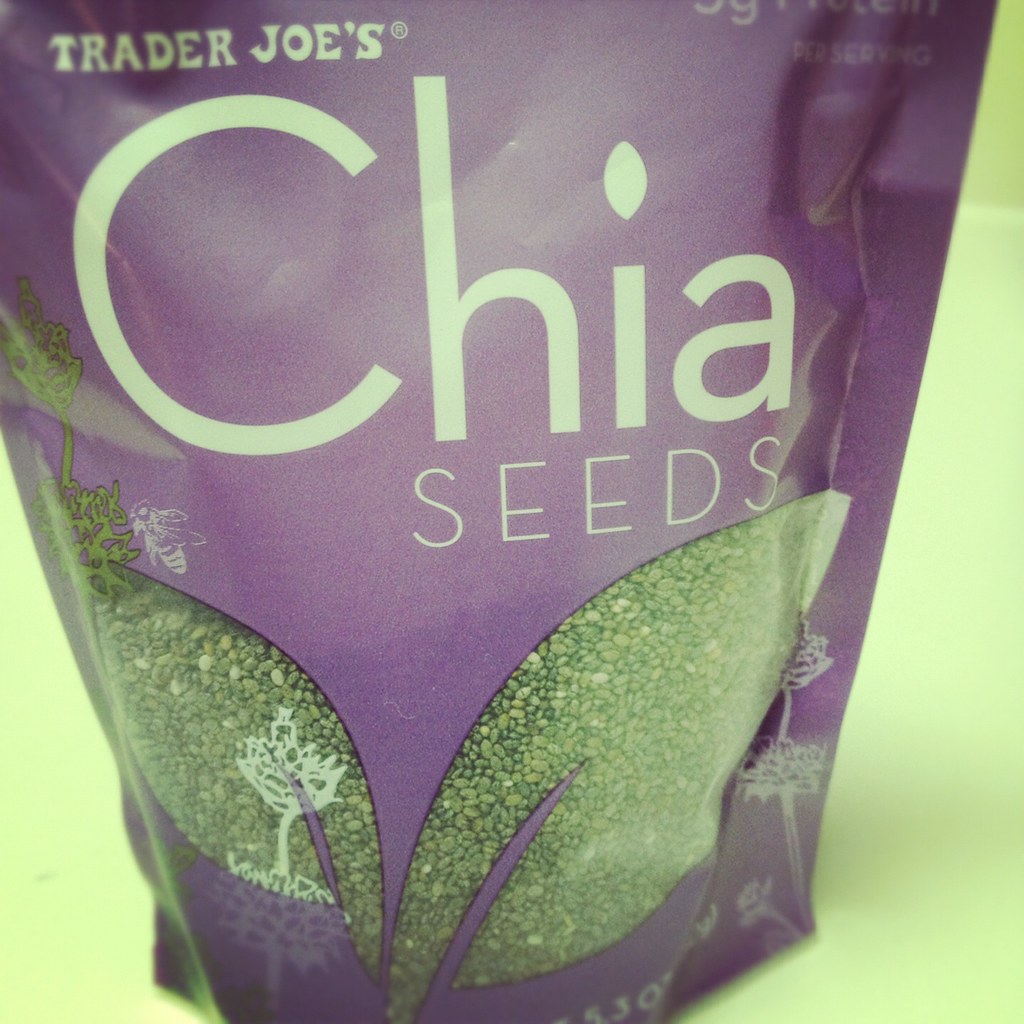
7> Discovering chia seeds (I'm always cautious when the new "superfood" comes out, but the research seems more or less positive about them). In any case, they turn into gel when you soak them in liquid. Instant almond milk tapioca pudding. Awwwyeah.
8> Getting potentially good news but having the self restraint to not count on it before its real. (I'll tell you if it is!!)
9> Pizza, milkshakes, and LIITs with old friends I haven't seen in too long.
10> I know I said this last week too buuuuut I can never say it enough: having a family that is not only willing but able to take care of me while I'm relatively unemployed.
Wednesday, December 12, 2012
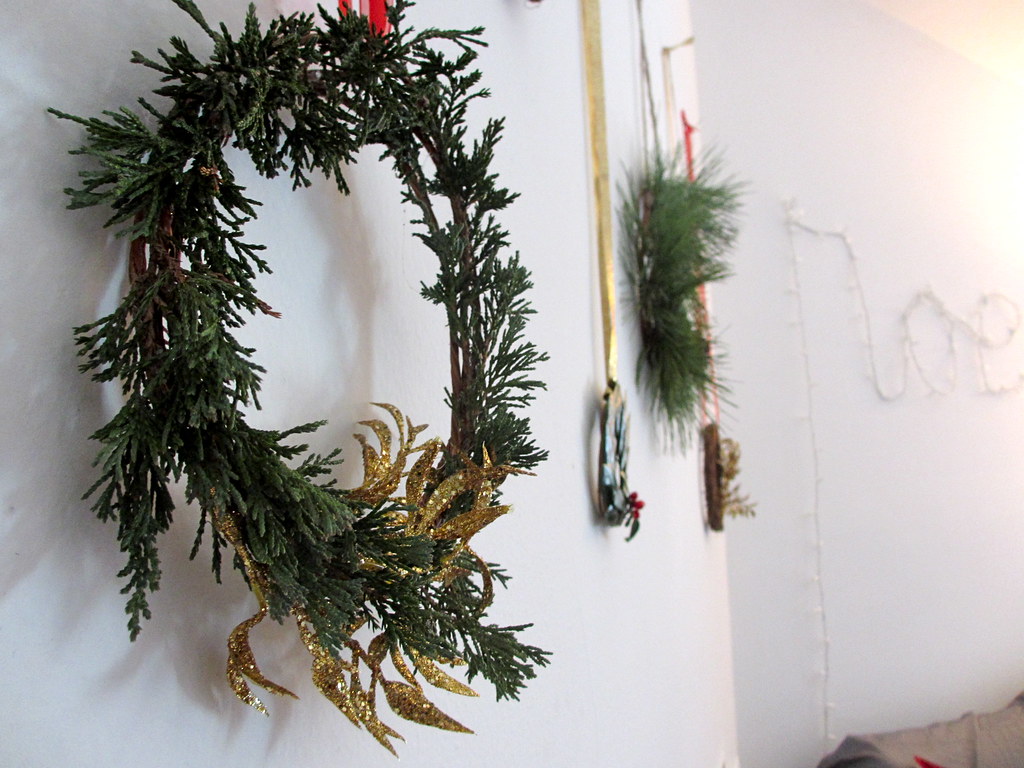
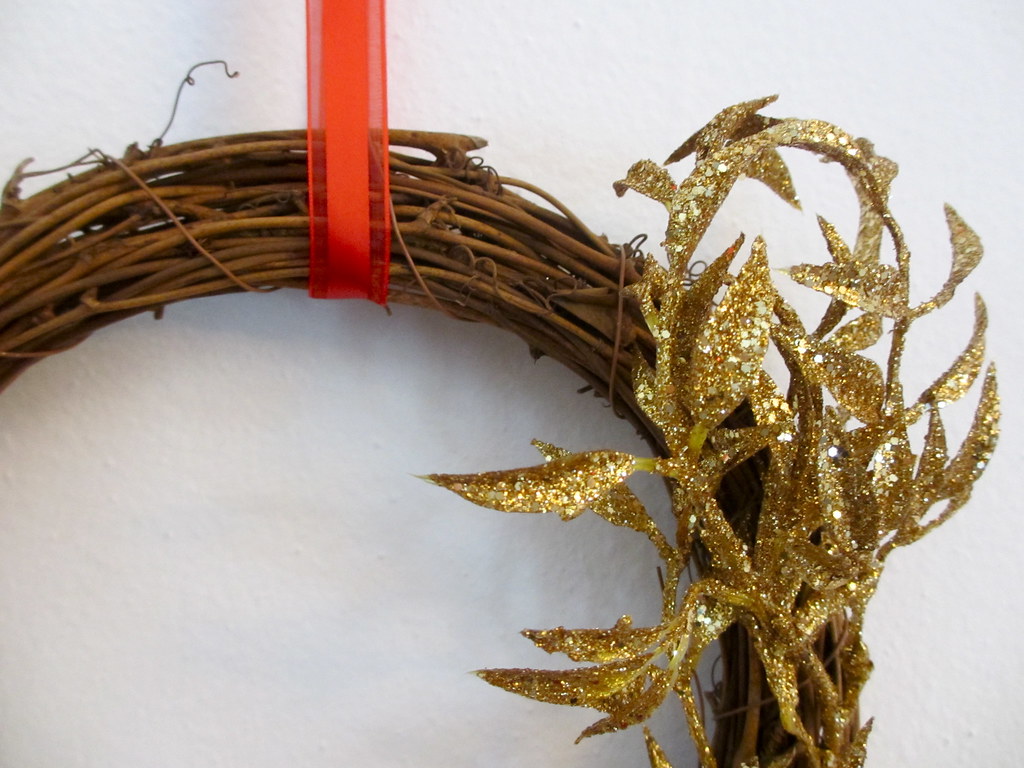
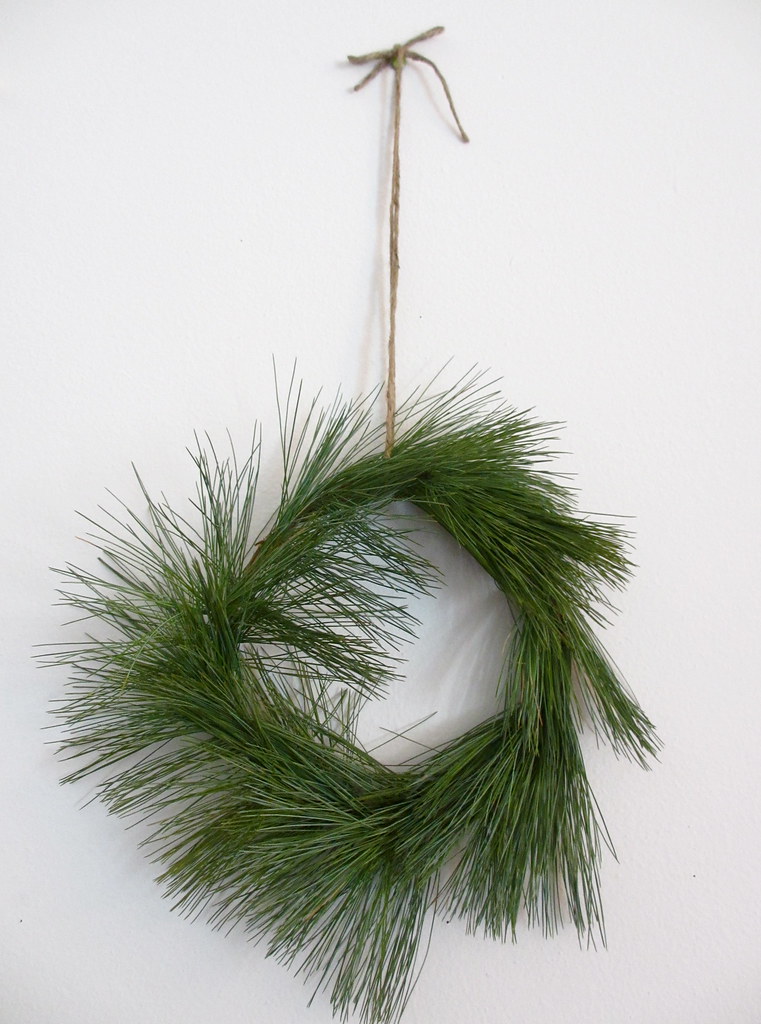
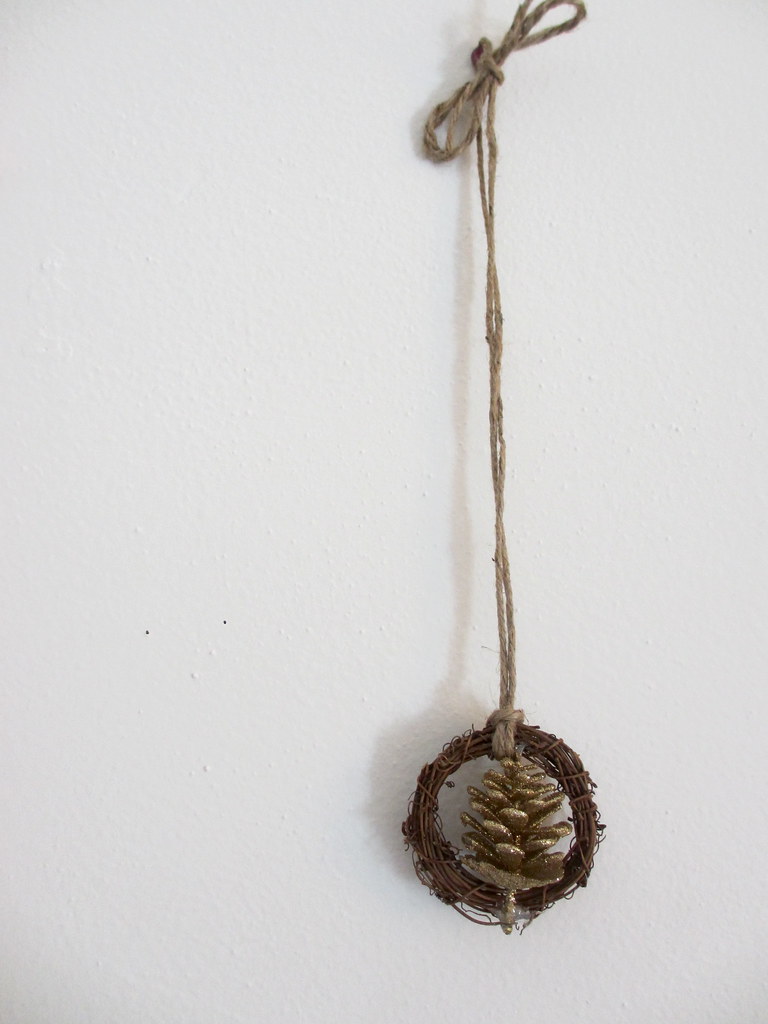
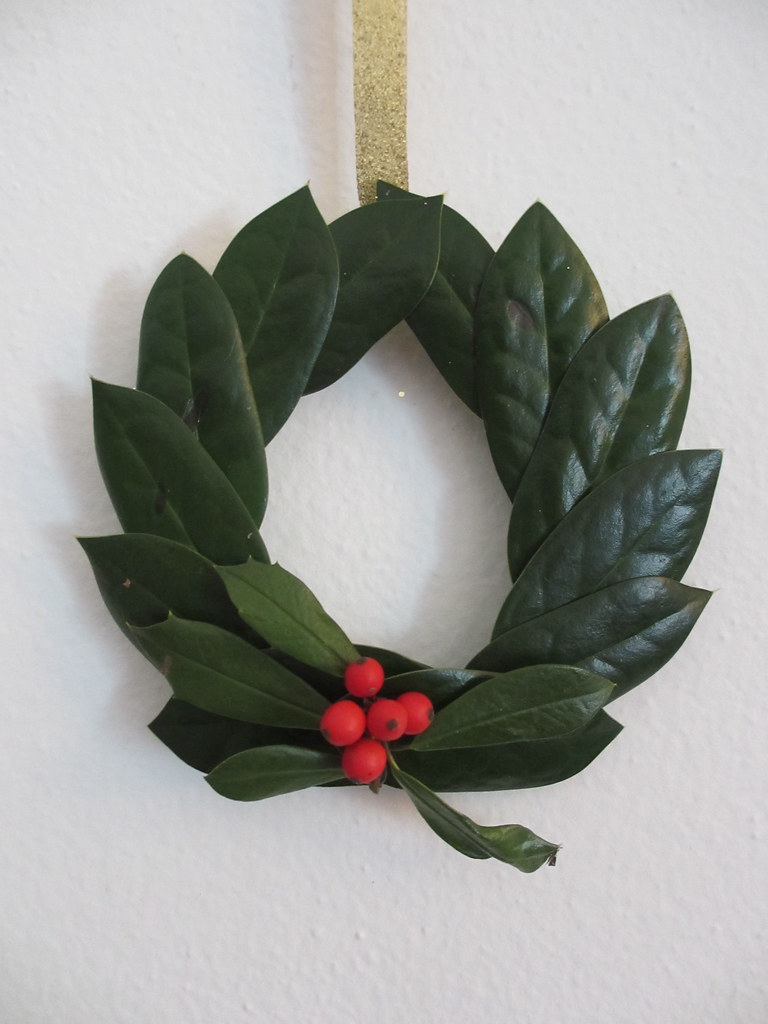
DIY Home: Mini Wreaths
My absolute favorite thing about the holidays is that I have an excuse to drag a giant pine tree into my house and put shiny things all over it. Unfortunately, a tree is slightly outside my budget and available square footage this year so I've had to opt for smaller and less damaging ways to celebrate. This has led to a minor obsession with anything mini and green (I'm sure there are dirty jokes a-plenty that could go here, but refrain yourselves. or not). So, like promised, here's another really great way to decorate for the holidays on a budget, when confined to a tiny apartment!
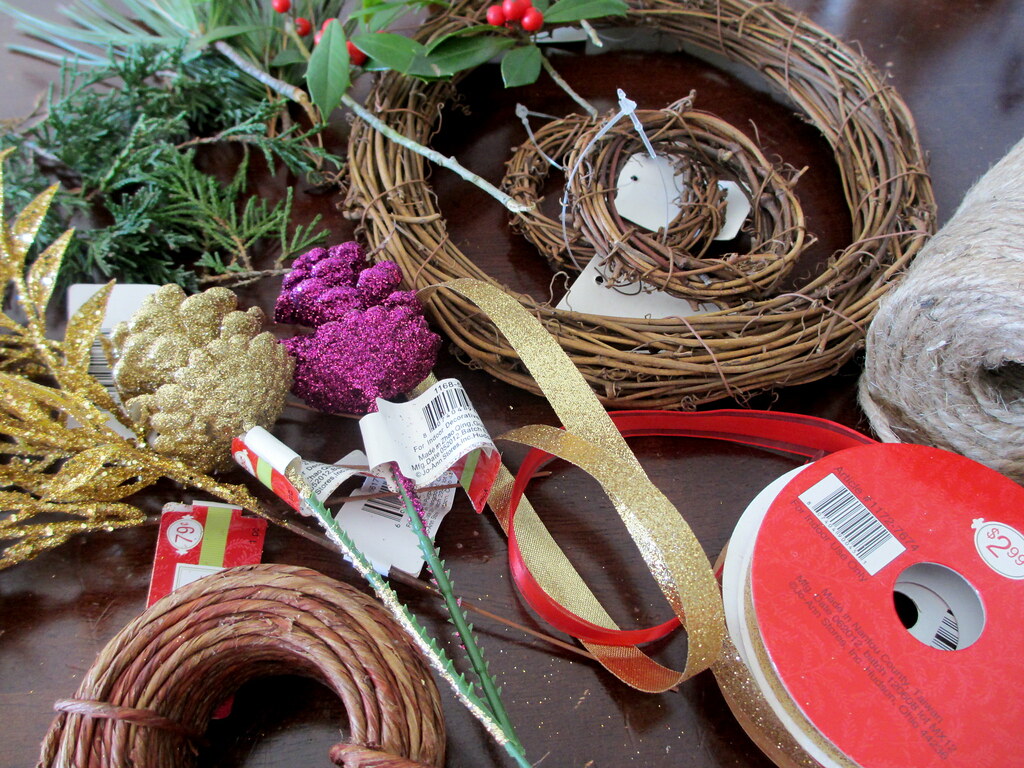
What you need:
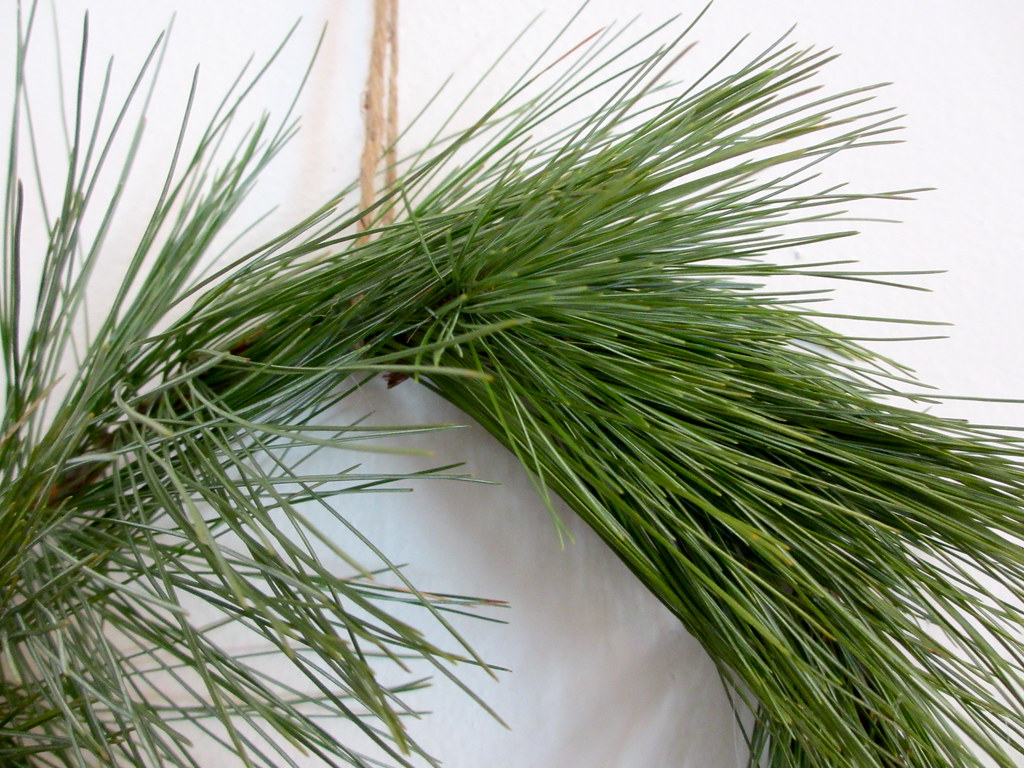
A variety of leaves, pine needle bunches, holly branches, etc.
Glittery faux pinecones, leaves, flowers, etc.
Floral twine (basically wire wrapped in natural-colored twine)
Festive ribbon, twine, or yarn
Hot glue gun
What you do:
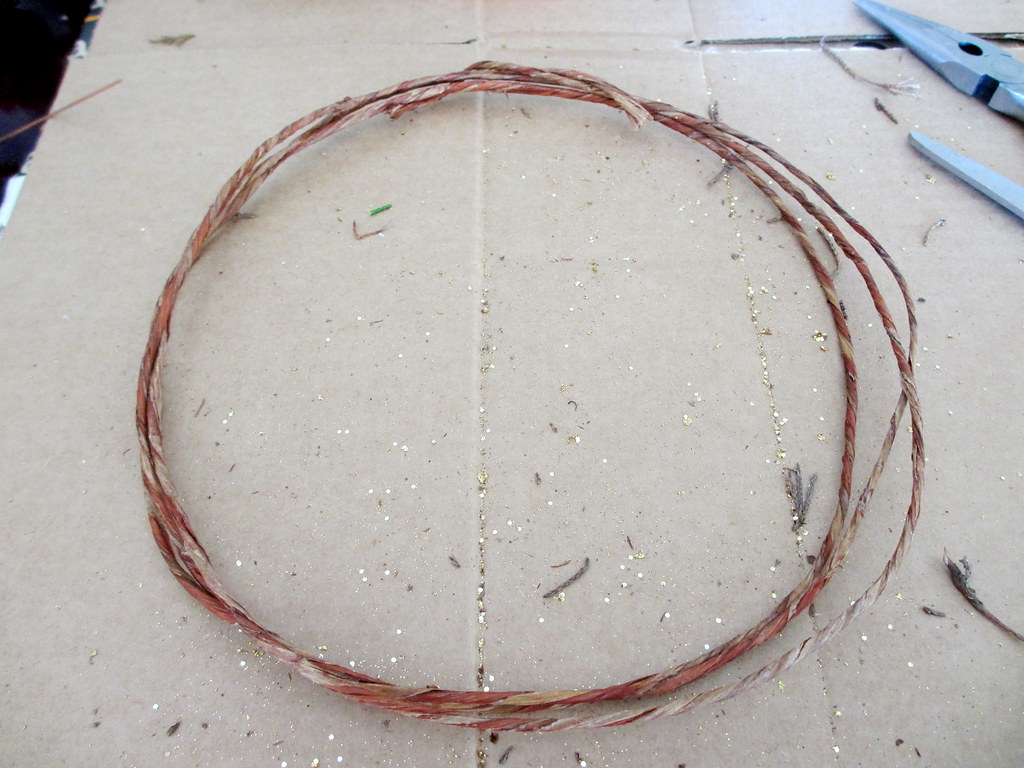
1) Make your wreath base by wrapping the floral twine into a circle three or four times. It's actually helpful if it isn't completely perfect, so you have more of a base to glue things on later. (Note: you can totally buy "premade" wreath bases, but they're much more expensive and not as customizable as just getting floral twine)
2) Squish the twine circles flat and hot glue gun the strands together at a few points around the circle so it stays more or less that way.
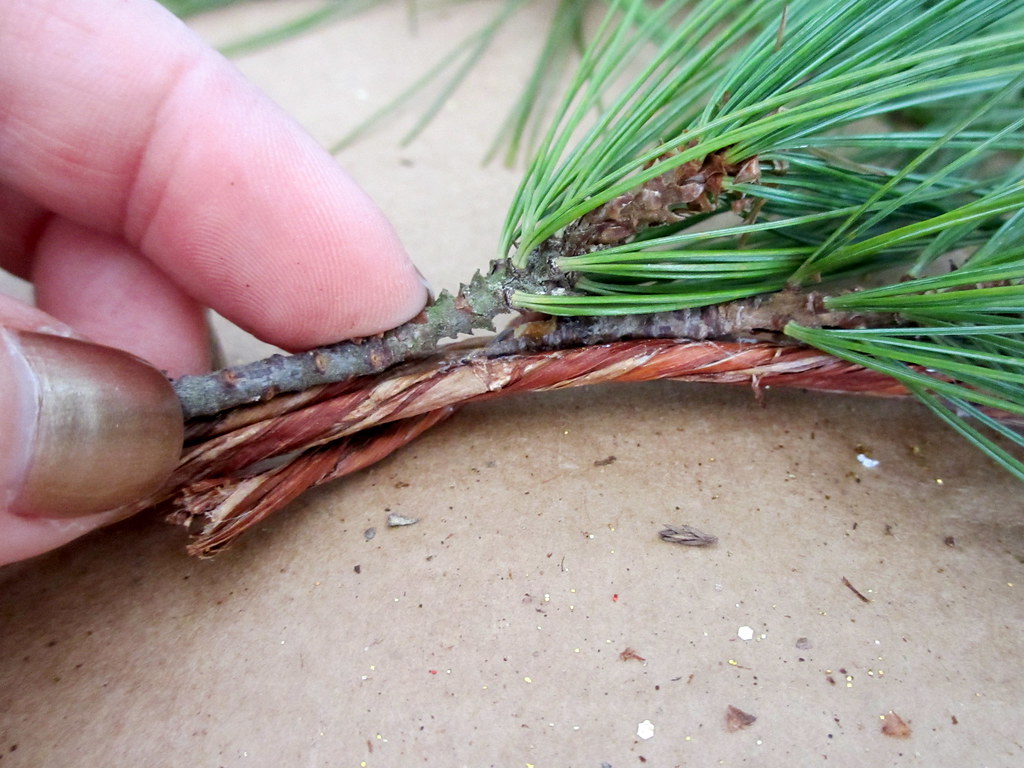
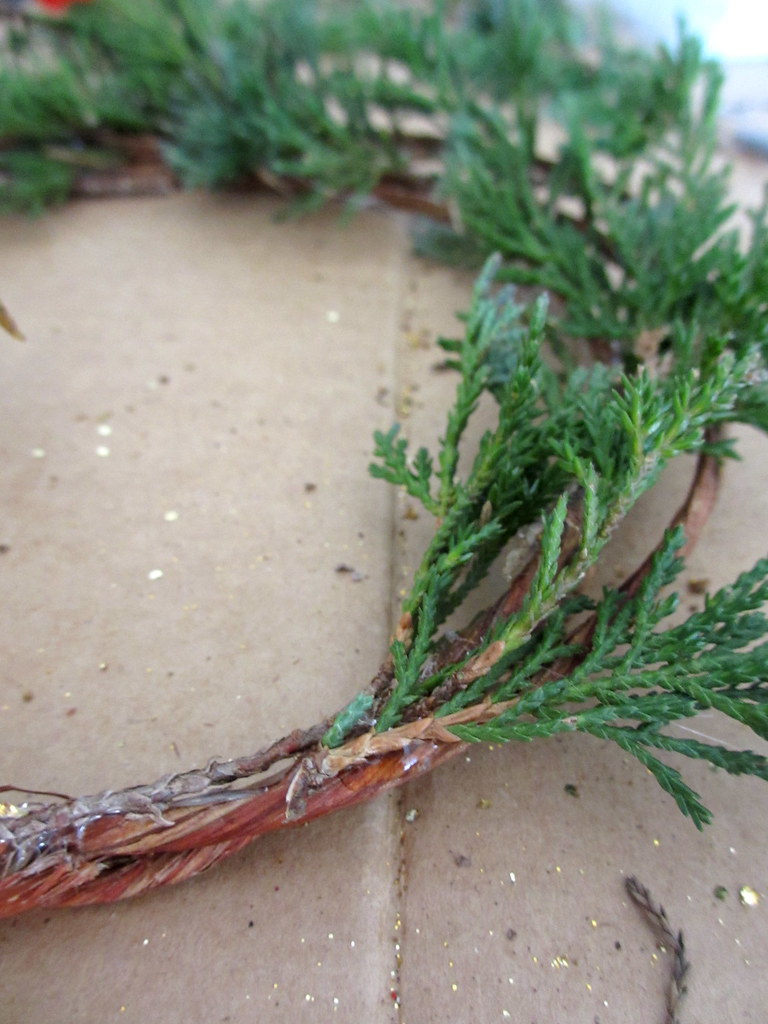
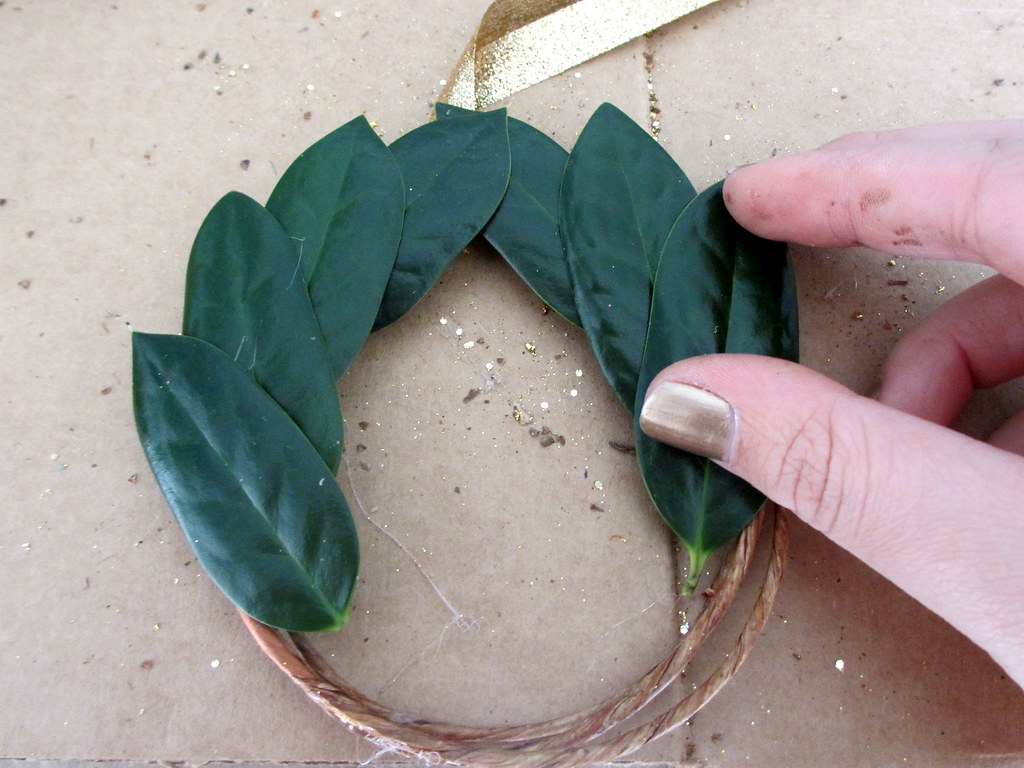
3) Start gluing leaves/branches/glitter onto branches, making sure to overlap them so the stems don't show.
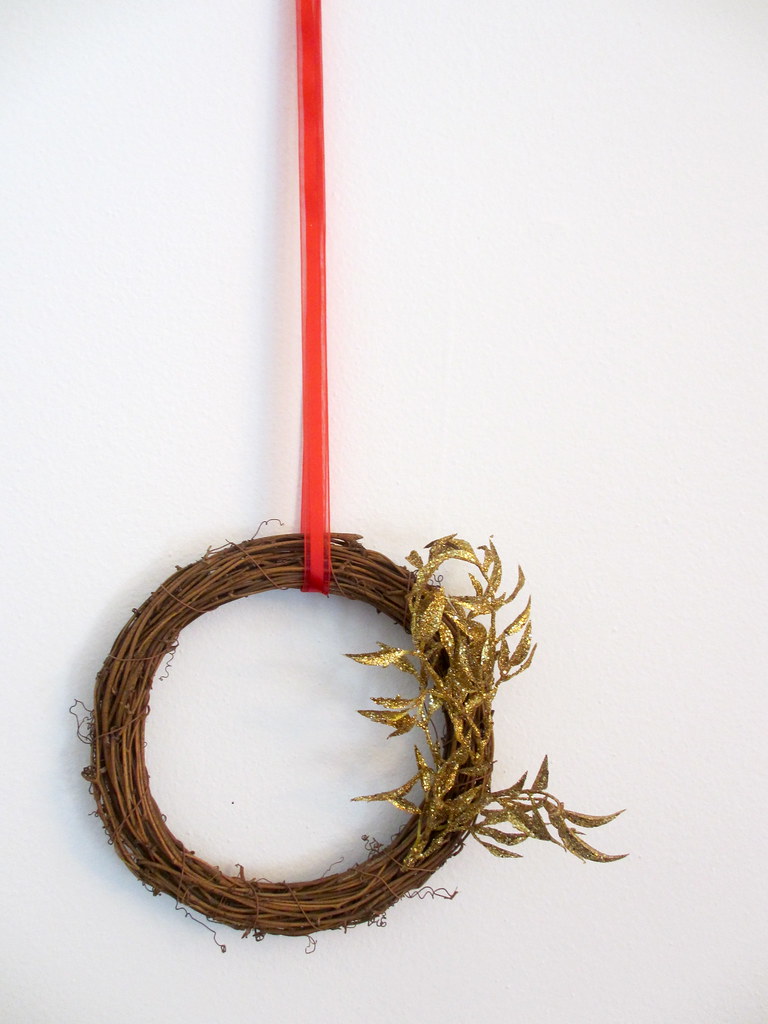
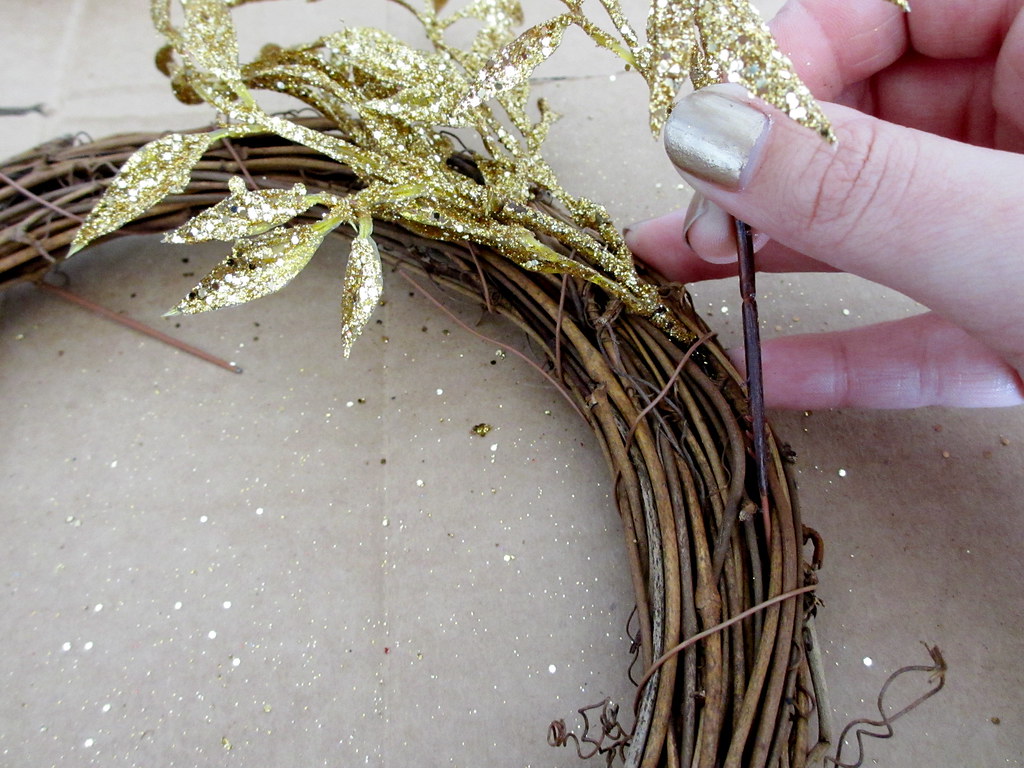
You can also just weave branches into the wreath, like I did with these faux leaves into this (premade) wreath.
4) Add a big ribbon bow or just thread some ribbon through the middle and hang!
What you need:
A variety of leaves, pine needle bunches, holly branches, etc.
Glittery faux pinecones, leaves, flowers, etc.
Floral twine (basically wire wrapped in natural-colored twine)
Festive ribbon, twine, or yarn
Hot glue gun
Leaves and branches (unknowingly) courtesy of my dad's backyard - (thanks Dad!)
1) Make your wreath base by wrapping the floral twine into a circle three or four times. It's actually helpful if it isn't completely perfect, so you have more of a base to glue things on later. (Note: you can totally buy "premade" wreath bases, but they're much more expensive and not as customizable as just getting floral twine)
2) Squish the twine circles flat and hot glue gun the strands together at a few points around the circle so it stays more or less that way.
3) Start gluing leaves/branches/glitter onto branches, making sure to overlap them so the stems don't show.
excuse my fingers... pine needle sap...
You can also just weave branches into the wreath, like I did with these faux leaves into this (premade) wreath.
4) Add a big ribbon bow or just thread some ribbon through the middle and hang!
(anyone see the christmas lights DIY I posted about a couple days ago?)
Subscribe to:
Comments (Atom)


